Re: The optimist
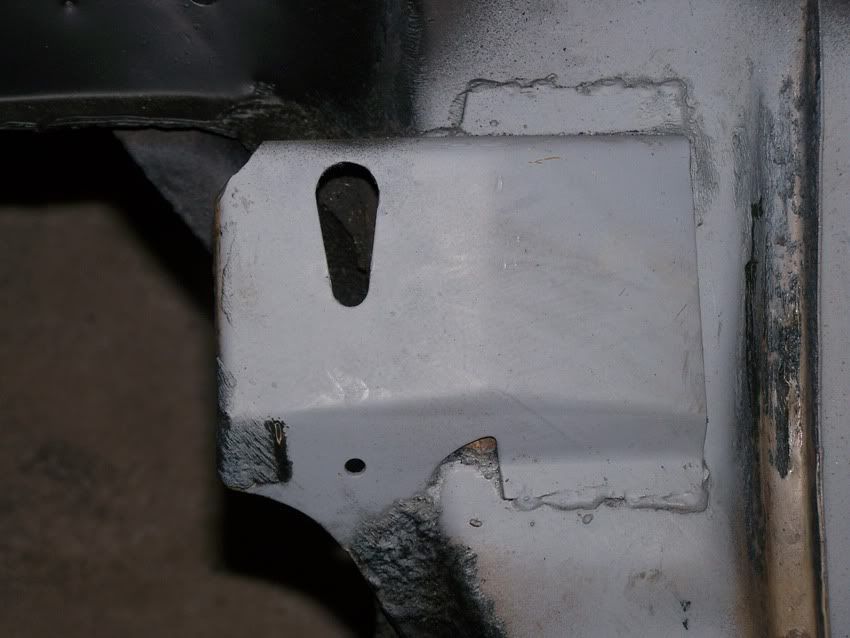
Managed to get those square locating plates put in properly, with the rolled lips facing outwards, after having loosened everything up and given the engine and gearbox a 'wiggle' to settle the engine mount bolts at the bottom of the 'V'-shaped slots. Seems to have straightened things up fore and aft.
Whilst I was under the front of the car messing with the engine mounts I looked at the engine earth strap, dangling from the engine block, and couldn't remember where down in the engine bay the other end attaches? Can anybody remind me where it earths to? Is it to the passenger side engine mount?
Moved to the tunnel to connect the speedo cable and the inhibitor switch wires, realised I'd poked them through up into the passenger compartment before priming and undersealing the base unit. Doh! Would've been a whole lot easier had I remembered to unmask the holes in the top of the tunnel, feed the cable and wiring back through and put the rubber grommets back before installing the engine and box. I had to undo the centre console and wiggle it forward to make enough room to be able to poke the speedo cable and the inhibitor wiring back into the tunnel, and faff about with the rubber grommets from inside the car. In doing so I clumsily damaged the delicate paper in the front speaker, which further enhanced my good mood...not. The grommet for the speedo cable disintegrated, it was so dilapidated, as was the one on my parts donor car, but I don't reckon a lot of rainwater will ever get up there above the box at the top of the tunnel.
A couple of the spade conections on the gearbox inhibitor switch are a bit wobbly - presumably I can swap the inhibitor switch with the autobox in-situ if it turns out to be a duff item?
After having repeatedly soaked the screws holding the door hinges with penetrating oil a few times over the last couple of weeks, I attempted to remove them today, with a new Posidrive size 4 crosshead bit in the wrench. Managed to remove 14 out of 16, but rounded out two of the blighters. Lots of patience and a couple of drill bits later I managed to drill them out, starting small and working up the bit sizes, until a reverse threaded extractor tool 'bit' enough to turn the rest out. Tedious, but it worked, so having then removed the roof panel (would've been easier if I hadn't been on my own!) I can now prep the door shuts, pillars and roof surround for paint.


")