The inheiritance. 1976 P6b

Re: The inheiritance. 1978 P6B

Thanks Ron, I was reading the other thread about the filters but I wasn't sure.

Funny thing is, it's fine without the choke on. I put that down to years and years of gunk built up throughout the engine. There's a bit of a freeway bit involved so I will put the choke on as a bit of a safety net.
 
update

So, here's what I'm up to:

I had the brakes checked out today. I asked them to look at the wheel bearings as well, they said they were ok, but I've got a nagging feeling that they didn't check them like I asked as they kind of ummed and ahhed over them when I asked if they were ok. BUT on the plus side, they said that the pads have plenty of material on them and that they only found two little problems, a vacuum hose was partially blocked, which they replaced and that the diff has a tiny oil leak (which I knew about from the stains on my grandfather's garage floor).

If anyone is interested, last week at work I took a few photos while we mucked around with the air filter canister and took some measurements. If you don't intend to swap to K&N filters and you're in Aussieland, you need a Ryco A21 air filter.

200120118343.jpg


200120118345.jpg


And here's my lucky treasure that I recovered from the engine bay - the washer and nut that I dropped!

200120118350.jpg


I also noticed that the alternator belt looks like it is in good condition, whereas the power steering belt and the other main belt look a bit old and worn.

200120118349.jpg
 
more updates

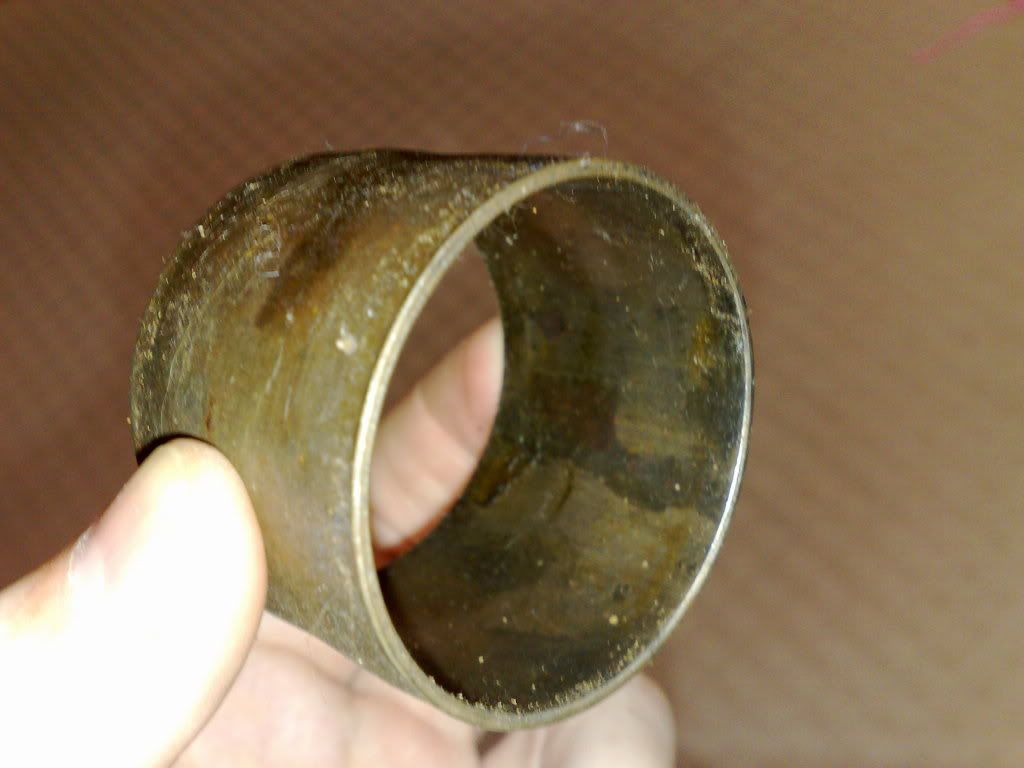
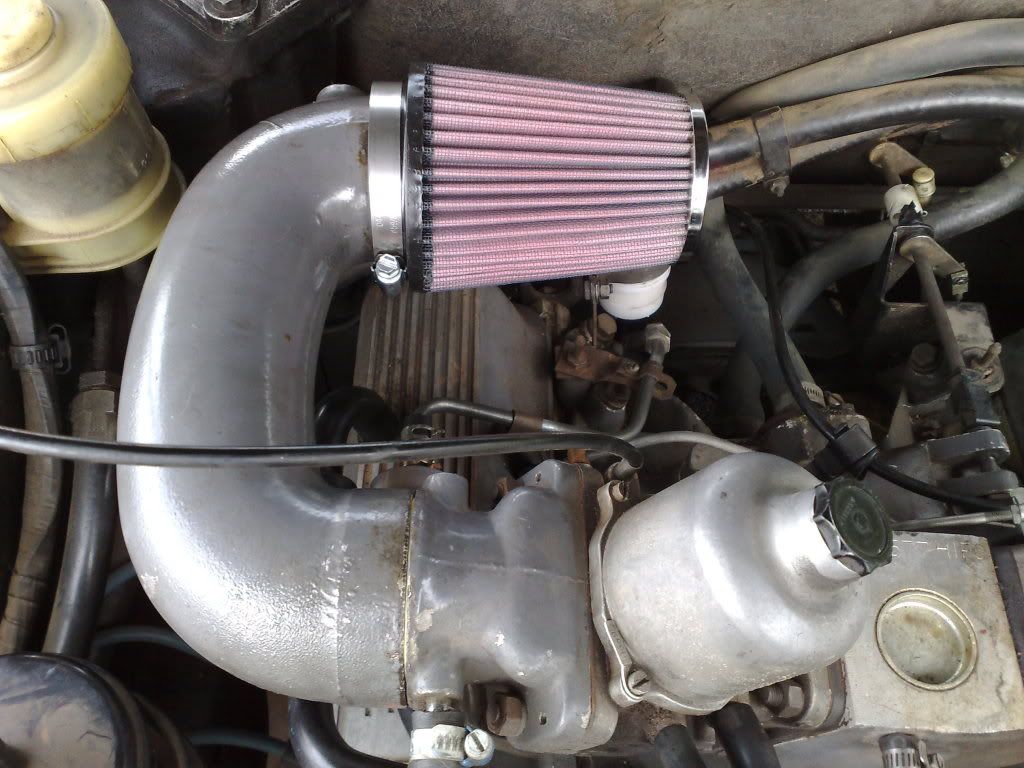
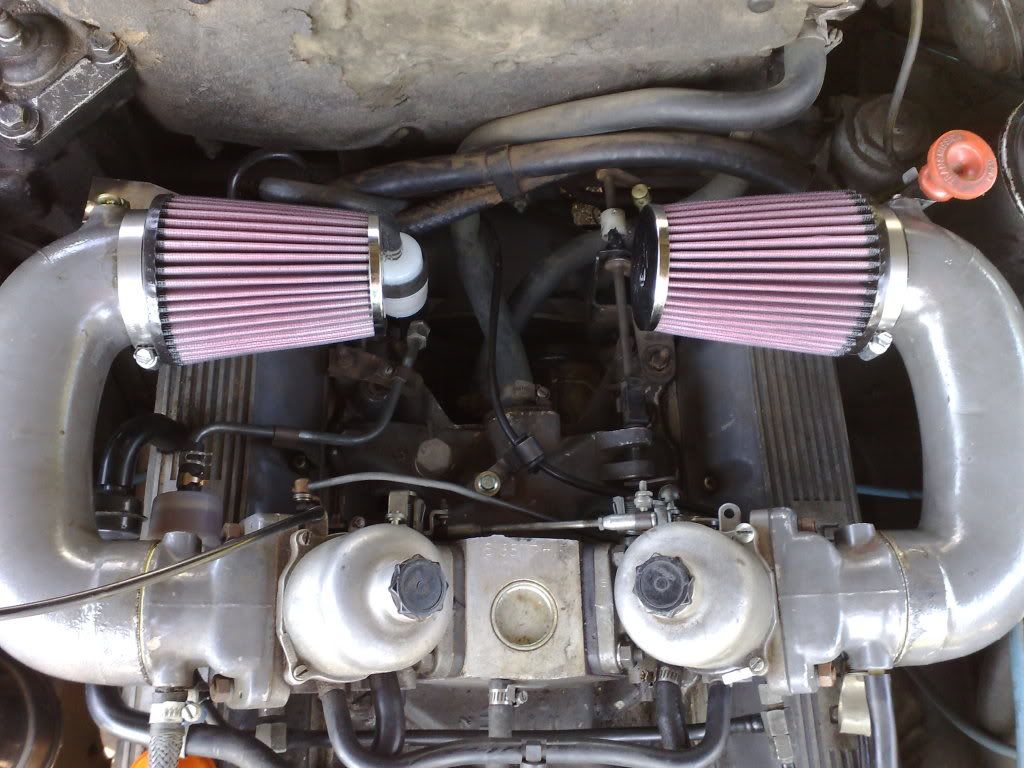
So after some measuring and some more measuring last week and a few text messages back and forth with Ron, I figured out what the problem was with the K&N filters. At some stage the opening had slightly shrunk a few mm. A few moments with a hairdryer after leaving them outside in the sun soon had them flexible enough to slip over the elbows.

Next problem, the driver's side elbow dropped a bit as there was now nothing to support it, while the passenger side one has the clip that goes around the dipstick tube for the transmission.

I had a bit of a think in the days leading up to the weekend and decided that I needed a simple bracket. Now in simple, I mean something that will do the job, but could easily be made or done better by someone who knows what they are doing, so if anyone out there wants to copy my idea or make a better mousetrap, go for it - just tell me how to get one!

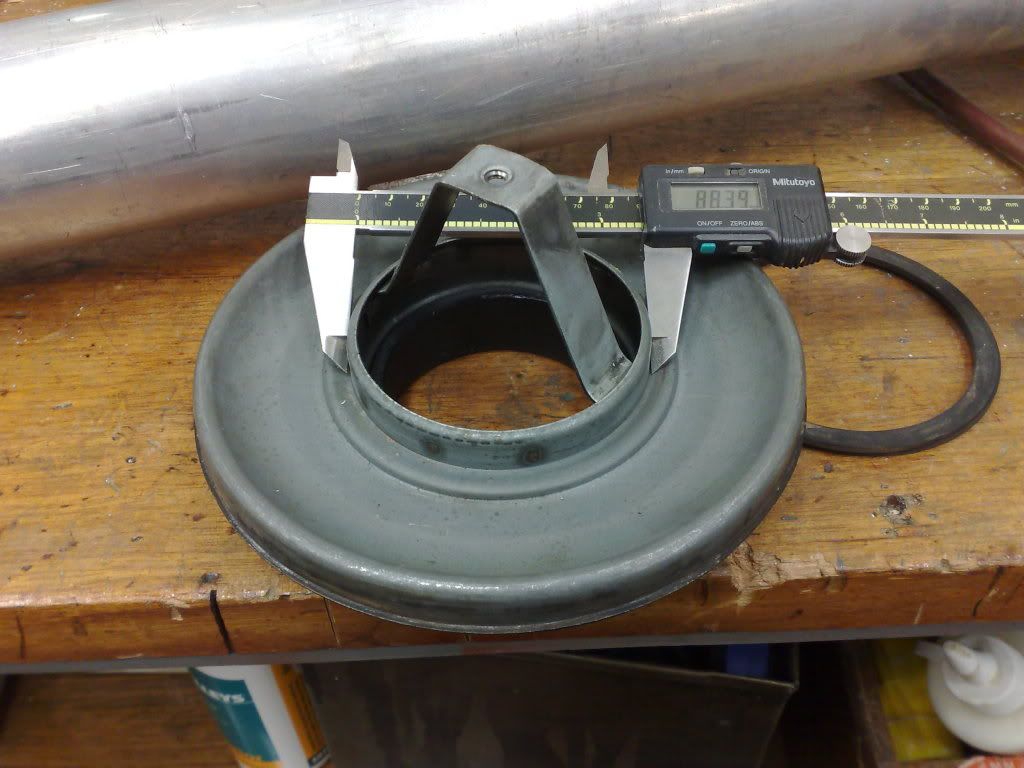
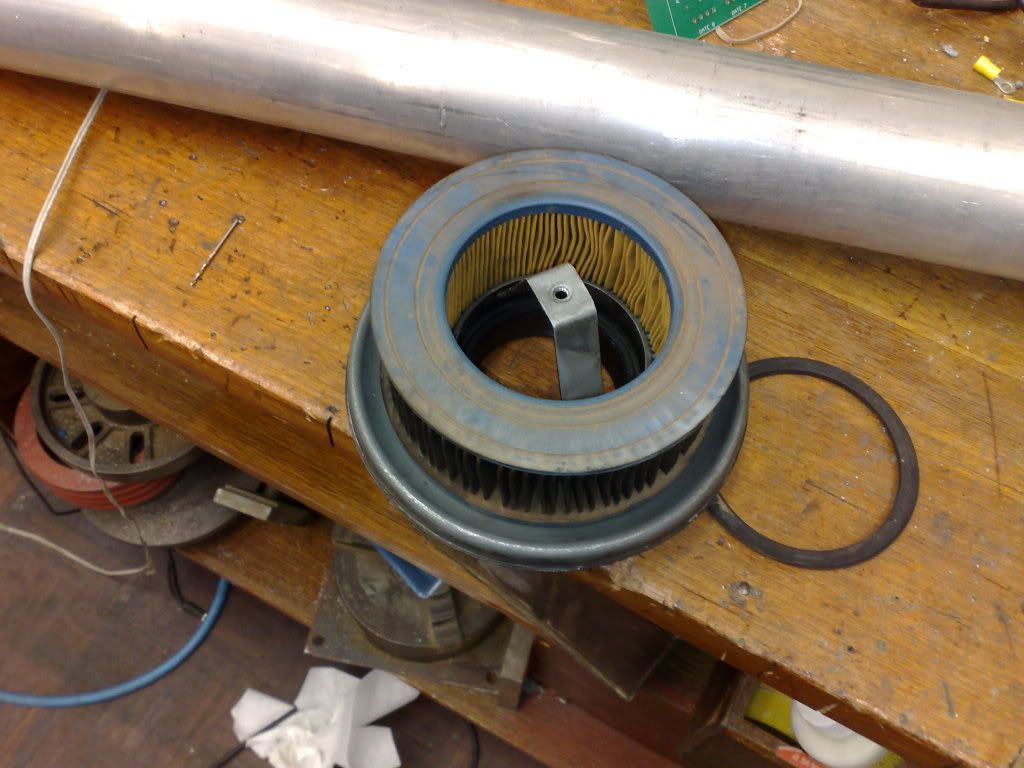
Firstly, I pulled the air filter canister/muffler/housing out.

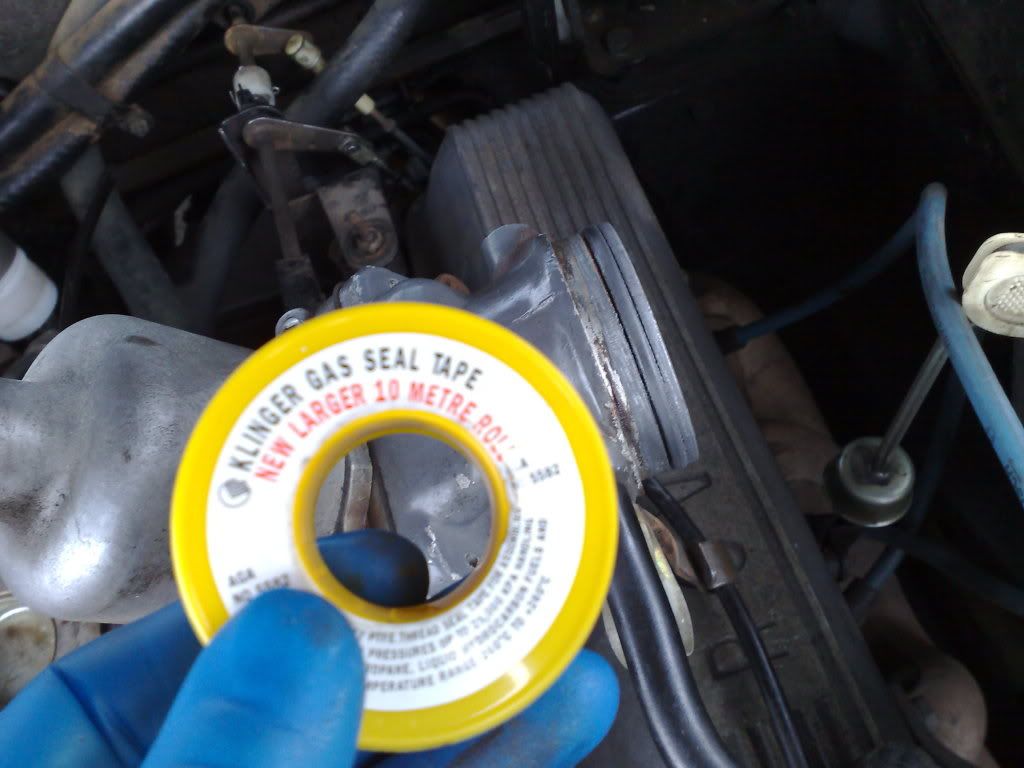
Then I wrapped the opening of the carbs with plumbers tape. I did this to make the join between the carb and the elbow a bit tighter.

220120118365.jpg


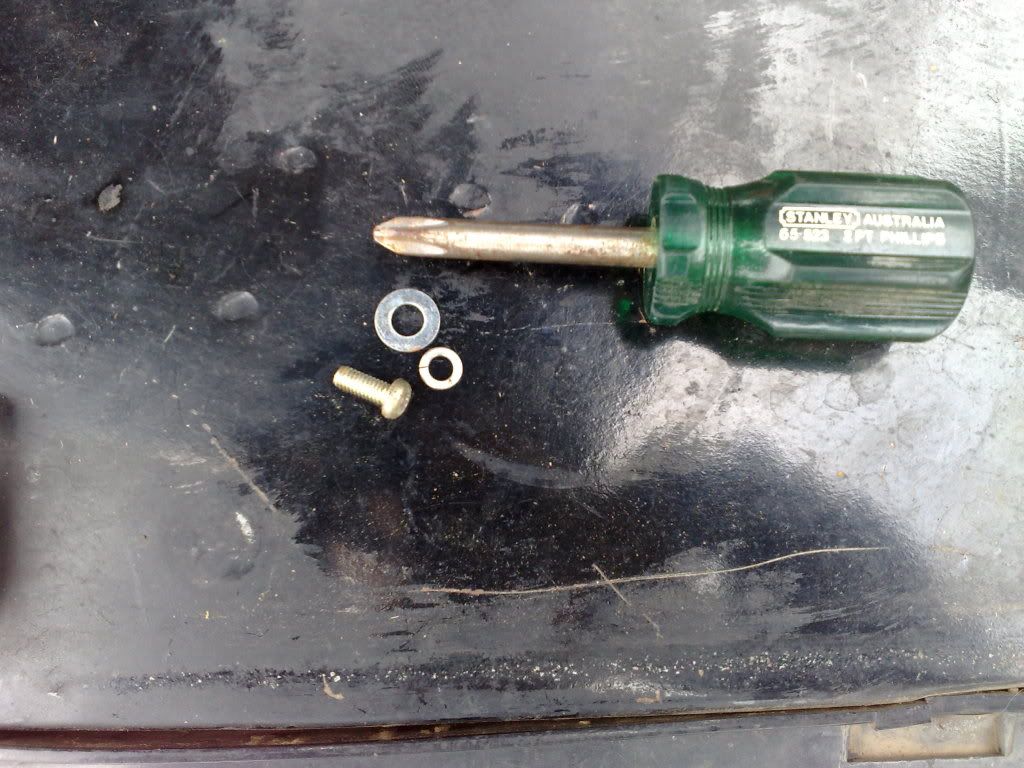
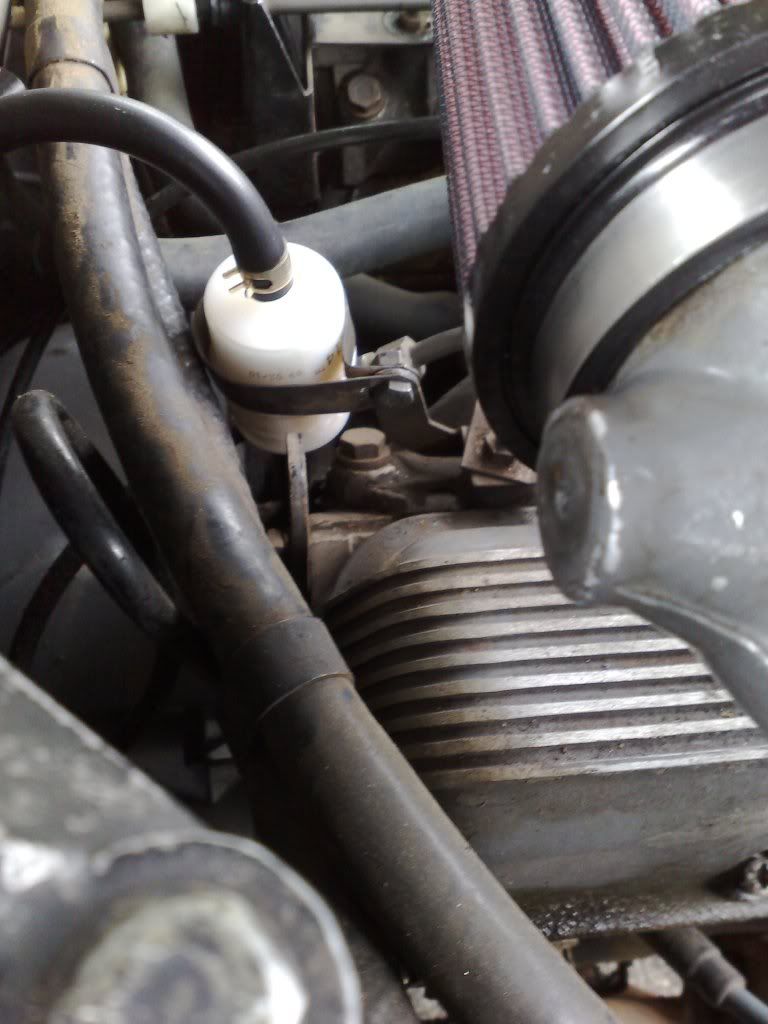
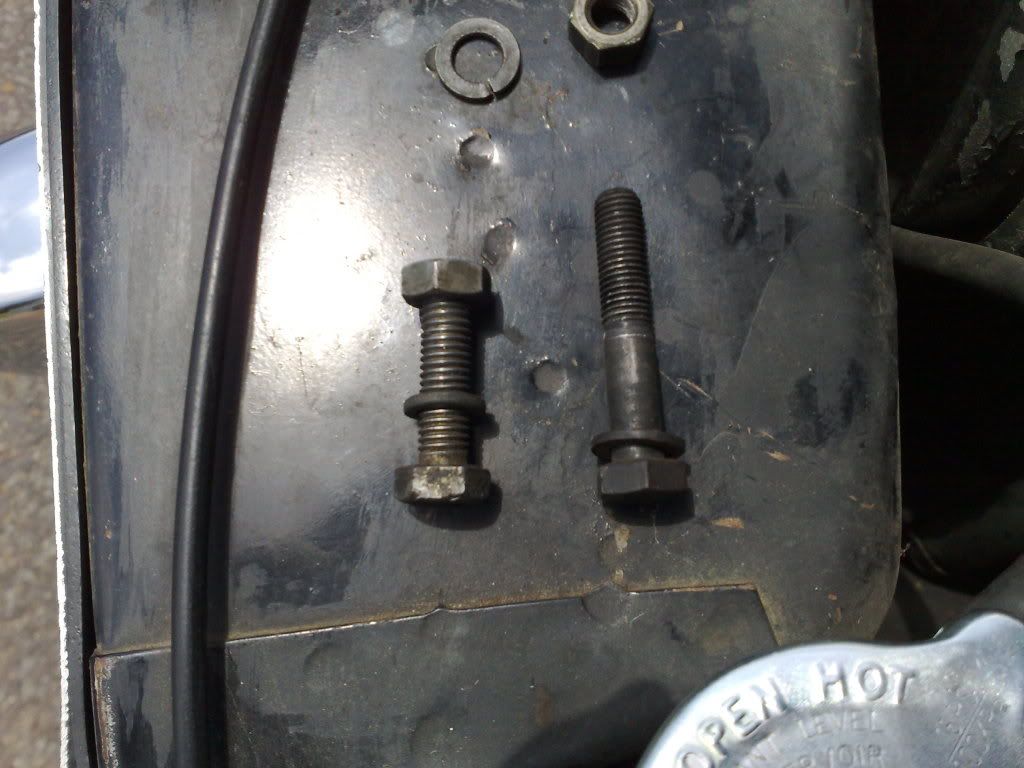
Now on the passenger side, with a Borg Warner 65, there's the dipstick tube and a little bracket that holds the tube in place. This bracket screws/mounts to the elbow. On my car originally, it was held in place with a coarse threaded screw that basically looked like a little self tapping screw. It didn't screw all the way in as I think it was the wrong pitch/thread/size etc. No matter, I rummaged around through a few coffee jars of nuts and bolts etc and found this little screw.

220120118367.jpg


and popped it in with a small washer.

220120118368.jpg


Perfect. The bracket stops the elbow and filter from slowly drooping down and the dipstick doesn't rattle around in the engine bay. Easy, onto the next elbow

The driver's side elbow and filter have nothing to attach to. BUT the mounting point is there on the back of the elbow, complete with tapped thread. Hmmm.

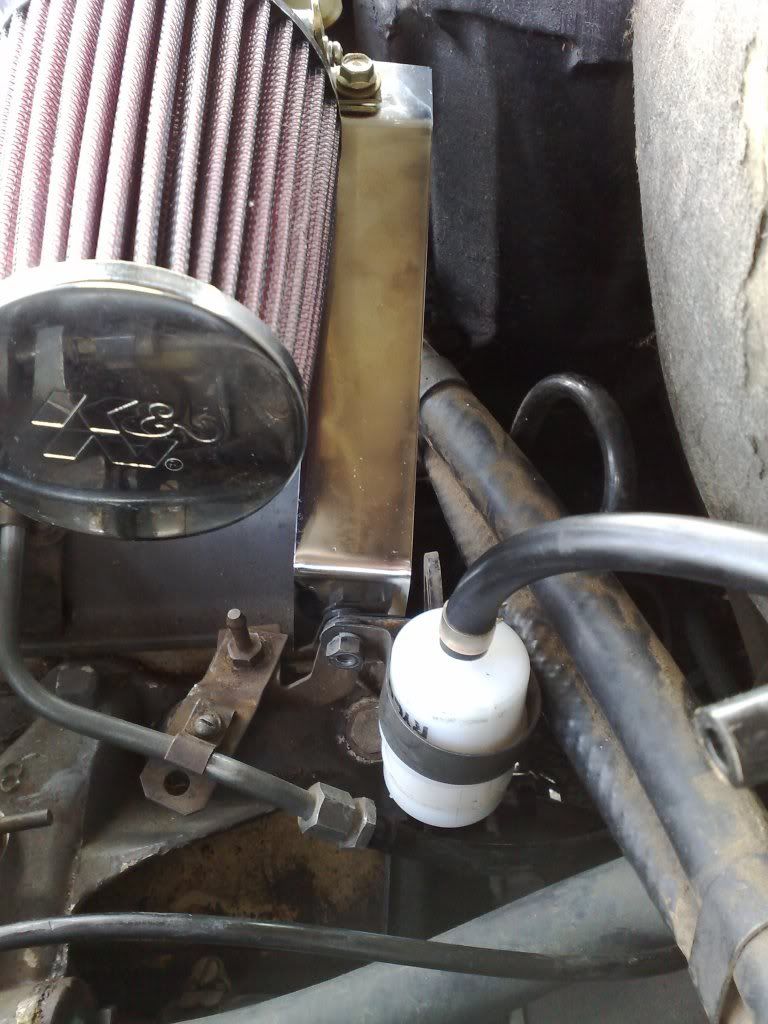
What about if I make a bracket that goes from the inlet manifold to the elbow. That way, when the engine rocks or moves, the elbow moves in sync.

220120118366.jpg


So I need to go from here, down to the inlet manifold

220120118369.jpg


In the back of my mind, I already new what I would make the body of the bracket out of - part of an Ikea desk i bought years ago! I had to grab some Mazda parts that I had in storage a few days earlier and I grabbed two chromed flat pieces of metal as well that I had kept for a rainy day.

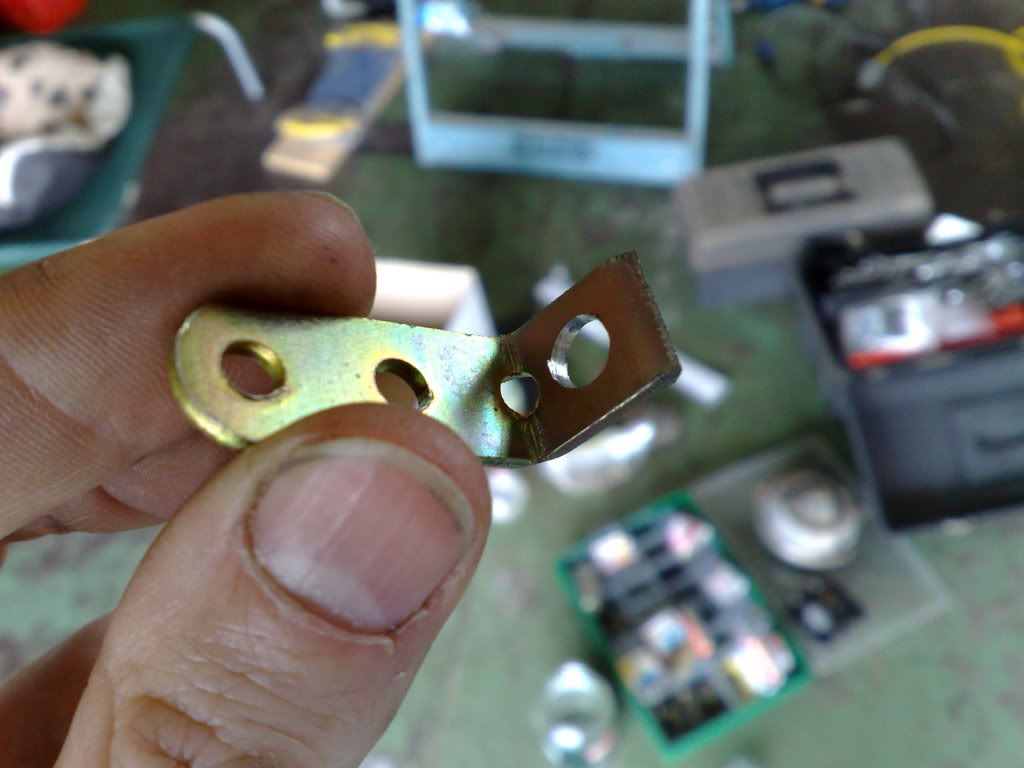
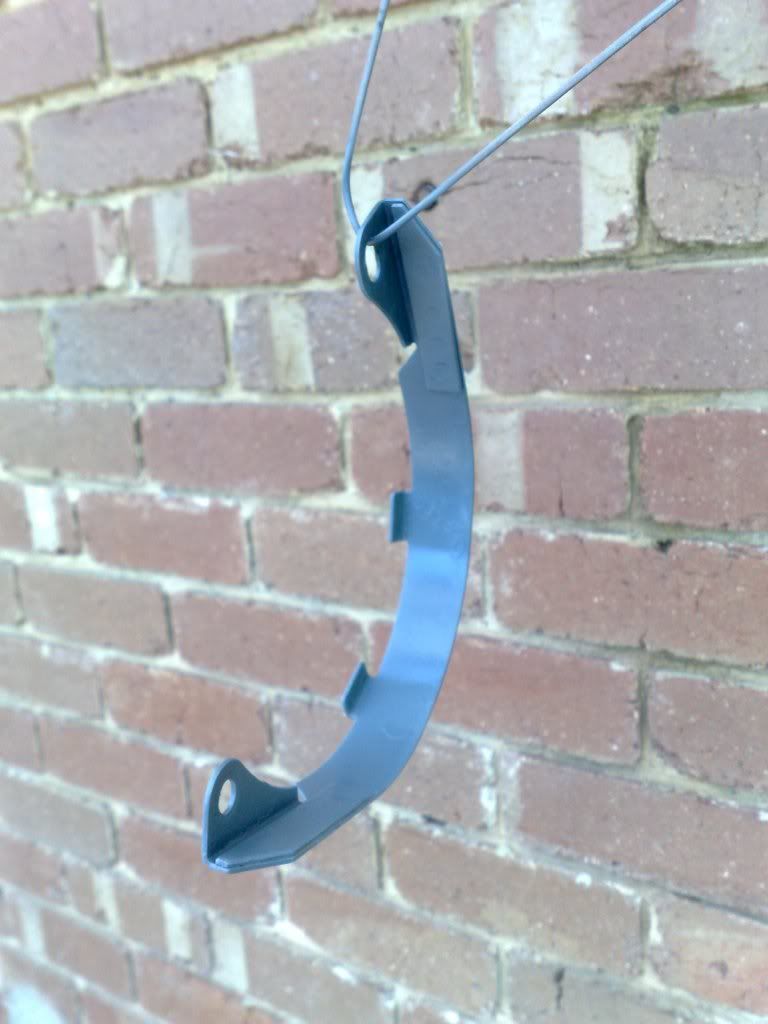
I also had some little brackets and bits that I bought as part of a useless "one size fits all" weber linkage kit. A bit of cutting and I had this little bracket to go onto the elbow

220120118373.jpg


I wish I had of taken some photos of shaping the bracket, but it was very easy. Measure with my eye, pop the metal into a wooden table horse, bend gently with my fingers while keeping the metal covered in paper so I didn't mark it, check it on the car, bend slightly more etc.

220120118375.jpg


basically I bent my metal bracket in a slight horizontal S shape. A friend of mine pointed out that I could strengthen it by putting ridges in it (ie much like the pattern you would see on a boot floor or on a radiator support panel of a new car), I might do that in the future. I used a bracket in the end because

a) I had all the bits already
b) I like making stuff
c) I didn't have to buy anything and my budget is a bit tight at the moment.
d) It was a pretty unobtrusive method and wasn't too tricky.
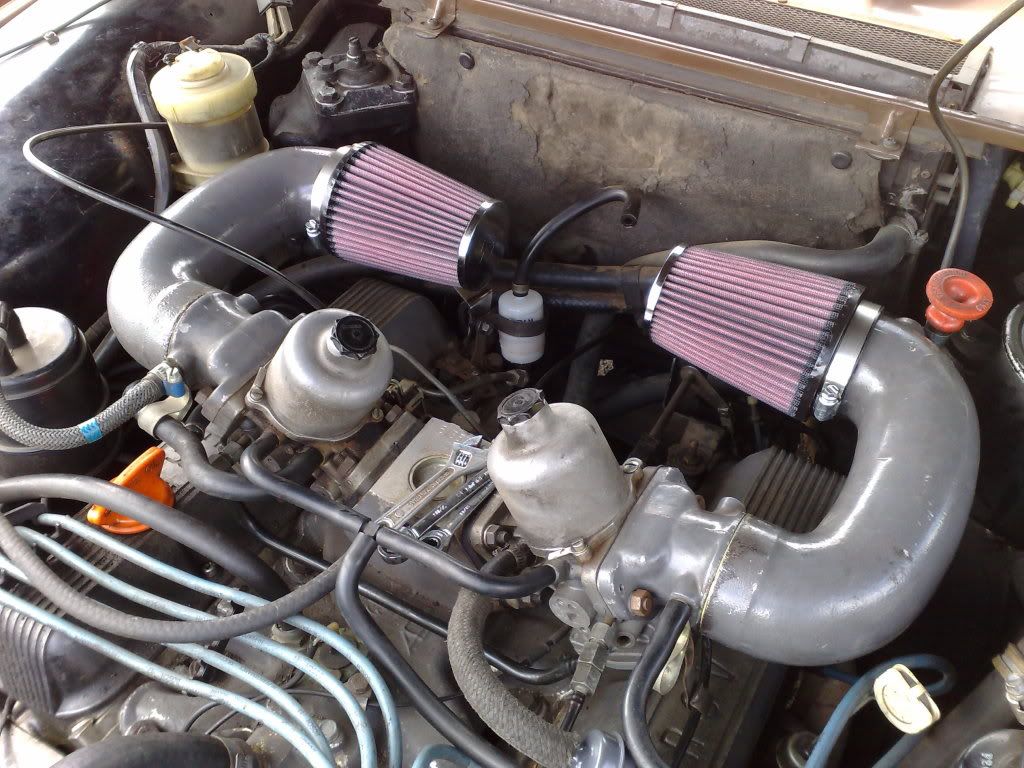
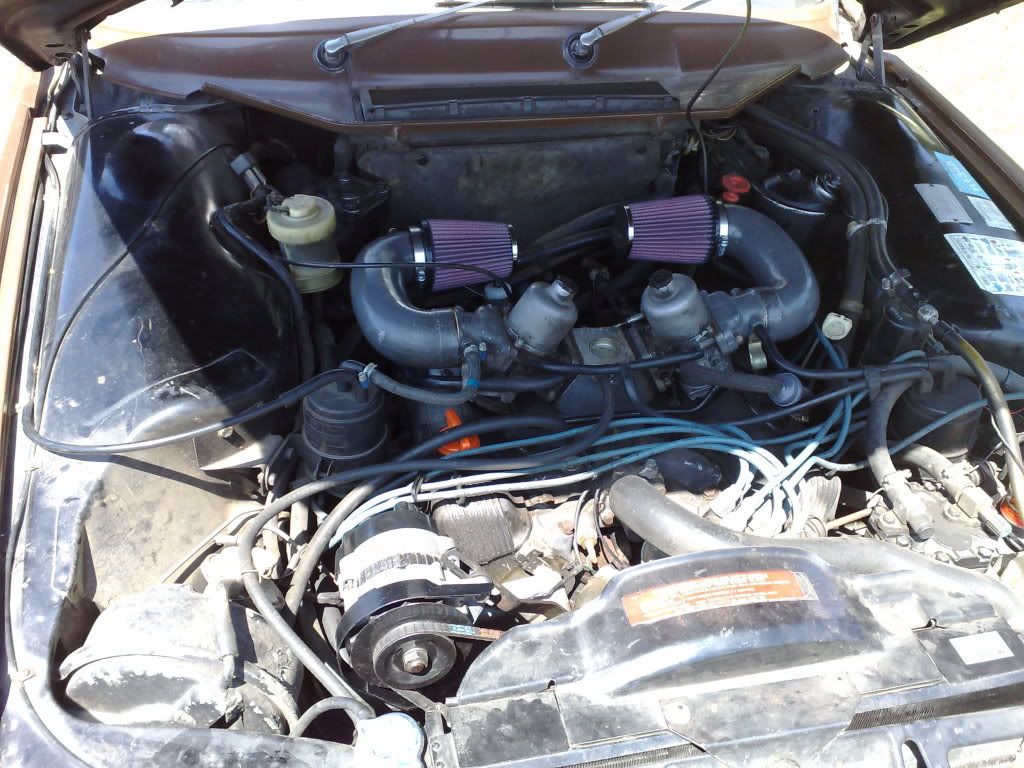
Result:

220120118382.jpg


220120118374.jpg


I used the same little screw and washer on both elbows, the one on the driver's side is a tiny bit loose, as though it won't screw all the way in, but it's past finger tight so that's fine with me.

Onto the next job.

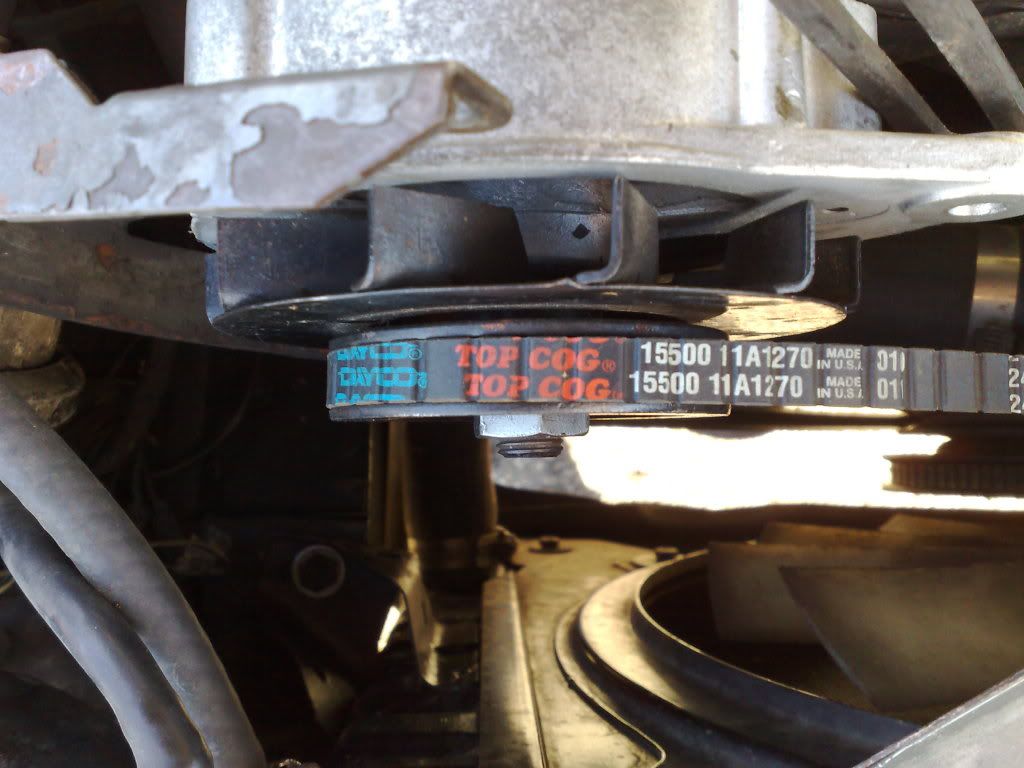
I gave the alternator cover a good wire brushing and a lick of primer:

220120118376.jpg


And bolted the alternator back in after I'd given the cover a few coats of black rocker cover "crackle" paint. I'm also pretty sure that the nut and washer that I was so annoyed at loosing aren't the original ones as the bolts all look mismatched. Nevermind...

220120118377.jpg


Final result:

220120118381.jpg


Very happy with how it turned out.

To do list:
- find noise and fix - wheel bearings/uni joints/mischevious gobblins stealing underpants with underpants gnomes
- tune the SU's
- fix linkage rod with grommets
- power steering filter change
- fit either polyurethane or rubber bushes to the tie rod/anti rock bar in the engine bay
- fix speedo/odometer
- keep cleaning/check with a detailer about the paint as it is foggy in a few spots
- follow up rostyle lead
- work out the HVAC controls!
- look into exhaust + exhaust tips
- dizzy options - i think there is horsepower hidden away in there.
- purchase and fit a small rocker cover K&N filter to go at the back of the engine. I took the hose off the engine air filter that goes from the air filter housing to the filter and put a longer one on that loops back and down towards the ground, but it's a bit messy looking. A little filter would tidy things up a bit.

slooooooowly getting there.


I also used some Mother's products to clean the interior door trims. Wow. All of the dirt and grime that came from people using the arm rest to close the door literally wiped away. Very pleased.

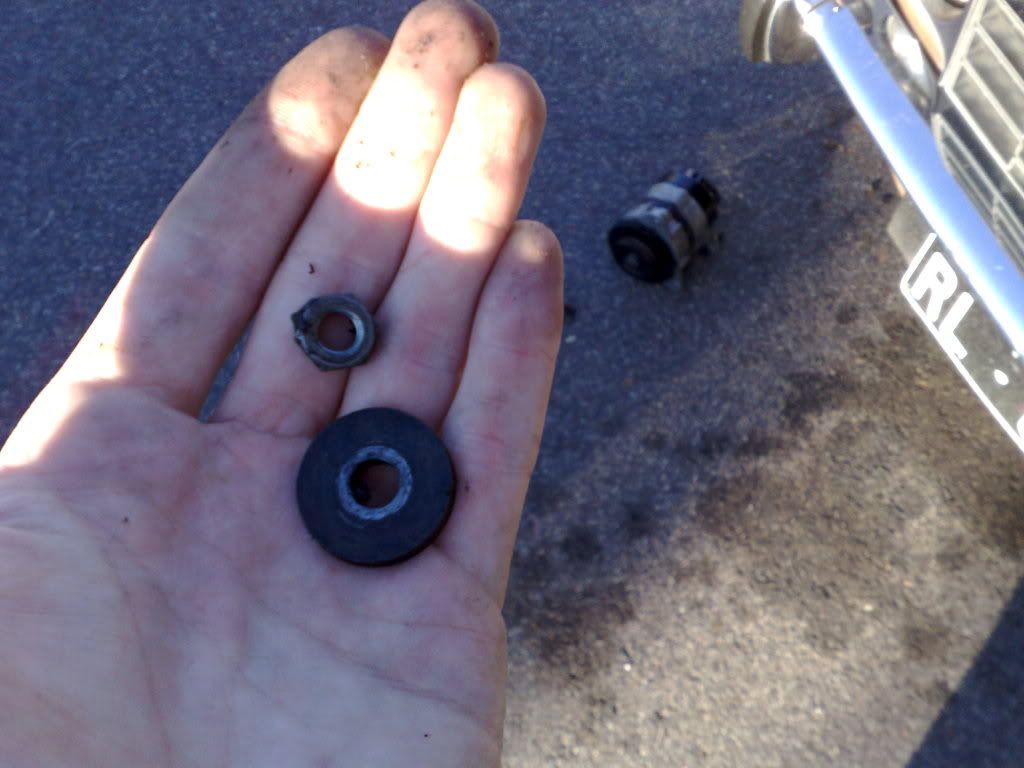
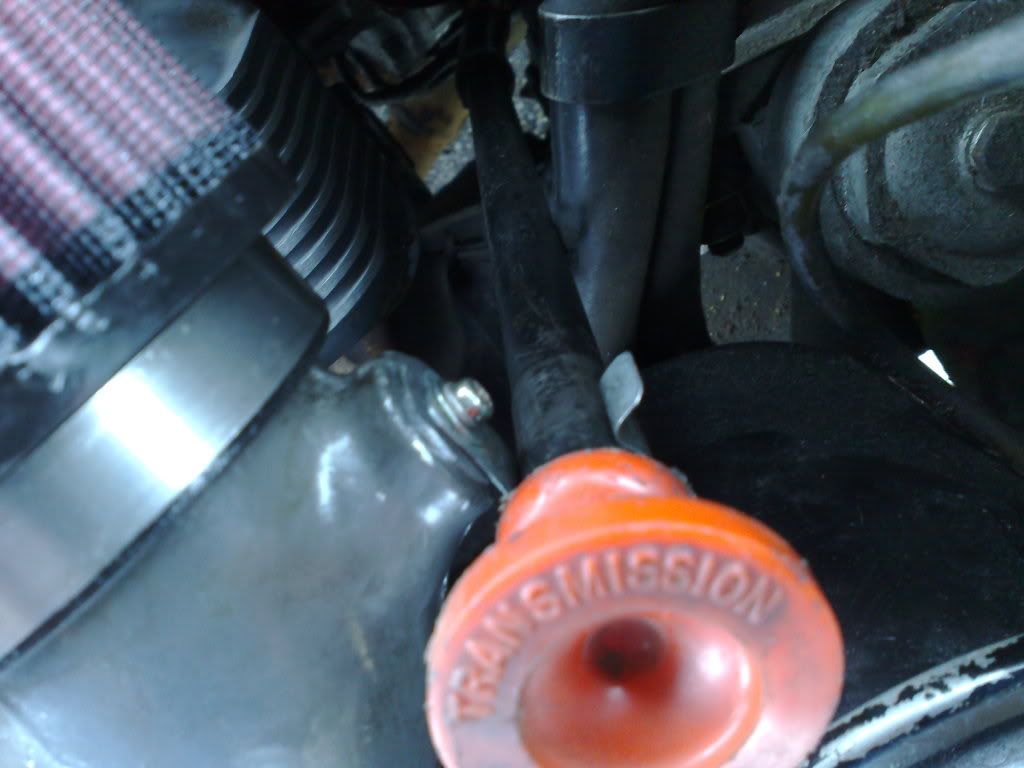
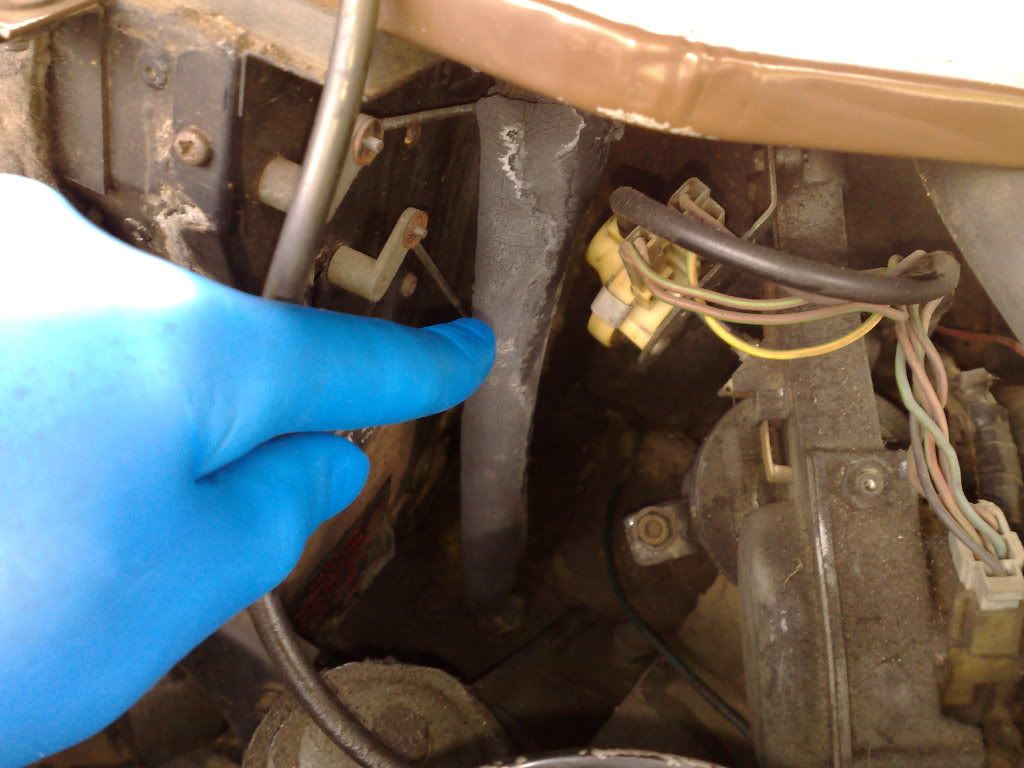
Also, my question for the day, what on earth is this tube/rubbery thing?

220120118364.jpg


I touched it and it literally started to crumble. It's on the passenger side near the big venty thing on the firewall.
 
Re: The inheiritance. 1978 P6B

da*n those underpants gnomes...

Nice work anyhow ;)

looks like one of the water drain pipes that go either side of the heater!
 
drain pipes to nowhere... man

I thought something like that, but it drains onto a metal ledge. Hmmmm. I need to have a flick through the workshop manual I think.

I forgot to add, a guy at work today thats into triumphs asked if I would be interested in a short block engine (ie no heads, maybe a manifold and carbs). I said sure, what's it out of, what's the price, what is it?
Turns out a friend of his spent a ton of money on machine work on a V8 for a Disco or similar, then saw this motor advertised with new performance heads, bought it for the heads, pulled them off and doesn't want the remains. Going for next to nothing, I think I'll snap it up and hopefully I can store it at work in one of the workshops

Or Al's house. :LOL:
 
Re: The inheiritance. 1978 P6B

ewokracing said:
I thought something like that, but it drains onto a metal ledge.

It does that because it's old and crumbling away. When in good condition it can be angled to direct water away from the metal ledge. I replaced both of them on my car a few months back. Easy job :D

You can just see them (arrowed) at the back of my engine bay

waterdrains.jpg


Good work on the filters btw.

Dave
 
drain hoses

Ah cool. cheers for the arrows!

I had`to look twice at the air filter box, I thought it said "ranga rover" - I'm a ranga of some scottish descent :LOL:
 
Re: drain pipes to nowhere... man

ewokracing said:
Or Al's house. :LOL:

Lol, I think I'm on sufference from the other half having the amount of car bits stored around that I do already! :)

You could always pretend it's the base for a coffee table and keep in in the middle of your lounge room.

Cheers,

Al
 
Re: The inheiritance. 1978 P6B

I stripped down a little Mazda 4 pot to do that once, then gave up when I realised I'd have to lug it upstairs to my new flat. :LOL:

The guy who was meant to come and tune the SU's hasn't showed up, annoyed because I was at a barbie at a mate's place and there were lots of car guys from another car forum that I'm on so it was interesting seeing other people's stuff. Ah well.
I think I'll end up going to the carb shop that is next to where I got the transmission rebuilt, plus it's near a tram stop so I can leave it there and get to work easily.

I've just ordered some power steering filters, I have a list of other things on my desk at work, I'll order that lot next.
 
smallish progress

Power steering filters have arrived, ordered 3. I'll pop a new one in next week.

Parts from Rimmer Bros have also arrived, I bought lots of things that I thought I might need in the years to come, like sump plug washers etc. I also bought a new pair of flame traps which I will put on tomorrow morning as I'm dropping the car off tomorrow to get the carburettors looked at.

At last some progress!
 
Shiny

Coming from a background in working on 70's Mazda rotaries, I'm actually enjoying getting the Rover up to scratch, simply because of the ease of being able to source most spare and replacement parts.

010220118525.jpg


With Mazdas. it's a hunt through old parts books, then trying to find that elusive tie rod end that was only in production for two years, only to find none available or only cheap and nasty Chinese brands that don't last.

Big thanks btw to Ron for giving me the part number for the power steering reservoir filter - I now have some spares:

010220118529-1.jpg


When I get the car back from the carburettor shop, I'll be changing mine over and putting in some fresh fluid.

Other bits and pieces:

010220118528.jpg


These are already on, the old ones got piffed straight in the bin as they were so clogged up with gunk and oil:

030220118548.jpg


Ian's bits are on their way. The bolt for my Kawasaki has also turned up from Japan, if I get the bike back either today or on Monday, then I can take the Rover off the road earlier and get to work on the Speedometer/Odometer problems (and the clock not working) and try and find the grinding noise even sooner. :)

While the car is up on stands, I'm also going to try out a thingamabobwhoseywhatits that I bought over a year ago and have never got to try yet:

http://www.jegs.com/i/Percy%26%23039%3B ... 1/10002/-1
760-01201.jpg


I also found out something unusual during the week - apparently Rover p6's and AC Cobras share the same front brake pads.
 
Re: The inheiritance. 1978 P6B

I think you might do well to buy a copy of the factory spares manual. Apart grom the obvious assistance with part nos, it also provides exploded diagrams of how everything goes together. Log in to Ebay UK and you should find both new and used copies.

Chris
 
Re: The inheiritance. 1978 P6B

That Wheelrite looks ace, perfect for testing various wheel / tyre combinations without having to actually fit them, will be interesting to see how well it simulates problems in the D post area.
 
tools

the other really useful tool I bought was a set of wheel pcd measuring "sticks". I keep one for mazda's 4x110 and rover's 5x127 with me when I go to swapmeets. It's great.
 
parts

You know that feeling when the light bulb clicks? the "ah haaa" moment?

Well this arrived yesterday:

090220118569.jpg


Big Up to Ian from Rover Classics.

090220118570.jpg


090220118571.jpg


Wheel bearings, the bushes/grommets/couplings that I need for the transmission kickdown linkage, a new key and a stack of heater hoses

When I was going through my grandfather's workroom, in amongst all of the parts and boxes of bits, I found a metal sleeve. At first I threw it out, then I thought, "Pa would have kept this for a reason", so I went back and grabbed it out of the bin.

As soon as I started pulling new shiny bits out of their boxes, my mind clicked. What I'd initially thrown away was an old collapsable spacer.

090220118575.jpg


If you look at where the knife edge points to on the old spacer, you can see the slight indentation

090220118578.jpg


So this means at some stage in the car's life, new rear wheel bearings have been fitted. Excellent.

090220118573.jpg


Here's a close up of the old one. I'm pretty sure there was only one lying about, anyway it's interesting to see how it has worn.

Carburettor shop has also literally just rung, car's finished from having the carb's rebuilt and tuned for the K&N's so I'll be picking it up tomorrow morning.
 
Re: The inheiritance. 1978 P6B

Q: re: "new key", were you able to supply the key number of your old key or did you supply a pattern to be cut? Curious as I need a spare set for mine....

GW
 
Re: The inheiritance. 1978 P6B

Ian has blank keys, I'll get the blank cut to match an existing key I have already. :)
 
SU's

Picked up the car today from the carb shop.

They've fitted BBZ needles (which I understand are bigger than BAK's? I don't know the size sequence and my tired googling efforts turned up squat). Car runs much better as apparently they weren't balanced, with the kickdown linkage grommet/couplings that have arrived, I can sort that out this weekend and fit one of the power steering filters as well.

Took the car out for a bit of a test drive, it pulls away nicely, as a induction boom with the K&N's to let you when that motor is working hard. I floored it in third and it kicked down to second, tacho spun up to about 3,500 rpm, I doubt the engine has done that many rpm's in years :LOL: Sounded terrific though.

I know I keep mentioning the metal on metal noise, but I keep worrying about it. The carby guy recommended a few guys and left me the number of a guy that's close by. I might pick his brain and see what he thinks. I was listening today while I was cruising along and now I'm not so sure that it's wheel bearing. Hmmmm.

Had a bit of a play with the air con unit as well as it was really humid this afternoon so the window fogged up quickly. I think I've worked out how to use the controls. :)
 
Re: SU's

ewokracing said:
Picked up the car today from the carb shop.

They've fitted BBZ needles (which I understand are bigger than BAK's? I don't know the size sequence and my tired googling efforts turned up squat). Car runs much better as apparently they weren't balanced, with the kickdown linkage grommet/couplings that have arrived, I can sort that out this weekend and fit one of the power steering filters as well.

Nice one. Great to feel that V8 come alive, ain't it? :)

If you're not Googled out on SU needles, try >here< & click Automotive for (amongst other car-related stuff) a nice little graphical app on SU needles.

Cheers,
 
Back
Top