1970 Rover 3500 - EMF

Looking very good! Makes my work around the passenger splash panel look poor!

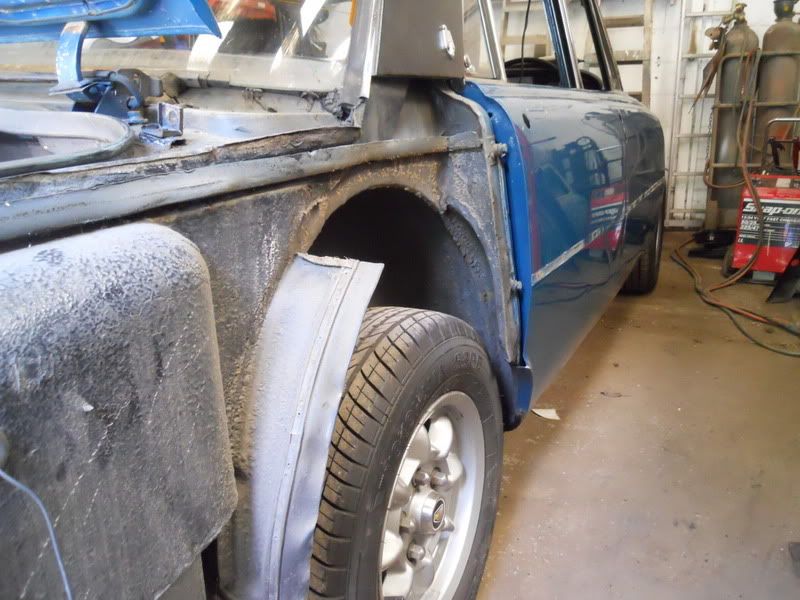
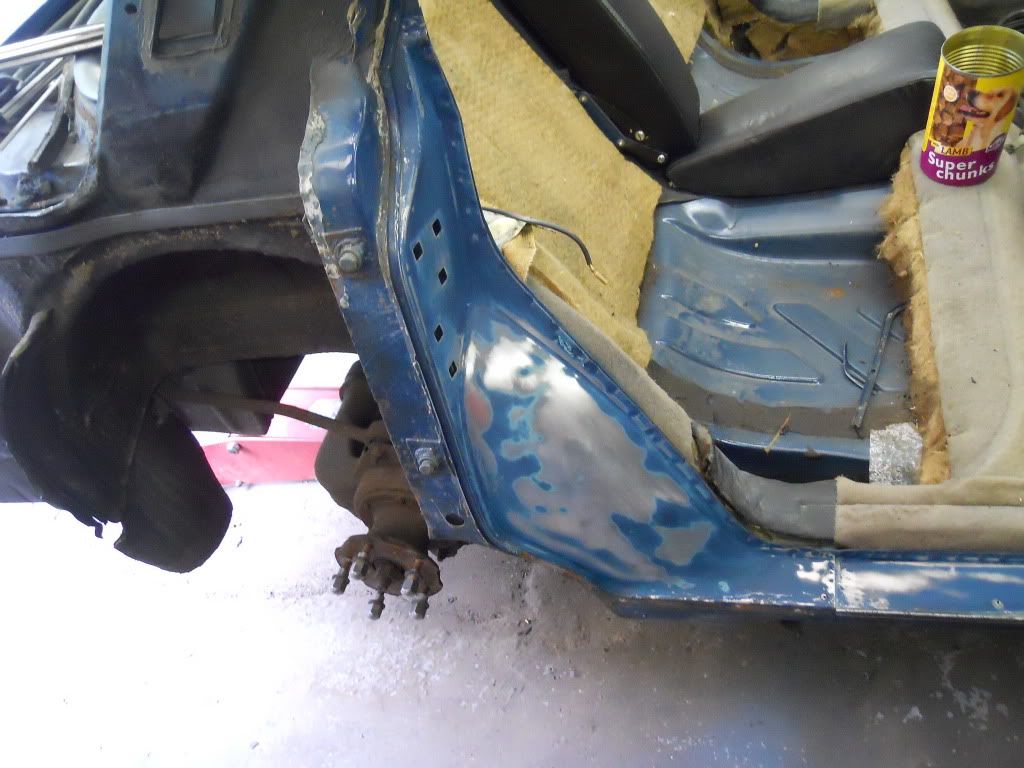
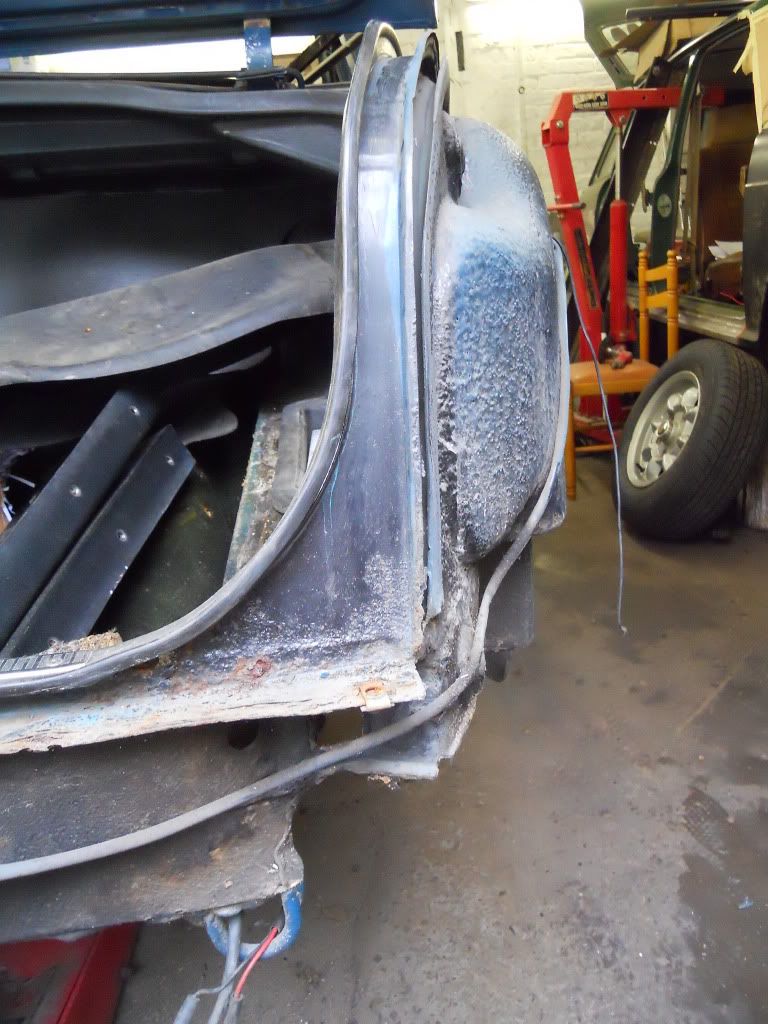
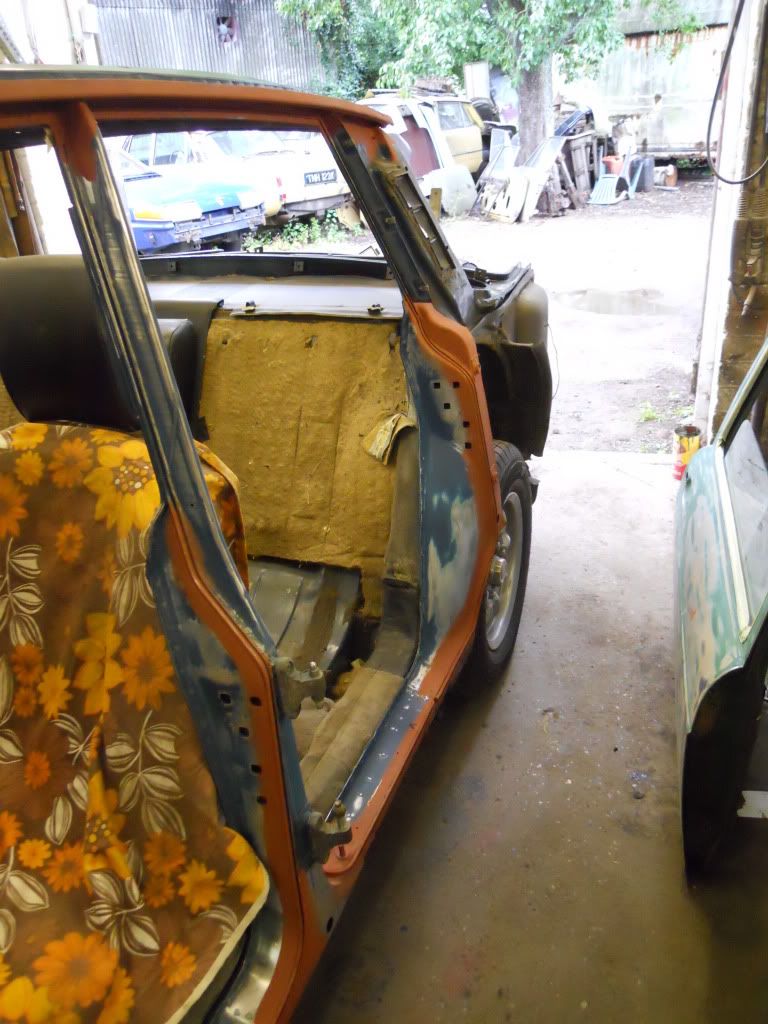
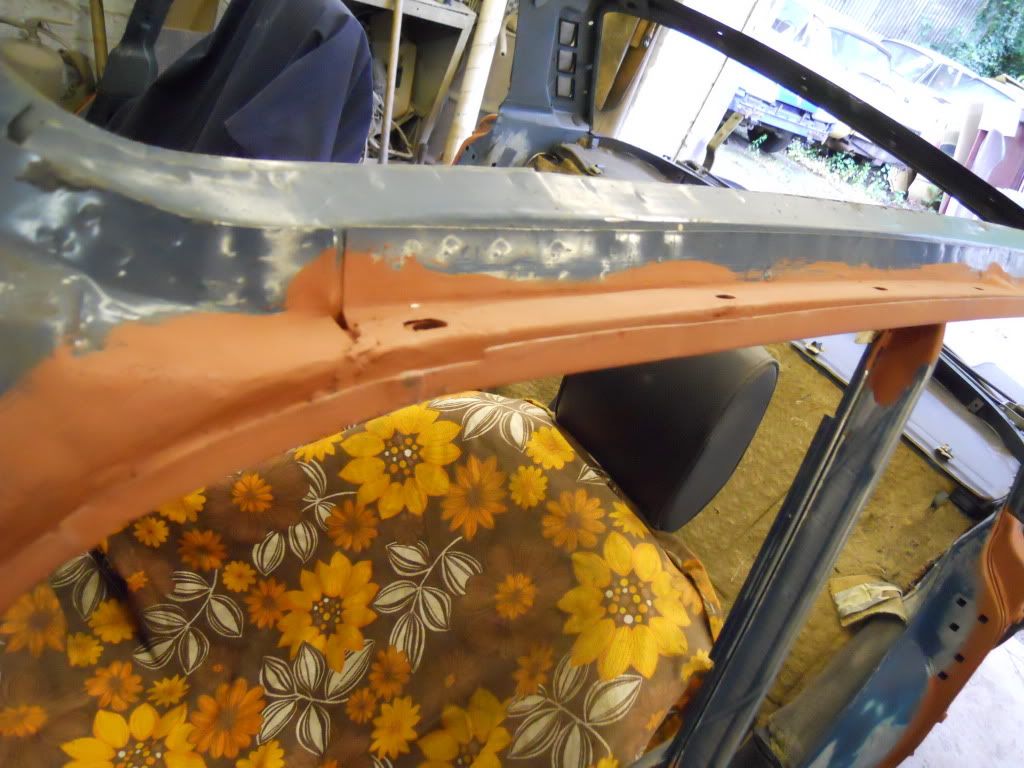
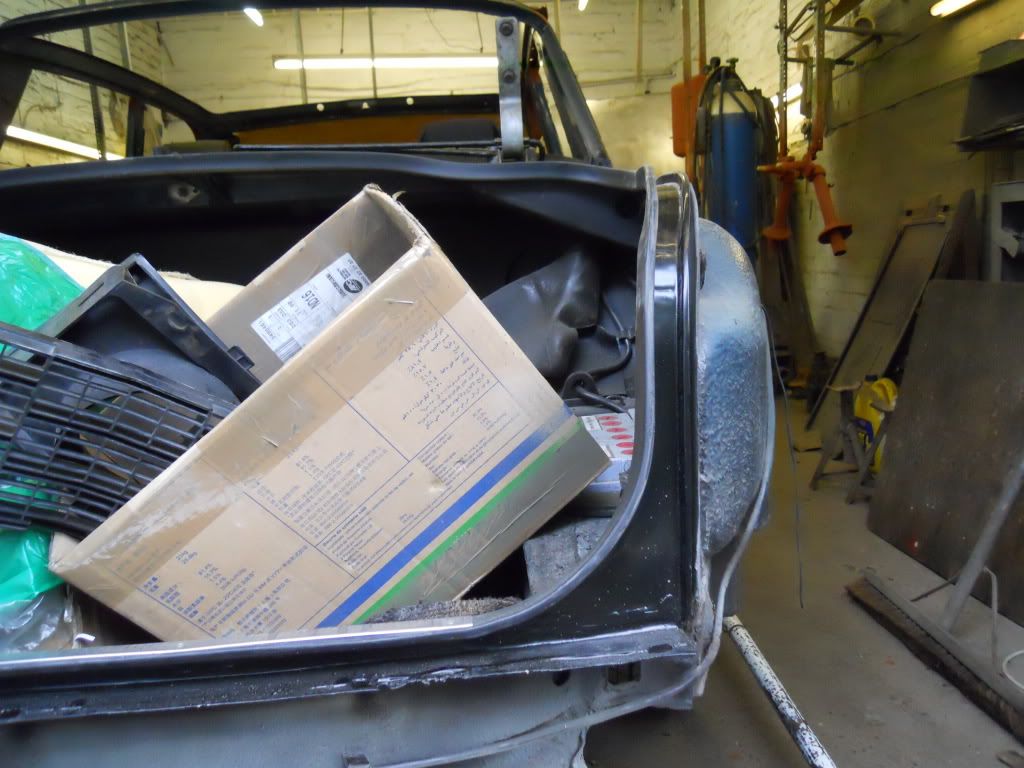
Your description of the sills match PAE's pretty well. I've cut away some sections to take a look and i think that whilst it is a bodge it's not *too* bad yet, so I'm going to patch up for now and do it a bit at a time.

The wheel caps look like 80s rover items to me? Maybe just they look so brand new that is the problem. A little bit of aging and they might not stand out quite so much?

Rich.
 
rockdemon said:
The wheel caps look like 80s rover items to me? Maybe just they look so brand new that is the problem. A little bit of aging and they might not stand out quite so much?

Rich.

I know what you mean, they're not quite what I expected, but of the ones available at the time they are the closest to the bonnet badge. The silver ring stands out too much at the moment though - still, they're better than the ones that were on there before (ie none)!

I tried really hard with the splash panel repair because you can see it through the wheelarch, whereas for the end of the sill underneath I carried on the tradition of bodging it for the MOT and put the cover back on. That means next winters project has already been decided for me, drivers side sill replacement.
 
That means next winters project has already been decided for me, drivers side sill replacement.

Similarly here... although that assumes that underneath the covers it's as bad as you think... I think given how much you've got done in such a short time you'll be significantly quicker than I've been on the passenger side anyhow!

Rich.
 
rockdemon said:
That means next winters project has already been decided for me, drivers side sill replacement.

Similarly here... although that assumes that underneath the covers it's as bad as you think... I think given how much you've got done in such a short time you'll be significantly quicker than I've been on the passenger side anyhow!

Rich.

I may have got a lot done Rich, but I feel uterly drained from it and I can't wait for these bank holidays so I can kick back in the sun and relax for a change.
 
I may have got a lot done Rich, but I feel uterly drained from it and I can't wait for these bank holidays so I can kick back in the sun and relax for a change.

Amen to that!
 
A quick note on the permanently illuminated ignition light. I check the AL wire (brown and yellow) on the back of the alternator and I've got 7V there and at the other end too.

Here's a shot of the 5pin relay that's been fitted at some point in place of the 3AW warning light control relay.

DSCN6529.jpg


85 is connected to the AL sensing wire (brown and yellow)
86 earth
30 earth
87a to the lamp wire (brown and black)
87 not connected.

In theory this should work as the voltage applied to the relay coil by the sensing wire should disconect the warning lamp from the 87a pin but I guess it's at too low a voltage to run properly otherwise there would be no need for anyone to bother making a specific replacement 3AW relay - agree?

What doesn't make sense is why it's chosen now to make it's presence known as it's been like that for years.
 
testrider said:
In theory this should work as the voltage applied to the relay coil by the sensing wire should disconect the warning lamp from the 87a pin but I guess it's at too low a voltage to run properly otherwise there would be no need for anyone to bother making a specific replacement 3AW relay - agree?

Agree!

testrider said:
What doesn't make sense is why it's chosen now to make it's presence known as it's been like that for years.

Because it did...... :?

Can you hear (or feel) the relay operate when you start the car? With the engine running if you disconnect and reconnect the sensing wire from the relay can you hear it operate? If so at least that would eliminate that part of the circuit and you'd be down to the supply to the bulb. There's not a great deal to the ignition light circuit so maybe a constant supply to the bulb through a bad connection or a bad earth somewhere creating a parallel path through the bulb??? I'm not sure if the relay disconnects the earth or the supply to the bulb????

If you disconnect the relay completely, ie pull all of the connectors off, does the light stay off? If so, try reconnecting them one at a time until the light comes on and that might point to the problem area. It's also not unknown for 2 relays to be faulty!

Dave
 
There's a similar wheel centre badge available with the SD1 type skeletal Rover logo. I think that looks much more apprpriate and not out of place on a P6 at all.

Chris
 
Re: 1970 Rover 3500 - In pieces again!!!

Well I had a great weeks motoring after rebuilding EMF and getting the MOT - a nice run through the Peak District and a trip to the Malverns. But, exactly 7 days after getting it back on the road I dropped it off at Annables in Derby for him to start work on the paint.

That was a couple of weeks ago now and today I took a trip to Derby to see how it's going and pick up a few bits of trim for me to clean up. Obviously there's been a lot of bank holidays recently but as you can see from the pics the disassembly is well under way.

DSCN6547.jpg


DSCN6548.jpg


All the wings are off as are the valances and the doors are stripped out ready to be removed. At the back, the base unit seems to be in good nick, which I'm pleased about since I didn't get chance to look at it over winter. Clives going to repair a couple of small holes in the A pillars and undo some previous poor replacement of a section of cant rail where it catches on the door frame.

Whilst I was there today I saw Nick Dunning's old 2200SC and some of Sparky's panels waiting to be refitted so I can't wait to see how that's progressing.

I'll pop back in a couple of weeks to see how it's progressing, but I can't see it being ready for my birthday in 4 weeks time though. :(
 
I was down there on Tuesday, had a good look around EMF 8) but it was all in one piece then.

Looking very good though, I bet you can't wait to be driving around with him in his new clothes.

Clive is doing a brilliant job on Sparky's panels. I just have to collect the bonnet, a door, one wing and the sills.

Richard


PS Sparky's thread will be updated soon, I have been doing a few little bits :)
 
quattro said:
I was down there on Tuesday, had a good look around EMF 8) but it was all in one piece then.

Looking very good though, I bet you can't wait to be driving around with him in his new clothes.

Clive is doing a brilliant job on Sparky's panels. I just have to collect the bonnet, a door, one wing and the sills.

Richard


PS Sparky's thread will be updated soon, I have been doing a few little bits :)

I might actually bump into you one of these days. I was going to go on Tuesday too, but couldn't make it so went on Friday instead.

I've always been very happy with EMF, but the way the paint has deteriorated over the last couple of years has been dissapointing so I'm really looking forward to seeing it all shiney again especially having seen bits of your car finished off and Brians 3500S yesterday.
 
Especially for Richard Webmaster a riveting episode about rubber panel gap seals between the wings and doors. There are 6 on the car and they're attached to an aluminium spare held in place by rivets.

It is possible to buy them as new old stock, but as the spars are in good nick on mine I chose to just buy the rubber bits for a quarter of the price.

Here we go with the first one plus a selection of tools and tea.

DSCN6610.jpg


The rubber section is held on to the spar by staples which need to be removed.

DSCN6611.jpg


With all the staples removed you can separate the two parts. Throw the old rubber away and clean up the spar. There are quite few sharp edges which could snag the new rubber or scratch the paint off when refitted. Here's the spar with the old and new rubber.

DSCN6612.jpg


I used some 1mm stainless steel wire to make new staples and luckily I found out that my pliers were exactly the correct width for the staple holes.

DSCN6613.jpg


DSCN6614.jpg


The spar sits in a slot in the rubber section and you need to push the staples through one layer of rubber, find the holes in the spar and the push through the second layer of rubber.

DSCN6615.jpg


Then bend the ends over to tighten them up

DSCN6616.jpg


Remember to push them through from the inside for a neat finish.

DSCN6617.jpg


One down, five more to go.

On a more exciting front, I rang Annables today for an update on the painting. It's completely stripped now and most of the panels are back to bare metal too. Unfortunately for my wallet the roof panel needs to be removed too as one section of cant rail is past it's best and needs to be replaced to bring it upto the Clive Annable standard. I'll try to find time to nip over next week to see it up close and take some photos.
 
Very nice :) I wish I'd thought of that.

I got the front and rear ones, but just put the old centre ones back on.

Where did you get the rubber from?

Good news about the progress with the respray

Richard
 
Excellent write up, and a good idea with the stainless wire.

I remember when we were building my first convertible, these seals disappeared very early on in the "we don't need these" stripping, and we never refitted any. Mind you a bit of wind through the panel gaps was the least of your worries in that car :LOL:
 
I don't think those seals do much to keep the draught out, but they do finish the car off nicely and help disguise the large panel gaps between the doors and wings.

Quattro, the replacement rubber seals were from Ian at Rover Classics and were about a quarter of the price of the NOS seals on eBay.

Had a trip over to Derby yesterday to see how the respray is progressing - not a lot of spraying yet, but vast amounts of disassembly and prep work.

DSCN6626.jpg


DSCN6629.jpg


DSCN6625.jpg


The door shuts are all cleaned out ready for new sections seal channel to be welded in plus a repair to a small hole next to the drivers door check strap mount. Notice the roof panel now removed too!

DSCN6632.jpg


There's a small area of rust in the back corner of the panel that needs repairing along a section of guttering.

DSCN6630.jpg


Bottom area of the boot opening on the base unit will get a small repair before the panels go back on too.

Most of the panels have now been stripped with no major horror stories to mention other than some of them were Almond and the decker used to be red. The reason for flakey paint on the rear wings was because whoever painted them didn't flat the primer so the top coat didn't stick!

More to report soon when I get cracking on the brightwork ready for the refit.
 
Excellent work there Paul and you have given me plenty of inspiration for my P6 resto, I just have one question for you. what did you end up using to replace the foam strip underneath the base of the front windscreen? just curious as my one is in bits and I am looking for an alternative material. keep up the good work and I can't wait to see the finished article.

Regards, Stephen.
 
Hi Stephen, the foam strip was draught excluder frm B&Q! They only had brown or white so I bought brown and sprayed it black with the same paint I used for the engine bay after I stuck it on.

You need the thickest stuff they do - it's about 10mm square in cross section from memory.
 
Right then, update time! Yay!

I found a couple of hours spare on Wednesday afternoon to take a trip to Derby to see how Clive was getting on painting my car. Rather exitingly he'd got a sample of paint for me to check and agree on - it looks just like before, but without the peeling, fading and waterspots - excellent, I'll have 5litres of that then.

Work's been progressing on repairing sections of the base unit - both A pillars have sectiosn welded in, new strips of seal channel have been fited around the door appertures and the corresponding holes beneath them sorted.

Here are some pictures of it so far.

DSCN6857.jpg


DSCN6860.jpg


Also there was a fairly substanial section of cant rail replaced above the N/S front door.

DSCN6859.jpg


The roof was originally removed to repair the back corners. You can't see the repairs, but here it is waiting for primer.

DSCN6862.jpg


Here's a couple of shots of doors with the holes welded up. You can see the wings in the background too.

DSCN6861.jpg


DSCN6863.jpg


And finally, the lower corner of the boot opening was a bit crusty as you can see here.

DSCN6630.jpg


Well, that's gone now and it's been covered with some satin black so it will look tidy when I open the boot.

DSCN6858.jpg


I'm guesstimating another 4 weeks until it's finished although I won't push him to rush it. I was cunning, or fortunate, enough to win the forum project MOT race by doing it before I took it to the paint shop so I can use it straightaway once it's done. I did have a few jobs to do to getting all looking perfect, but they'll have to wait until they start salting the roads now 'cos I ain't taking it off the road again this summer.
 
Wow I feel like swearing, Paul. He really does go to town when he does a paint job. This car is going to look fantastic, Im getting excited to see it finished. Did you know it needed some welding and other bits before you dropped it off to Clive ?
I'm really impressed by the way he strips it all right down, a "proper" job. Are you sleeping ok at night, because if that was my car I would be dreaming of getting it back on the road. Say again it's going to be superb.
 
I knew there were a few small repairs needed to the panels and that they were included in the fixed price, but I didn't realise how thorough he would go through the base unit aswell. The roof and the cant rail repairs are costing me extra, but I couldn't miss the opportunity to get them done right at this stage rather than in a few years' time when it would need the paint doing afterwards.

I'm spending a fairly large percentage of my years wages on this and it took me about 6 months to come to terms with how much I was going to spend, but it's excellent value for money.

I'm kind of past the excited sleepless nights thinking about it being finished now though because it's taking much longer than I thought. This may change when the colour starts to go on though.
 
Back
Top