vaultsman said:
harveyp6 said:
The hose is plastic and comes permanently fixed on to the fitting that goes on the reserve tap, and on to the metal hose that goes to the pump, so ideally a good used original item would be ideal because they never give problems until they get bodged, usually after being broken.
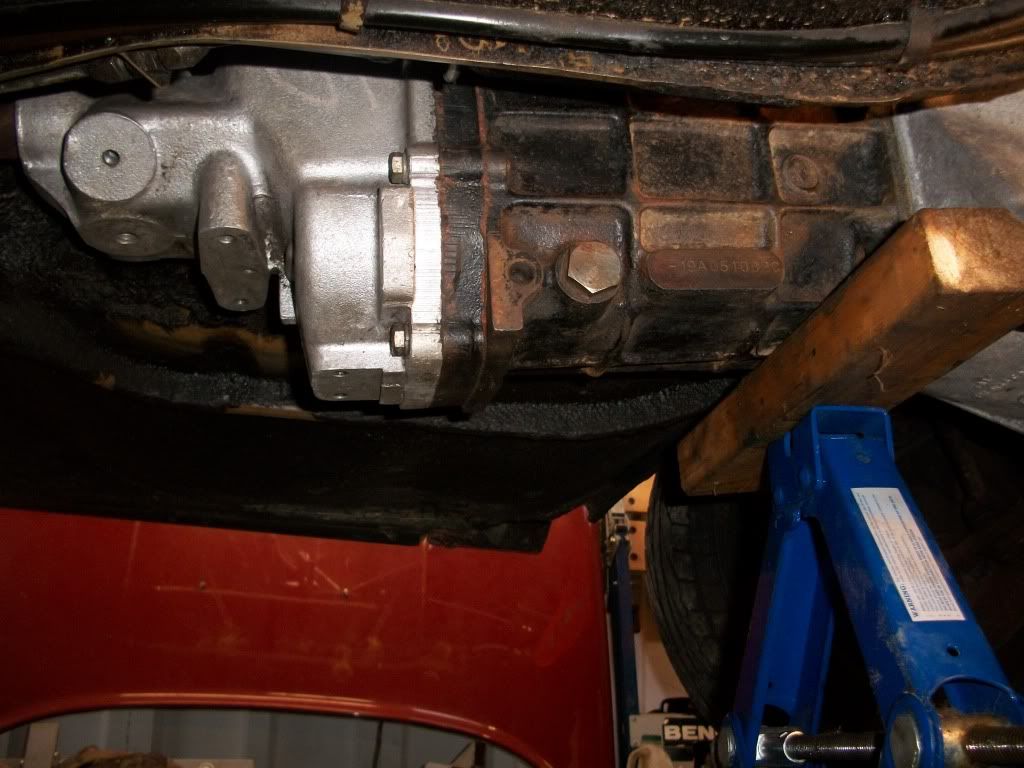
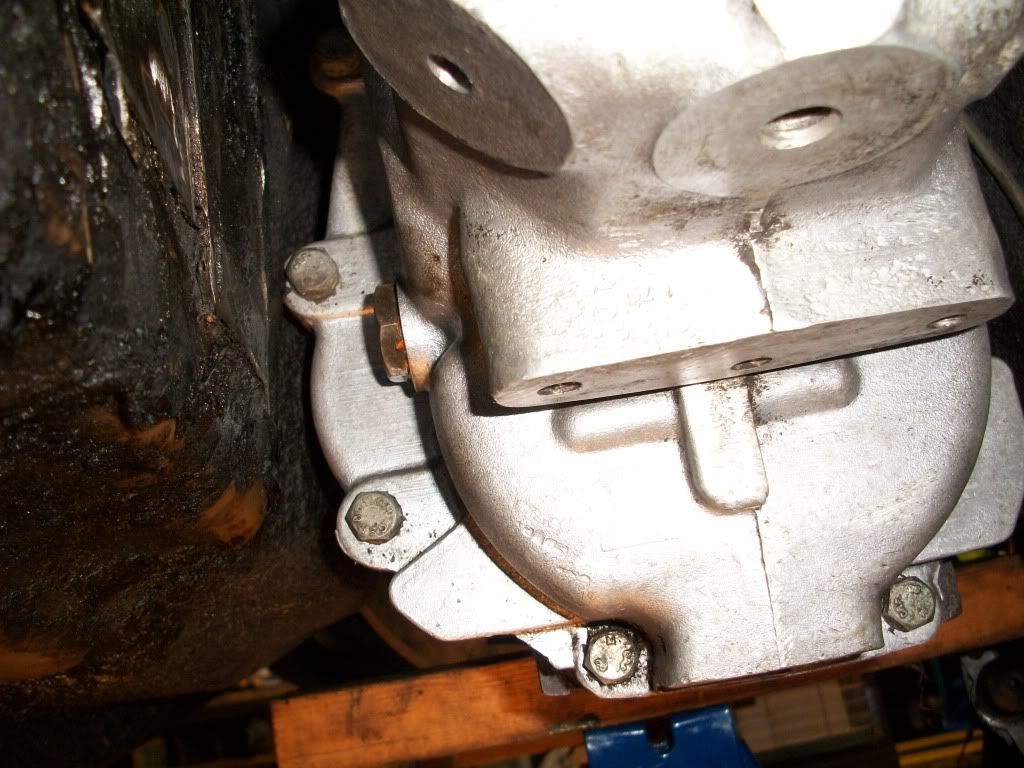
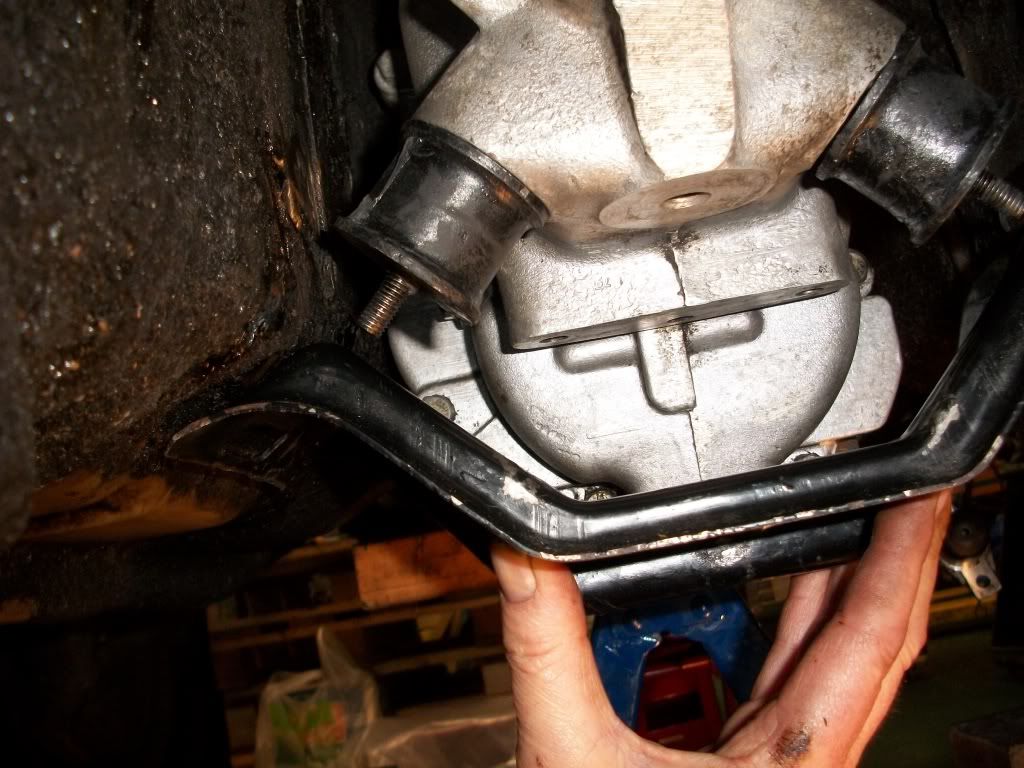
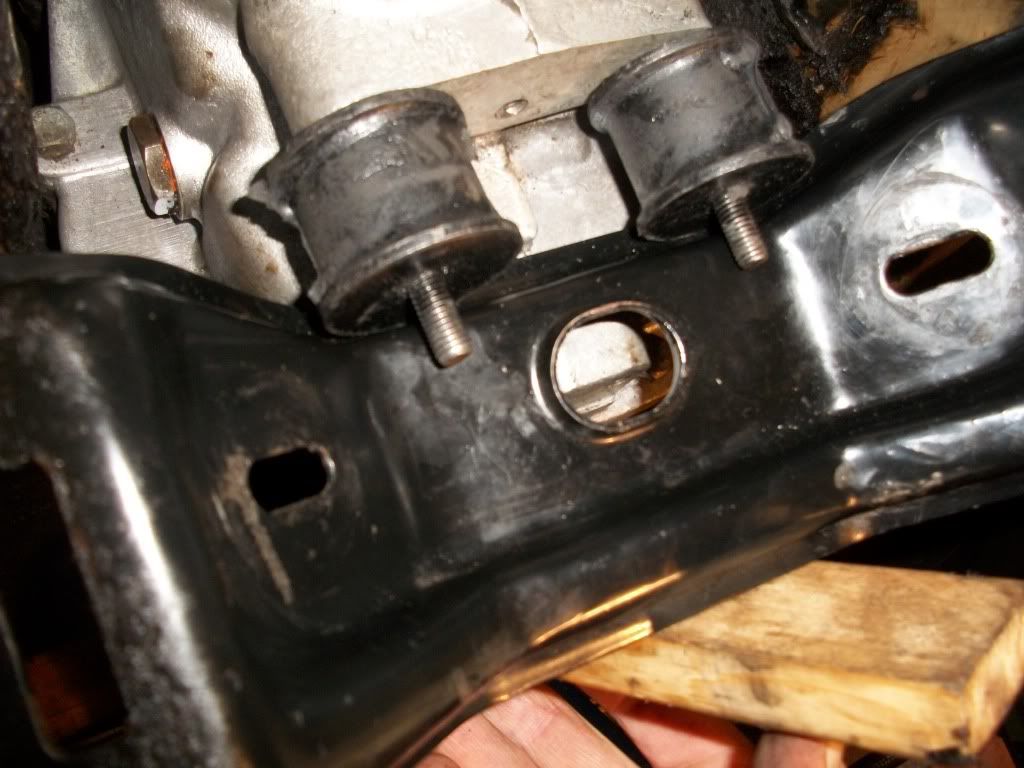
You shouldn't have any problems getting on to any of the bellhousing bolts.
Thanks Harvey. I'll see what Ian has at Rover Classics.
Cheers,
Exhausted all the usual avenues for a new or S/H hose c/w reserve tap fitting, nothing was forthcoming but Ian sent me a length of used nylon hose to try. With softening the end in boiling water the fitting can be eased/forced in, but I wasn't happy with it as the nylon didn't shrink back sufficiently to give a good grip. Rover must have had a wrinkle on this!
")
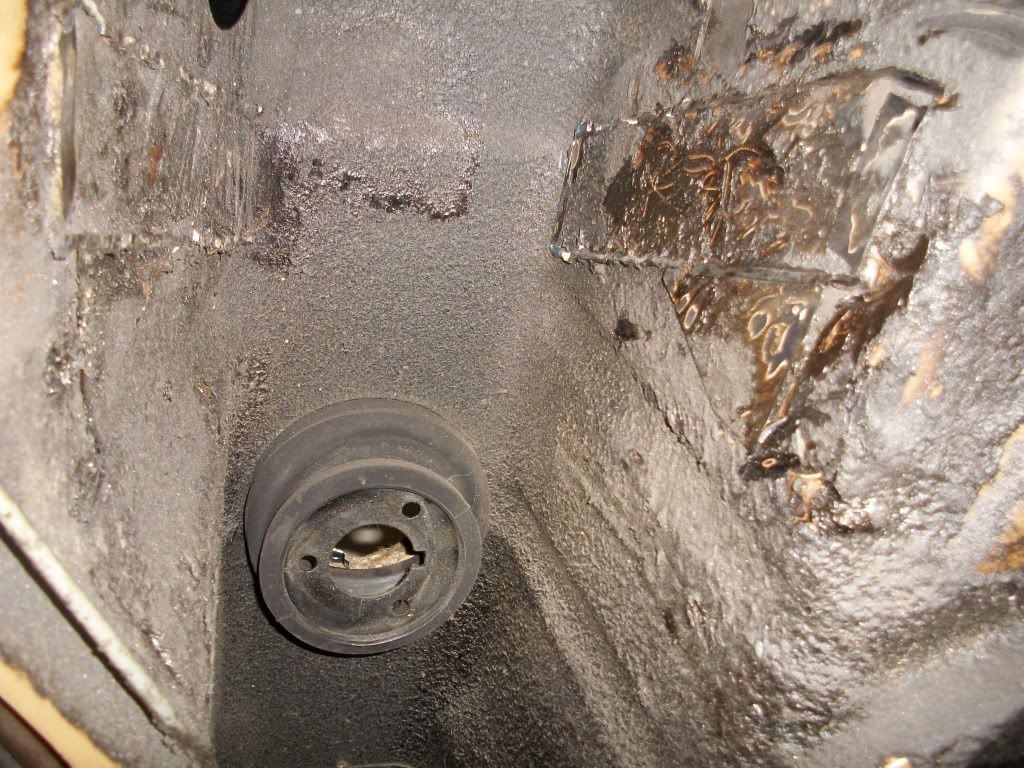
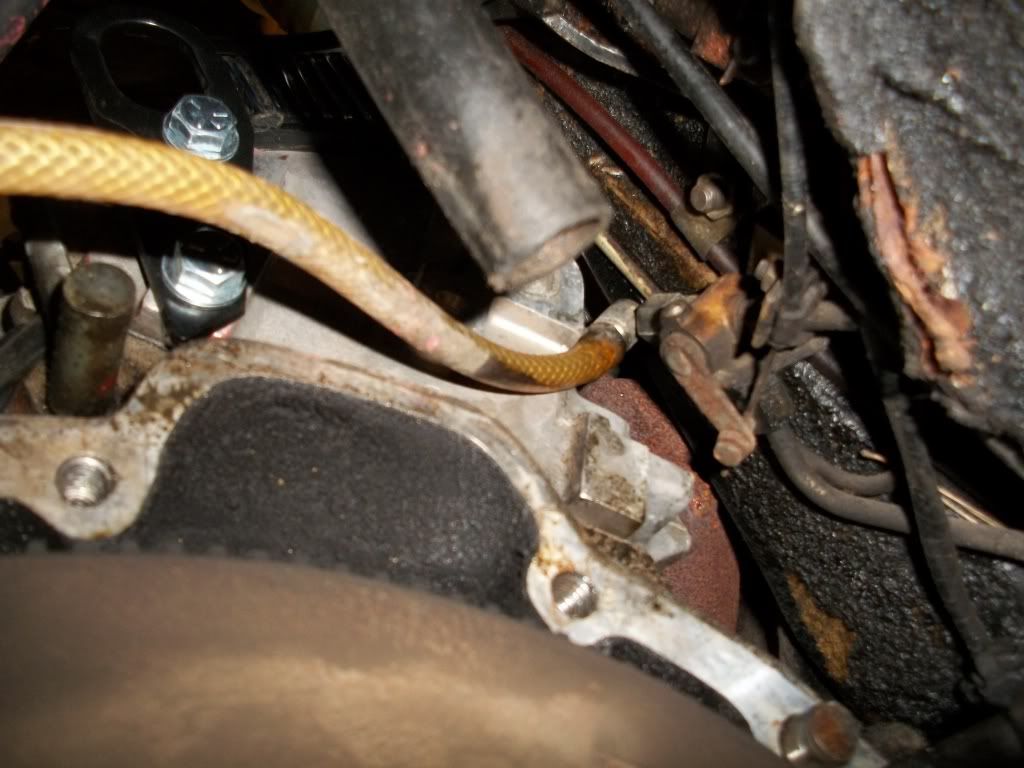
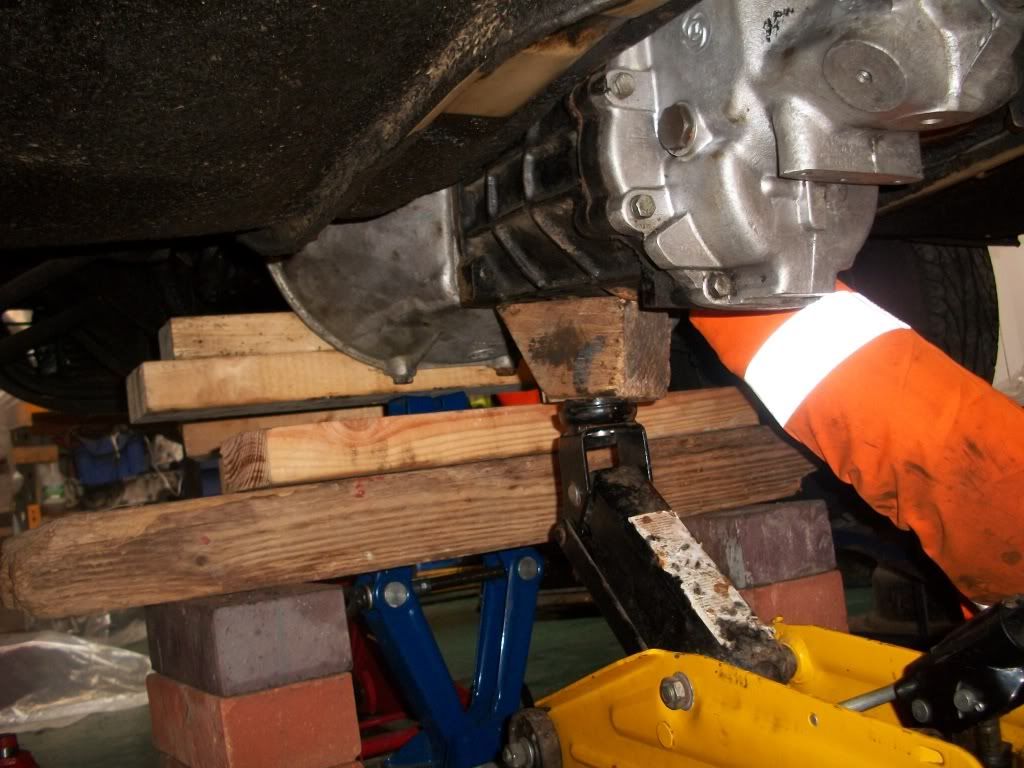
So I had to revert to 6mm rubber fuel hose and clips, with the engine jacked back up just enough to clear the reserve tap. So...on to the clutch at last.
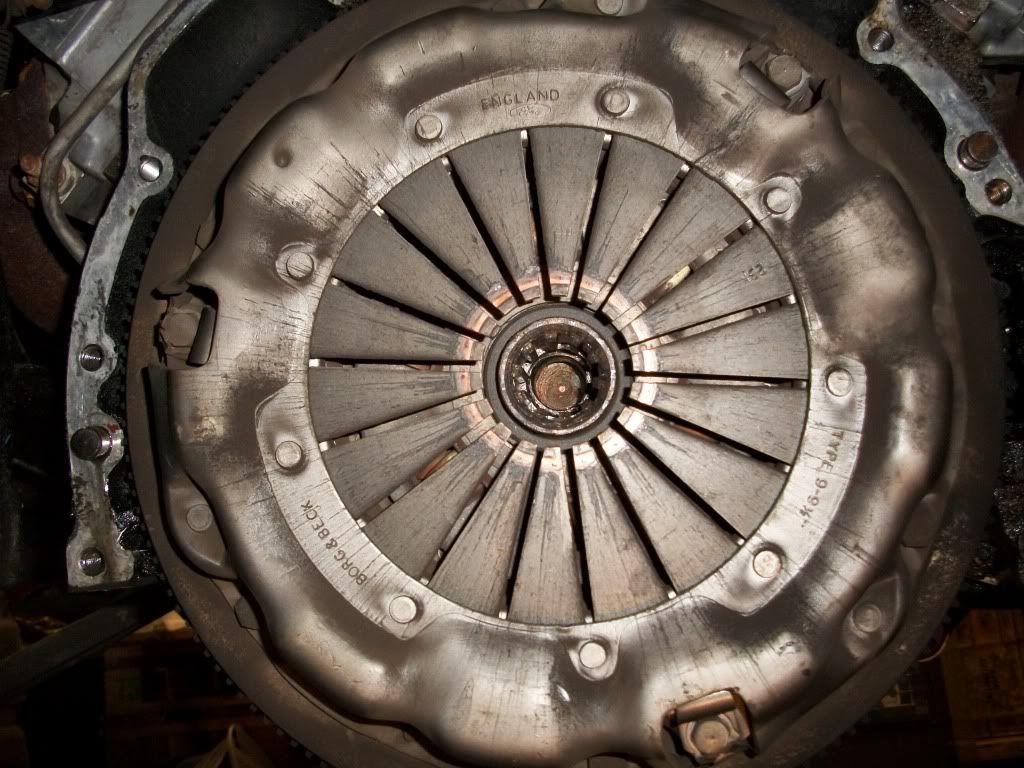
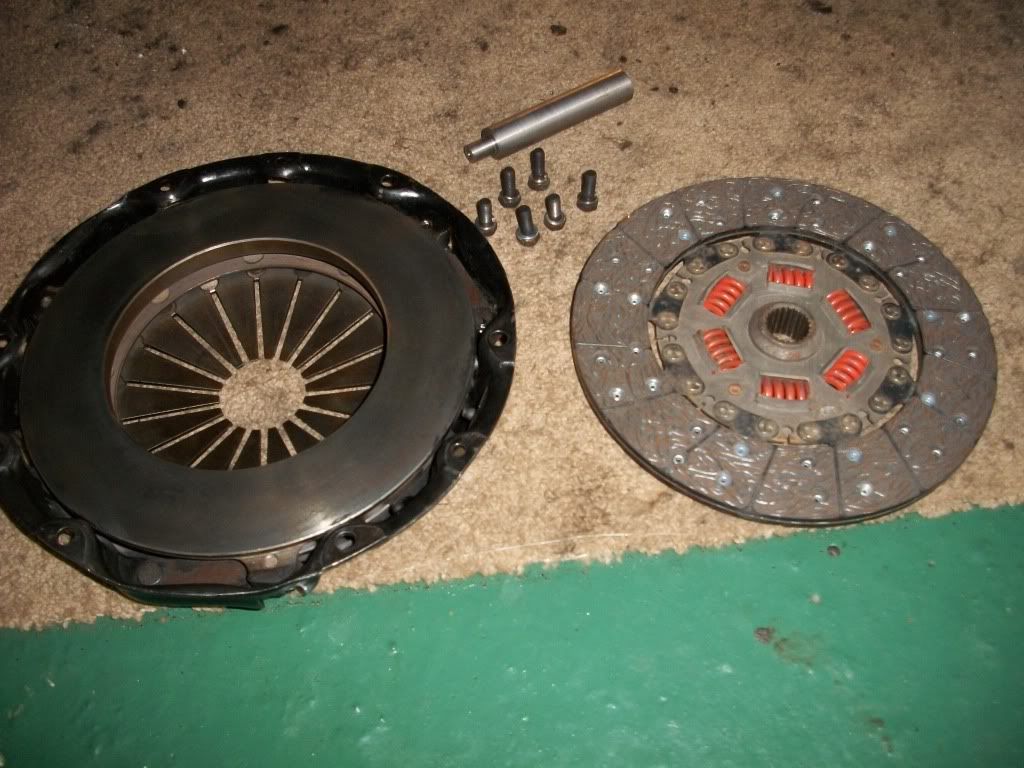
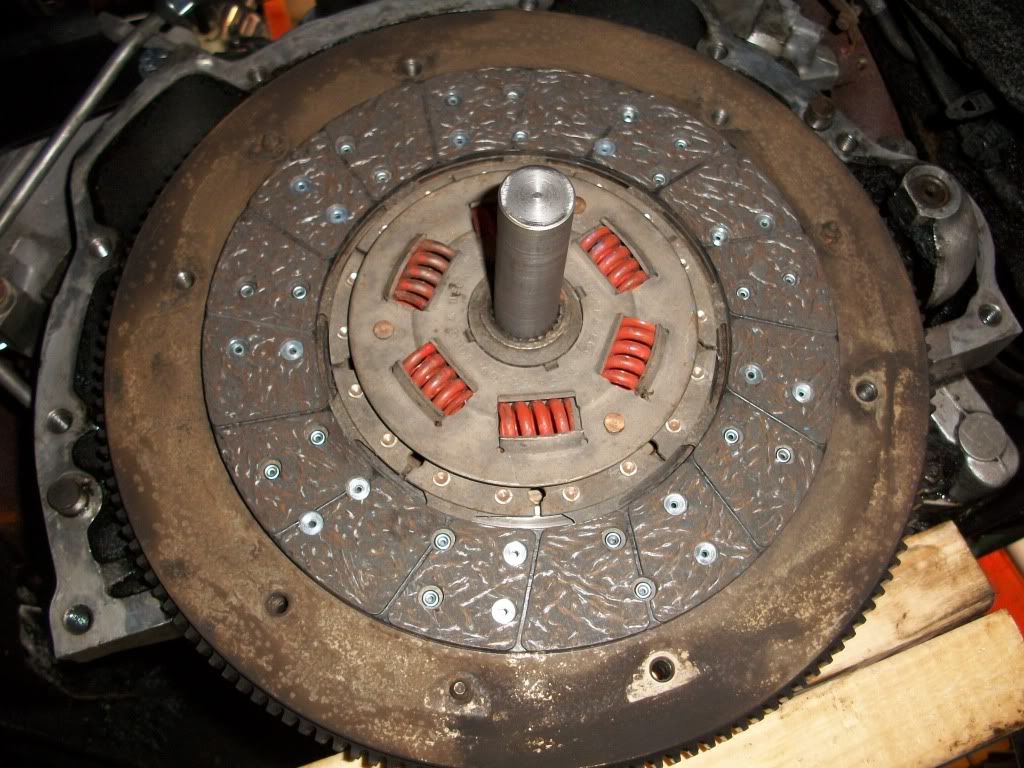
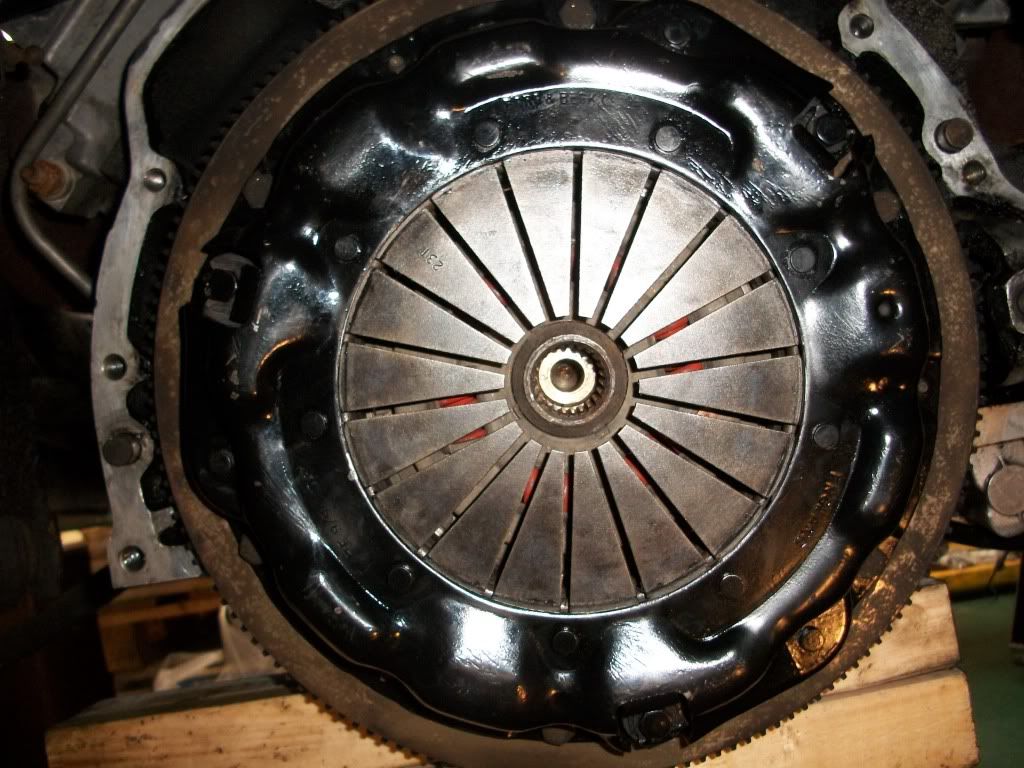
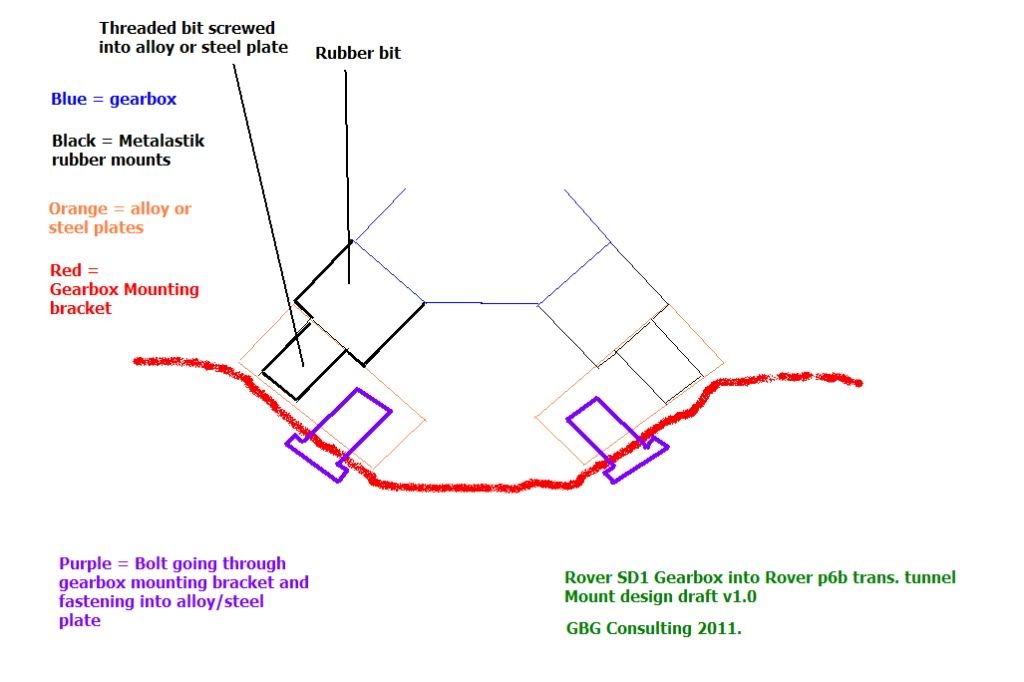
The LT77 input shaft has much finer pitch splines than the P6 box, hence the need for the SD1 driven plate to match. Harvey's advice was to go for the SD1 cover/pressure plate and slave as well, although it seems some people have re-used the P6 cover and the slave with a spacer. The SD1 3-part clutch kit and slave cylinder cost me £120 and I thought that was fair.
ASIDE: If anybody's after a P6 V8 clutch kit...there's one here with only about 4,000 miles on it!
PM me if interested
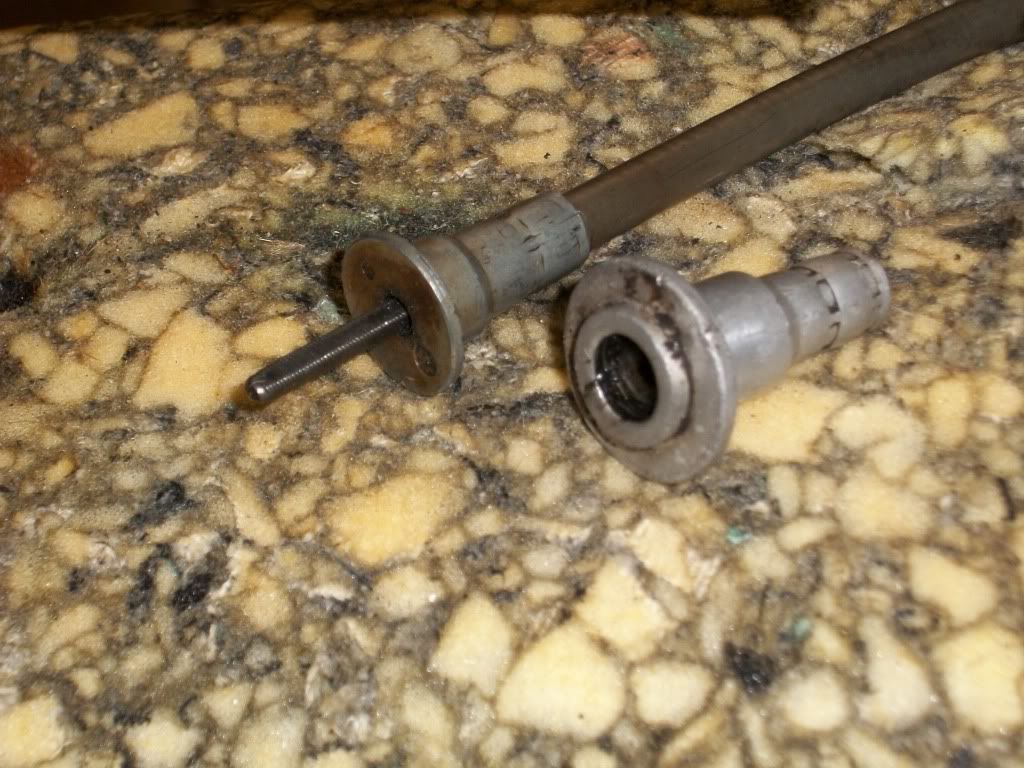
Clutch release components to fit. The SD1 slave cylinder has a metric inlet port thread, so I'll need to flare the fitting onto the P6 clutch hose.
Since getting the release fork, I've seen some posts around the net about the pivot post punching through the fork eventually. I know some people have strengthened the fork by welding the a strip of steel over the convex part, but I don't know how effective this would be. I suspect in standard form it'll probably see me out with the mileage/use I'll put on the car. Anyone have a view? Harvey?
Had a play around with the speedo cable. The P6 cable is long enough to get the extra few inches needed to mate with the LT77, just needs easing rearwards behind the RH glovebox. The P6 gearbox-end fitting though is different to the SD1 and can be drilled out to suit and a clamp made/modified to suit the smaller flange. Or use an SD1 fitting, which is what I'll do - having picked up an SD1 cable for a couple of quid.
Soon be time to flex my muscles and get the box in...hopefully Thursday. :roll: