

You are using an out of date browser. It may not display this or other websites correctly.
You should upgrade or use an alternative browser.
You should upgrade or use an alternative browser.
A 'gentle' rebuild of my 3500
- Thread starter Mikep
- Start date
Mikep
Active Member
Re: A gentle rebuild of my 3500
Thanks Dave.
The garage is actually the basement under my parents house! Last year we had an inspection pit dug to make any jobs underneath easier, certainly helped when doing the springs :wink: My dad is a keen carpenter and this space was his workshop but since the car was put in there last year he has no room for his table saw and some other bits so his carpentry has been put on hold until the car is finished :?
The vinyl was purchased from a company in Cheshire called Martrim. I did get two pots of high temperature spreadable glue but we cocked it up when spreading it and got lumps so we peeled the vinyl off and used 3M high temperature spray adhesive instead, this was much easier to apply an even coat. Out of interest the vinyl was almost a exact match the original vinyl and was just called 'Leyland Vinyl". We have actually retrimmed the C-pillars as well to match.
As far as the spring are concerned they are both the same but I think that the passenger side, which is higher, may have had some packing pieces added. I think that we will have to remove the springs again and if necessary remove them
DaveHerns said:Never mind , that roof looks excellent .Where did you buy the vynil and the glue .
Have you thought of swaping the springs from side to side to see what that does to the ride height ?
I do like your garage - loads of space to work
Thanks Dave.
The garage is actually the basement under my parents house! Last year we had an inspection pit dug to make any jobs underneath easier, certainly helped when doing the springs :wink: My dad is a keen carpenter and this space was his workshop but since the car was put in there last year he has no room for his table saw and some other bits so his carpentry has been put on hold until the car is finished :?
The vinyl was purchased from a company in Cheshire called Martrim. I did get two pots of high temperature spreadable glue but we cocked it up when spreading it and got lumps so we peeled the vinyl off and used 3M high temperature spray adhesive instead, this was much easier to apply an even coat. Out of interest the vinyl was almost a exact match the original vinyl and was just called 'Leyland Vinyl". We have actually retrimmed the C-pillars as well to match.
As far as the spring are concerned they are both the same but I think that the passenger side, which is higher, may have had some packing pieces added. I think that we will have to remove the springs again and if necessary remove them
Mikep
Active Member
Re: A gentle rebuild of my 3500
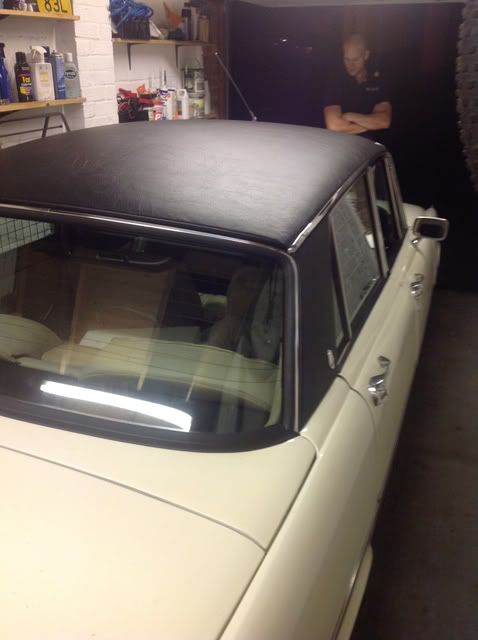
Well, work is coming along nicely and today we have fitted the headlining, windscreen, front scuttle panel and all the external chrome around the roof and pillars and one completed c-pillar panel has been fitted. All in all a busy day Tomorrow we are going to leak test all the door and windscreen which shouldn't be that hard as the 'summer' weather here in ireland has consisted of strong winds and very heavy rain for the last week But we do want to make sure that its water tight before we start fitting the new carpet.
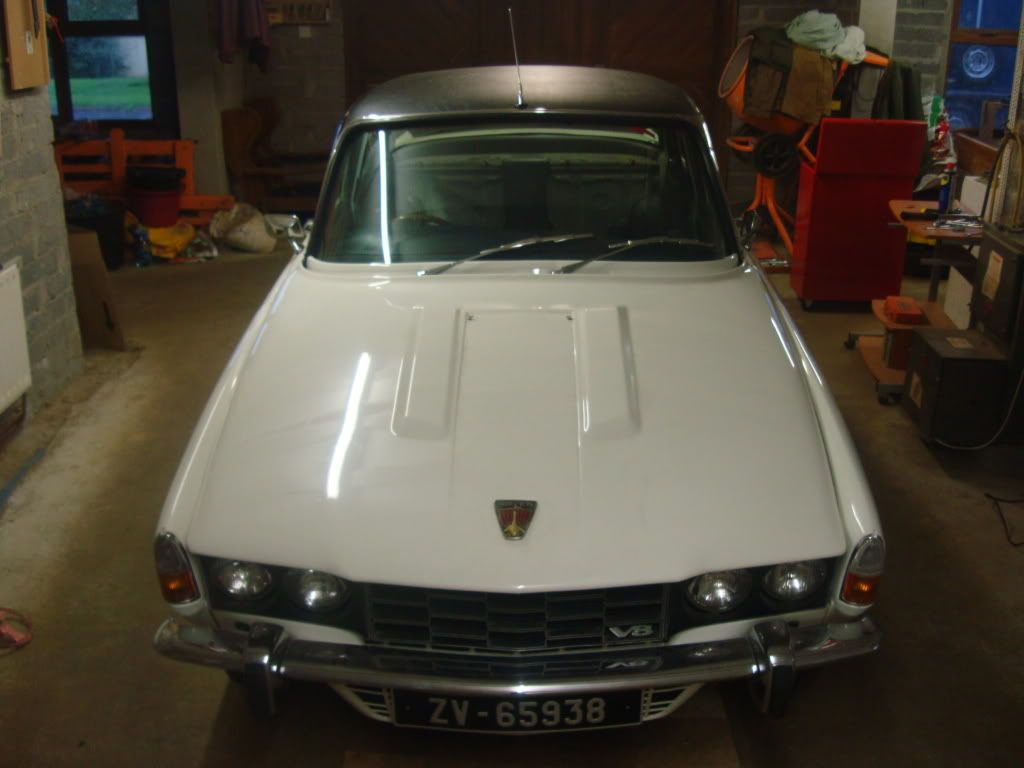
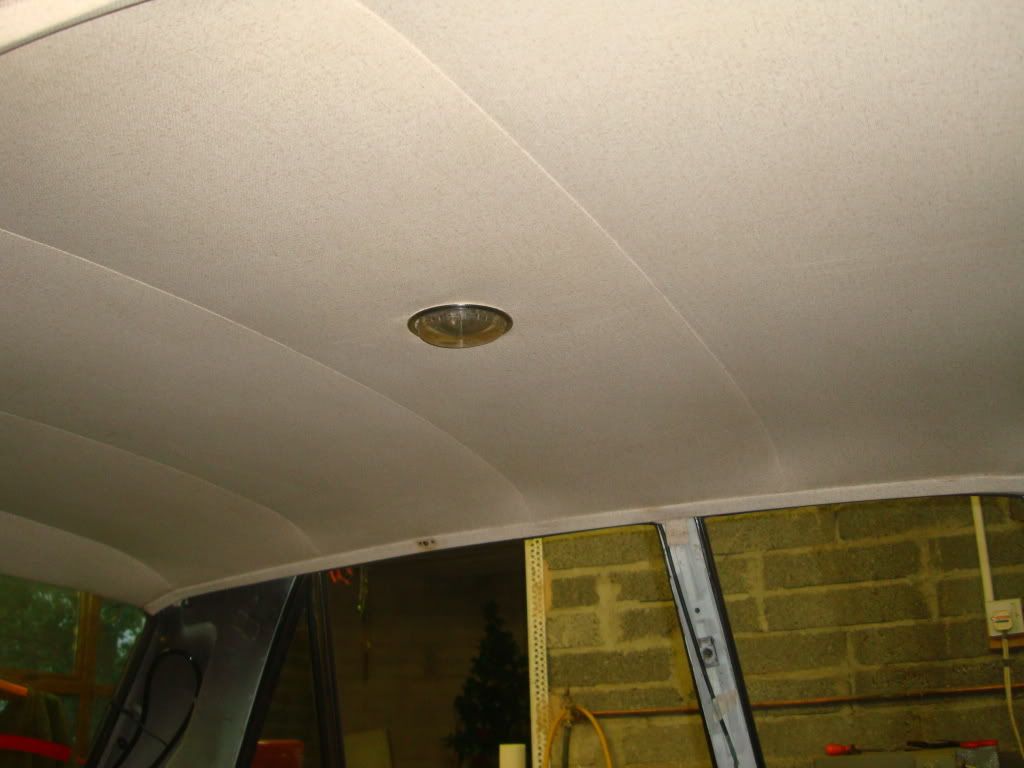
Well, work is coming along nicely and today we have fitted the headlining, windscreen, front scuttle panel and all the external chrome around the roof and pillars and one completed c-pillar panel has been fitted. All in all a busy day
Tomorrow we are going to leak test all the door and windscreen which shouldn't be that hard as the 'summer' weather here in ireland has consisted of strong winds and very heavy rain for the last week But we do want to make sure that its water tight before we start fitting the new carpet.
Mikep
Active Member
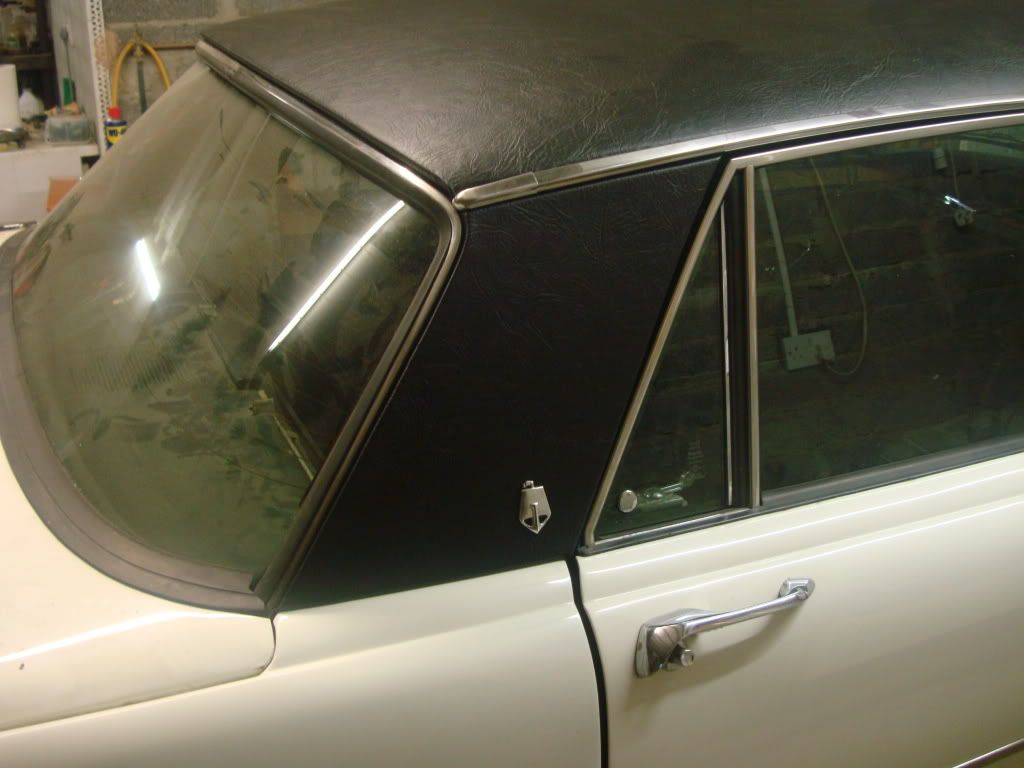
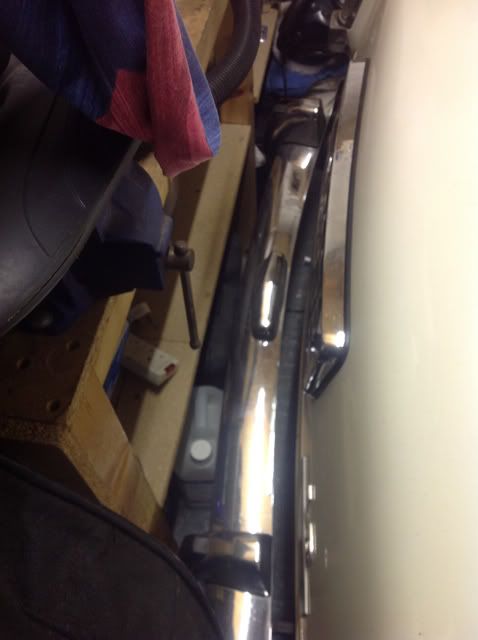
Well, today consisted of jiggling with the doors until no daylight was seen around the rubbers then the dreaded water test. There were a couple of places around the doors where the water was dribbling in but the biggest shock was a cascade of water down the inside of the rear windscreen :shock: When we originally checked for leaks the water was running down the rear screen and as you all know it was p*****g out of the sunroof tub, but now we have a watertight roof it could only point to the obvious and that meant that the rear screen had to come out. Once we removed it it became evident that there was no sealant inside the window rubber and absolutely NO sealant around the aperture on the base unit, the screen had been simply fitted 'dry', so no wonder it leaks. Up until now the rear decker panel was the only panel that we hadn't removed but now thats not the case; but after removing the front screen the removal of the rear wasn't so daunting. It always seems to be two steps forward and one back
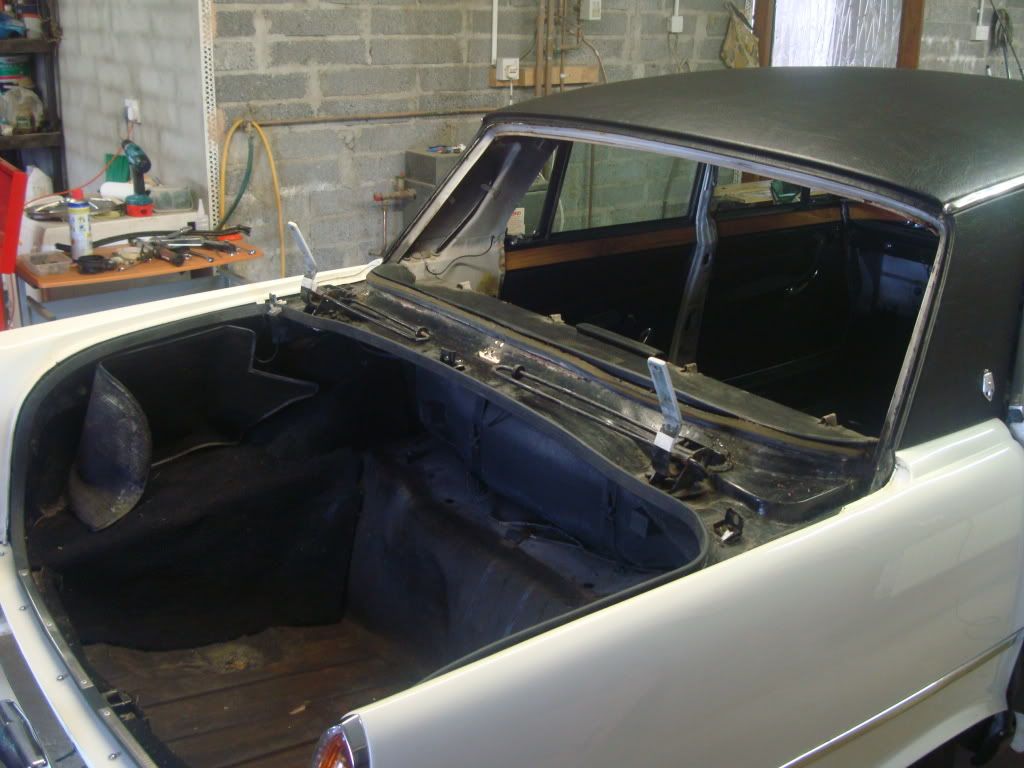

No sealant in here at all!!
No sealant in here at all!!
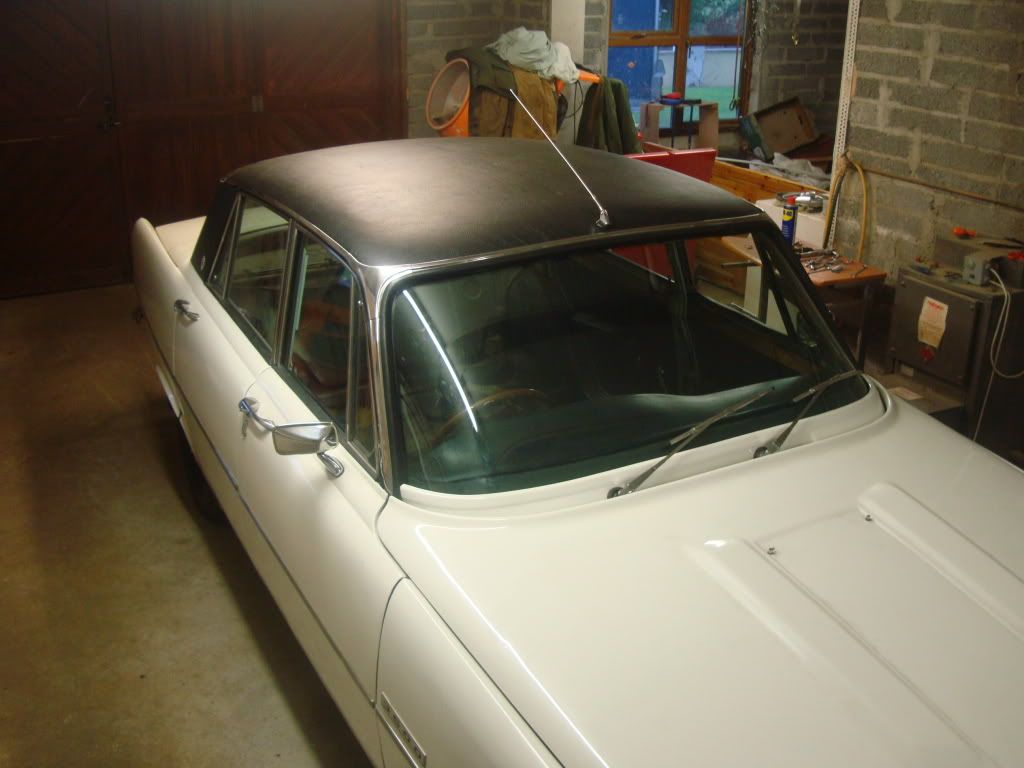
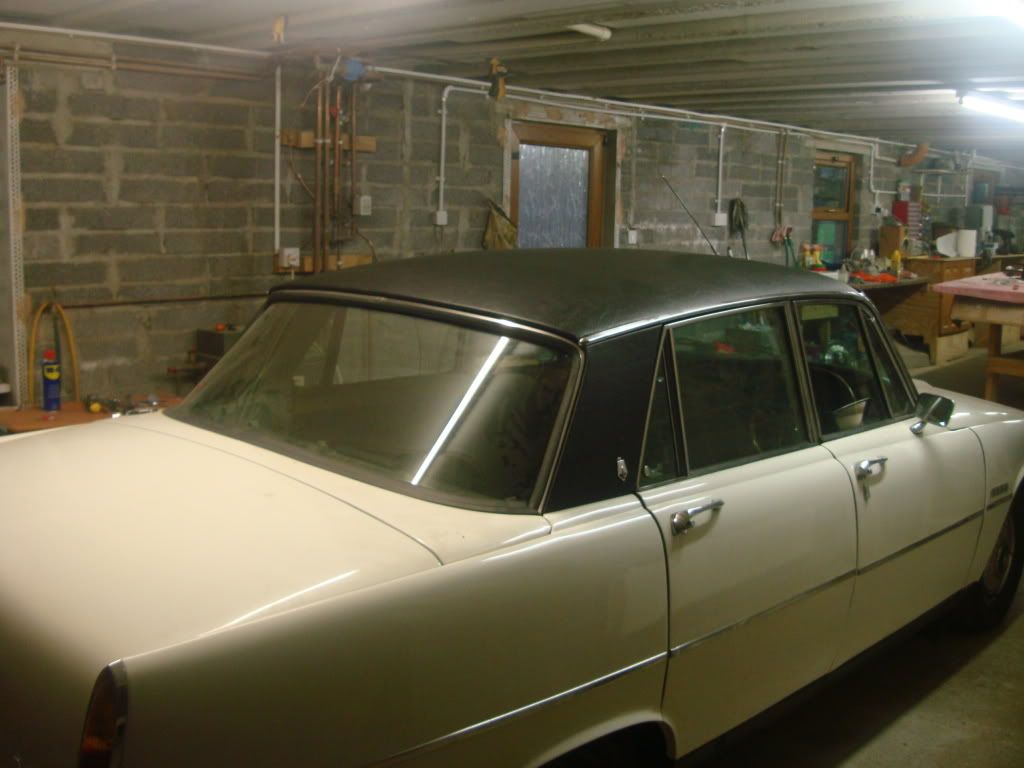
That roof looks very nice indeed
Have you got any pics of actually fitting it? i.e. the new vinyl - I would like to see how you did that. (going to be doing that this winter).
I was going for the gentle approach, well done in not getting carried away like I did
Richard
Have you got any pics of actually fitting it? i.e. the new vinyl - I would like to see how you did that. (going to be doing that this winter).
I was going for the gentle approach, well done in not getting carried away like I did
Richard
Mikep
Active Member
quattro said:That roof looks very nice indeed
Have you got any pics of actually fitting it? i.e. the new vinyl - I would like to see how you did that. (going to be doing that this winter).
I was going for the gentle approach, well done in not getting carried away like I did
Richard
Thanks Richard.
I actually showed my Dad the thread of your re-build and said that we should go down that route but he was horrified and thought I was mad
The only photos we took were before fitting and obviously after, I forgot all about taking pictures as we were stressing about not cocking it up
. Its the first time that we had ever done this but it isn't as hard as it seems. I would recommend using high temperature SPRAY adhesive, as I said earlier we tried the pot of spreadable and we got so many lumps; fortunately we weren't going to do the whole panel in one go and only did a full width by 12" section which made peeling it back off easier. We stuck to this method and did a bit at a time and once that bit had been stuck down we used old, clean rags to smooth it out to remove any air bubbles. Once the whole panel was done we left all the edges until it was dry and the following day folded over and glued the front and back edges. A quick tip to make sure it sticks in the contours, especially the rear section was to use peg electrical cable along the edge with clothes pegs :wink: When it was all dry it was then ready to fit, the reason for leaving an over hang over the sides is that when the panel is fitted and then screwed down it pulls these bits into the gutter really tightly and forms a gully, then all you have to do it trim the excess with a knife. At least this way it creates a nice water tight seal. For the roof sealant I used Arbo Mast butyl non-setting sealant and put one bead around the base unit. Easy as that We did re-trim the side panels; this time we stuck the vinyl on the front, let it dry, then did a fold and so on, at least this way it didn't lift and all edges were tight.I hope that long winded explanation helps.
Mikep
Active Member
Fitted the rear window today and this time made sure plenty of sealant was used. I would say that this was a pretty easy job and removing the rear decker panel was one of the easier panels to remove. One tip for those following the Rover repair manual, its says 'to remove the petrol filler neck you should undo the jubilee clips and CUT the hose', we found this not to be the case and the hose came off really easily and re-fitting was easy as well, saved us a bit of money by not blindly following the book Or could we just been lucky :?
We have water tested the rear screen and we no longer have torrents of water cascading down the inside, but the doors remain a pain in the neck :evil:
Or could we just been lucky :? We have water tested the rear screen and we no longer have torrents of water cascading down the inside, but the doors remain a pain in the neck :evil:
Mikep
Active Member
Finally the day arrived when we could say that all the work was done and the car was ready to have its first proper drive for a year since we started stripping it apart, the funny thing is is that when we bought it we only planned on sorting out the leaks and do other 'bits & bobs' as time wen't on :shock:
Since fitting the rear screen we managed to eventually, after much frustration, to cure the leaking doors. We actually fitted the original seals and with a bit of jiggling got them to seal. A bit of water does weep in through the bottom of the quarterlights but not enough to worry about.
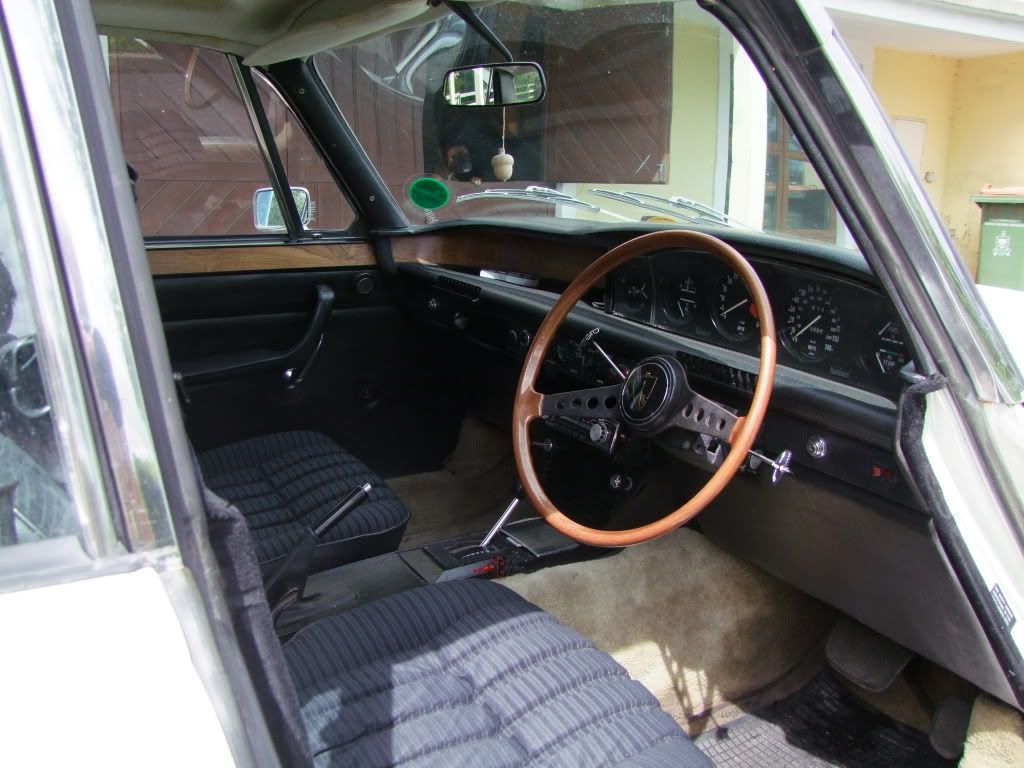
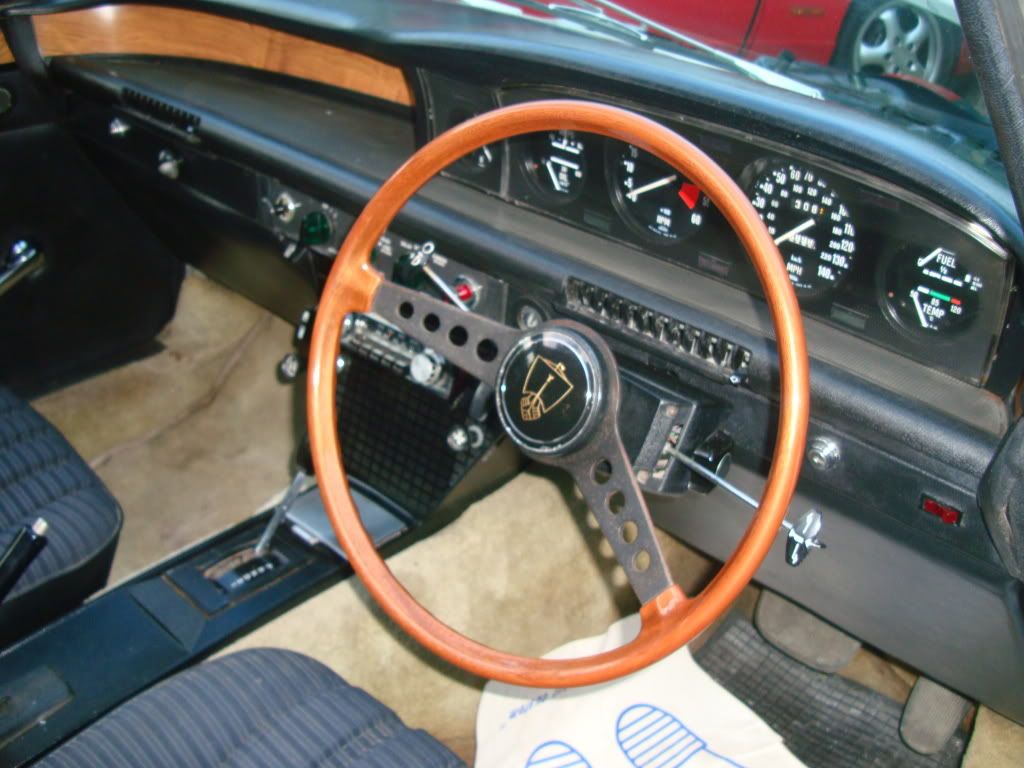
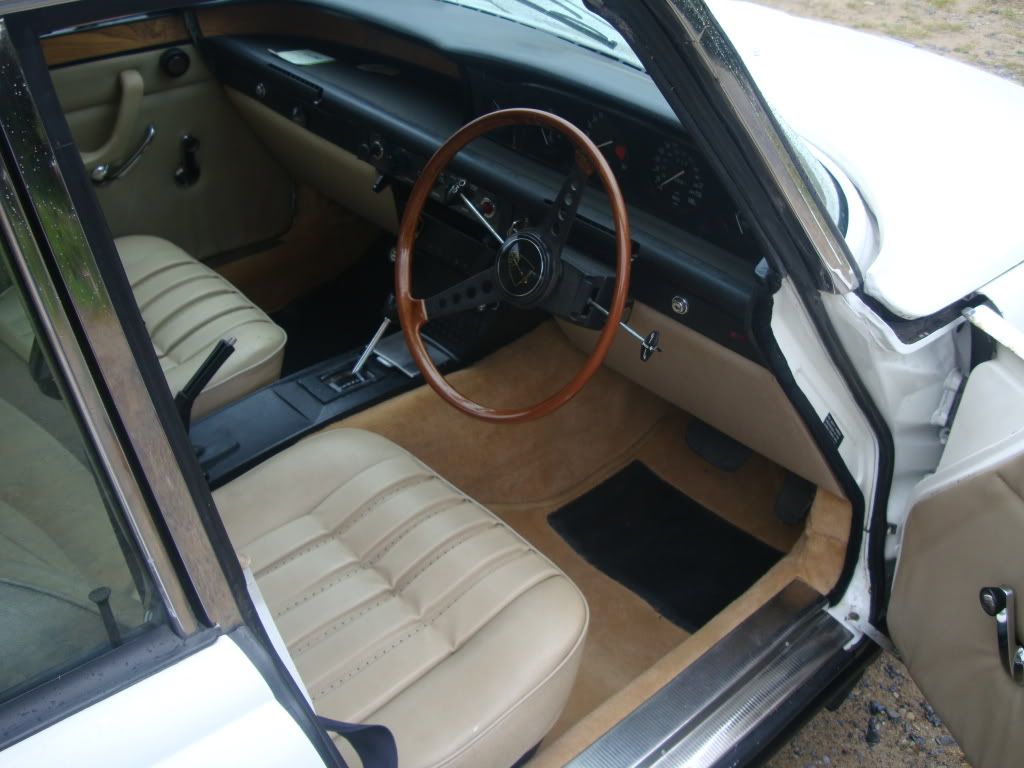
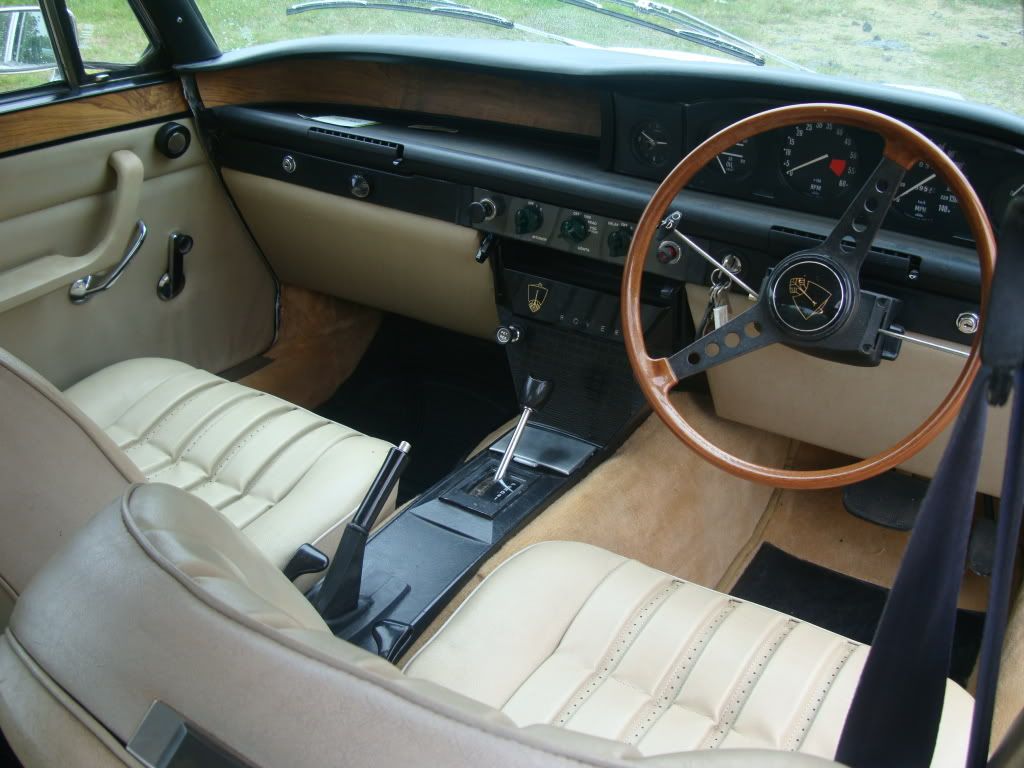
One issue we had was the rather musty black cloth interior. Due to the water leaks the car had been damp for a while and even though the seats had been cleaned twice they did stink and one of the rear door cards was ruined by the water. As luck would have it a complete beige ambla interior appeared on Facebook and after successfully bidding we won! Somebody did try to outbid us in the last few seconds but was obvious unsuccessful, so apologies if it was anybody on this forum :wink: The only problem was that the interior was in Bristol and as we are in the west of Ireland in County Mayo it meant a 700 mile round trip with a ferry crossing in between. So we left the house at midnight on the Saturday morning, got to Bristol at 4pm, loaded the car, turned right round and got back home at 11am on the Sunday. The wife thought that we were mad but when you look at the interior now it was worth it
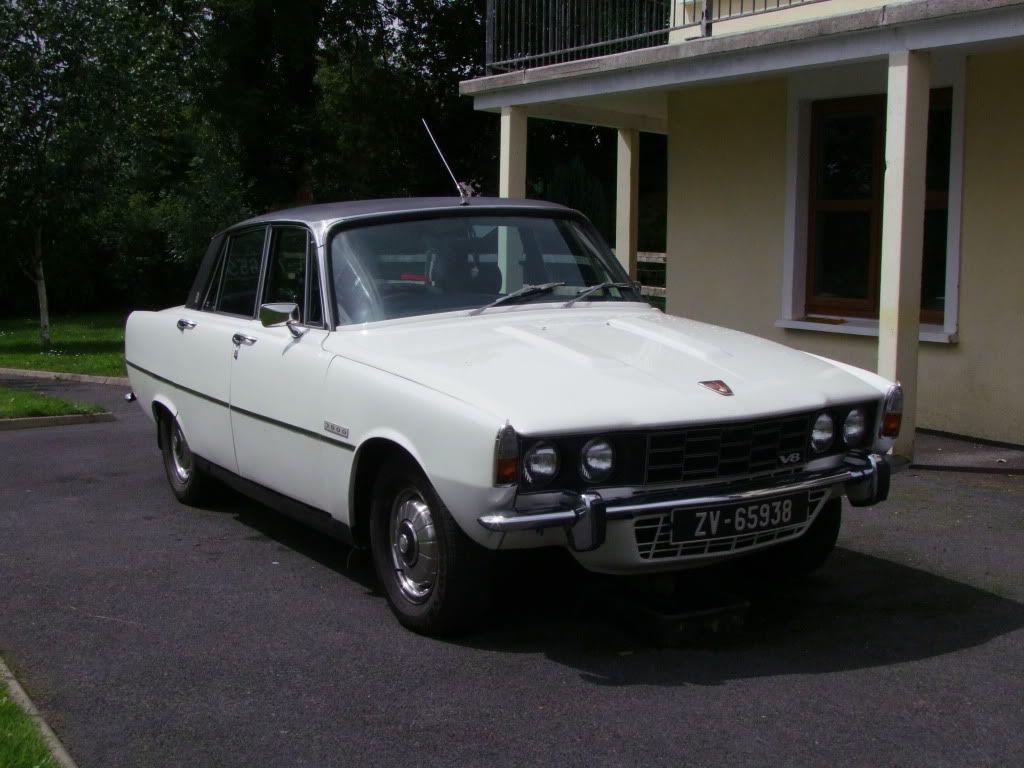
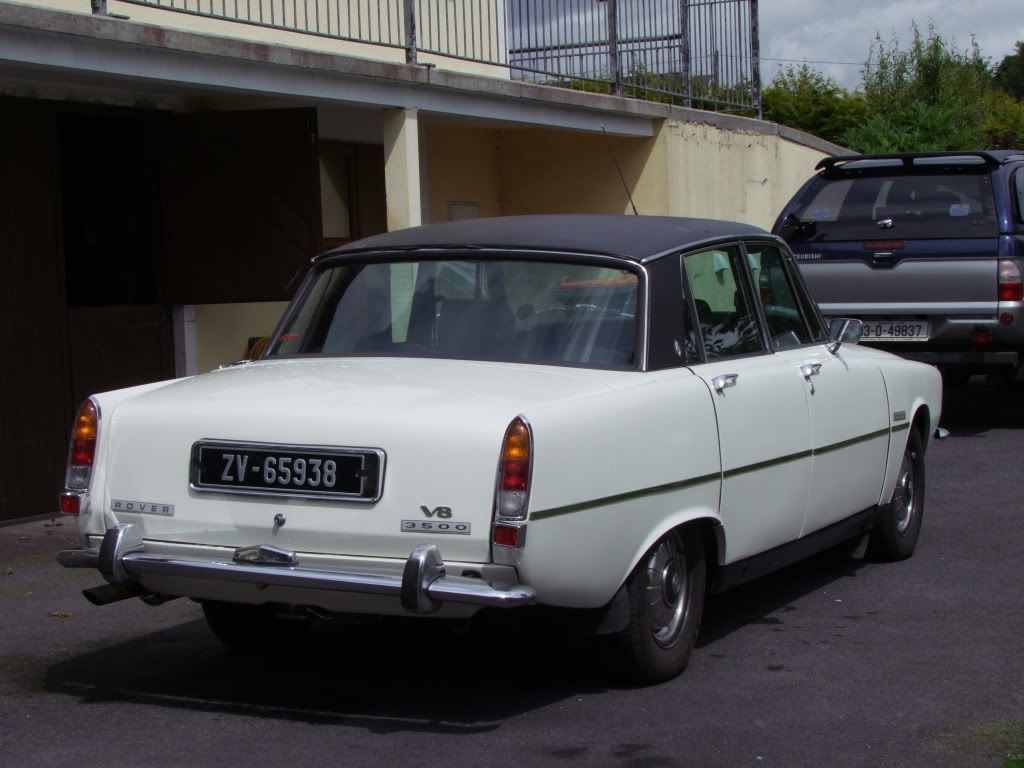
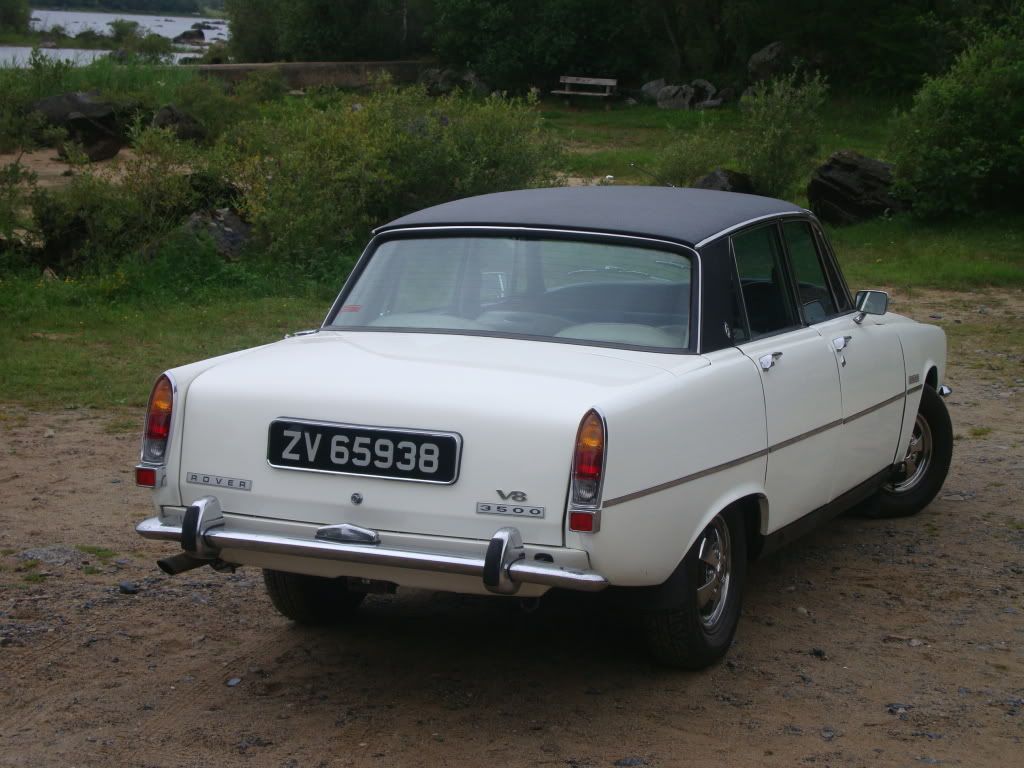
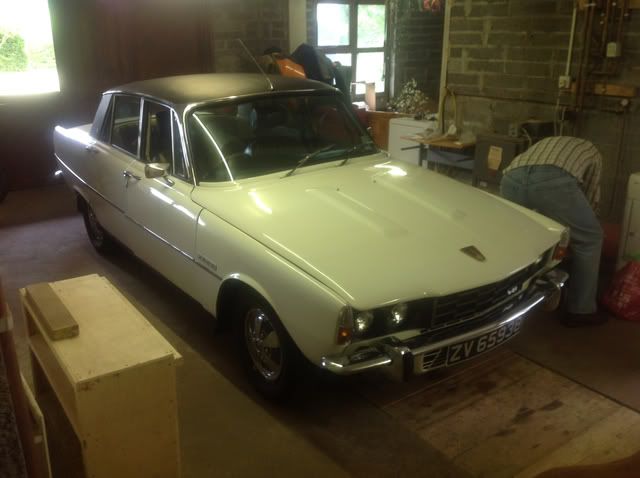
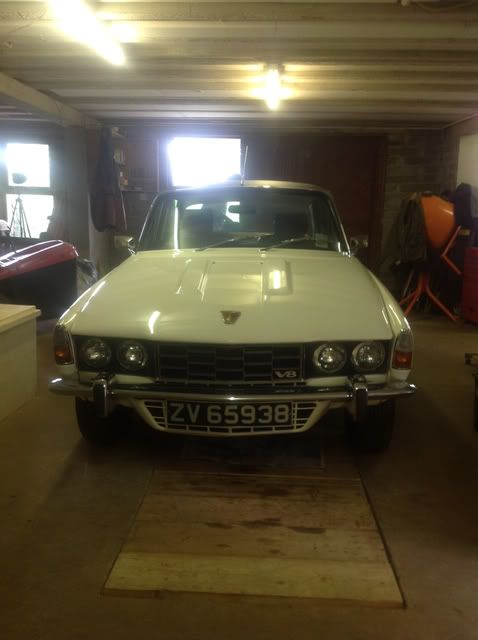
After much hard work re-fitting the interior and finishing off all the little jobs, including re-tapping the hole of the rear shock mounting plates as a previous owner managed to cross thread ALL eight, the car was ready for its first drive in a year. A quick spin up the road proved that the car was totally sound, all that we had was a belch of smoke on kick down but I think that was the car clearing its lungs. A longer drive was taken this evening and it was a good job the leaks were fixed as the Irish weather didn't disappoint as it started chucking it down. I have added some pictures of before as a reminder and the car as it is today


Since fitting the rear screen we managed to eventually, after much frustration, to cure the leaking doors. We actually fitted the original seals and with a bit of jiggling got them to seal. A bit of water does weep in through the bottom of the quarterlights but not enough to worry about.
One issue we had was the rather musty black cloth interior. Due to the water leaks the car had been damp for a while and even though the seats had been cleaned twice they did stink and one of the rear door cards was ruined by the water. As luck would have it a complete beige ambla interior appeared on Facebook and after successfully bidding we won! Somebody did try to outbid us in the last few seconds but was obvious unsuccessful, so apologies if it was anybody on this forum :wink: The only problem was that the interior was in Bristol and as we are in the west of Ireland in County Mayo it meant a 700 mile round trip with a ferry crossing in between. So we left the house at midnight on the Saturday morning, got to Bristol at 4pm, loaded the car, turned right round and got back home at 11am on the Sunday. The wife thought that we were mad but when you look at the interior now it was worth it
After much hard work re-fitting the interior and finishing off all the little jobs, including re-tapping the hole of the rear shock mounting plates as a previous owner managed to cross thread ALL eight, the car was ready for its first drive in a year. A quick spin up the road proved that the car was totally sound, all that we had was a belch of smoke on kick down but I think that was the car clearing its lungs. A longer drive was taken this evening and it was a good job the leaks were fixed as the Irish weather didn't disappoint as it started chucking it down. I have added some pictures of before as a reminder and the car as it is today
Mikep
Active Member
Re: A 'gentle' rebuild of my 3500 - Finally finished.
Well it has been a while since my last post here as I don't get to use the car much, with me in the UK and the car in Ireland, but I did get over last month and gave the car an oil change while I was there only to find the slight oil leak from the engine AND gearbox was due to the bolts not being done up properly on the respective sumps :shock:
Well there has been some developments in respect of where the Rove resides and I feel it appropriate to call it 'Operation Rover repatriation'. I have sold my motorbike so now I have space in the garage for the Rover so it's coming home
I'm travelling over to Ireland next week to drive it back the following Monday. Should be an interesting journey as it hasn't racked up many miles since the journey over there in July 2010; it's about 430 miles door to door. But first I need to fit a new indicator relay before I set off as they just stay on with no flashing. Once home I need to re-register it and get it MOTd for the first time since it left the UK (MOT exempt in Ireland), hopefully it hold be ok :?
I Will let you know how the journey goes
Mikep
Active Member
Re: A 'gentle' rebuild of my 3500 - Finally finished.
Thanks guys, trying to sort my breakdown insurance just in case :?
The silly thing is it was in a bit if state when it went over and had no problems and now we have repaired everything and have an understanding of the car it seems a more daunting journey. I think it's a case of ignorance is bliss.
Thanks guys, trying to sort my breakdown insurance just in case :?
The silly thing is it was in a bit if state when it went over and had no problems and now we have repaired everything and have an understanding of the car it seems a more daunting journey. I think it's a case of ignorance is bliss.
stina
New Member
Re: A 'gentle' rebuild of my 3500 - Finally finished.
Yep , there's definitely some truth in that Mike . Good luck with the trip
Mikep said:I think it's a case of ignorance is bliss.
Yep , there's definitely some truth in that Mike . Good luck with the trip
Mikep
Active Member
Re: A 'gentle' rebuild of my 3500 - Finally finished.
Well the car is all prepped for my journey tomorrow, washers now working and a new relay has the indicators flashing at the right speed, full tank of fuel and tyres pumped up and all the bits and pieces packed into the boot. I even dug out the ET headrests from the old interior and fitted them, they will need re-colouring but at least I have somewhere to rest my head
You may notice that I have my Dad buffing the N/S front wing, not sure why he is doing it that way though :shock: :?
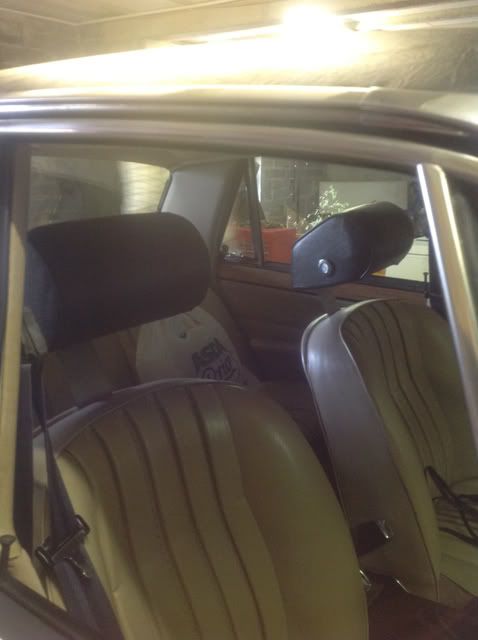
Headrests fitted.
I shall let you know how it goes tomorrow and I will take a few pictures enroute.
Well the car is all prepped for my journey tomorrow, washers now working and a new relay has the indicators flashing at the right speed, full tank of fuel and tyres pumped up and all the bits and pieces packed into the boot. I even dug out the ET headrests from the old interior and fitted them, they will need re-colouring but at least I have somewhere to rest my head
You may notice that I have my Dad buffing the N/S front wing, not sure why he is doing it that way though :shock: :?
Headrests fitted.
I shall let you know how it goes tomorrow and I will take a few pictures enroute.
Mikep
Active Member
Re: A 'gentle' rebuild of my 3500 - Back in the UK!
After 430 miles and twelve hours I got home last night in one piece. Other than a break on the ferry I drove non-stop and th car was faultless, I even averaged 25mpg!
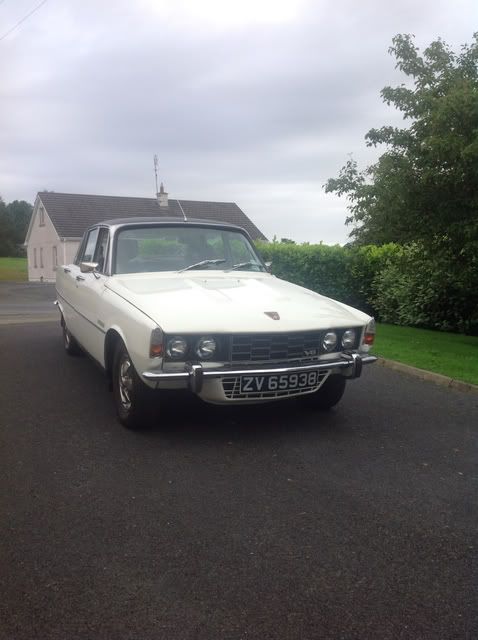
Just about to leave county Mayo
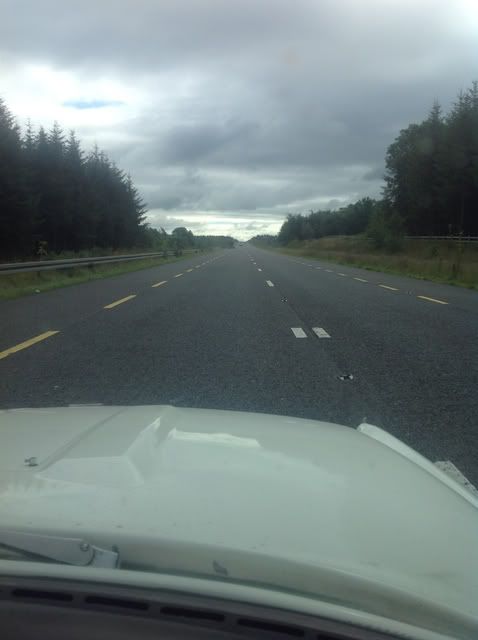
Irish roads, being a bank holiday they were extra quiet
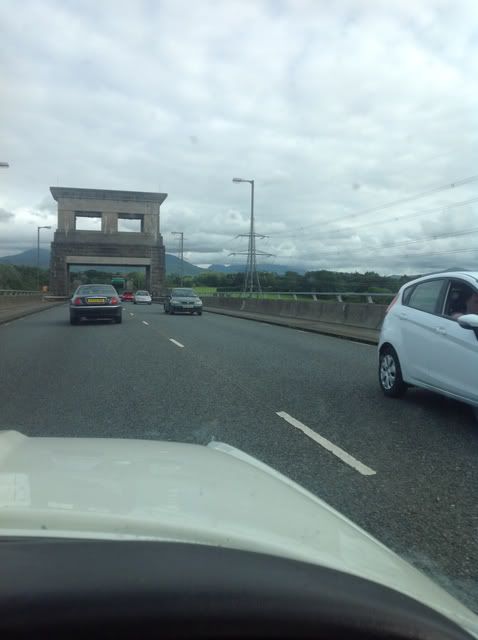
On the Menai Bridge leaving Anglesey
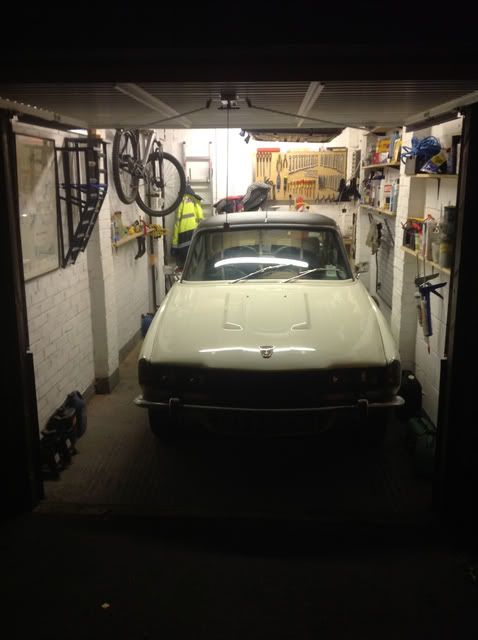
All tucked up in its new home. Not quite the same room as the garage at my parents.
Just enough room to get out
Inch to spare. I always knew the garage was just to keep the car dry, I will just have to do the jobs on the driveway.
The ONLY problem I encountered was a high engine temperature, but I will add this to another thread.
Next job is to get the MOT booked today, this will be another milestone.
After 430 miles and twelve hours I got home last night in one piece. Other than a break on the ferry I drove non-stop and th car was faultless, I even averaged 25mpg!
Just about to leave county Mayo
Irish roads, being a bank holiday they were extra quiet
On the Menai Bridge leaving Anglesey
All tucked up in its new home. Not quite the same room as the garage at my parents.
Just enough room to get out
Inch to spare. I always knew the garage was just to keep the car dry, I will just have to do the jobs on the driveway.
The ONLY problem I encountered was a high engine temperature, but I will add this to another thread.
Next job is to get the MOT booked today, this will be another milestone.