1396midget
Well-Known Member
Well I've made myself immensely popular at work as many different boxes arrived on Friday.
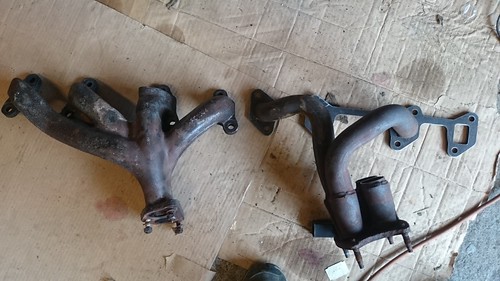
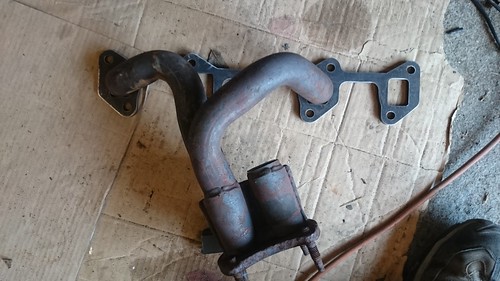
I've got hold of a pair of plasma cut exhaust flanges to go on the cylinder heads, 8mm steel. I've also bought 2 Freelander exhaust manifolds, having been impressed at the quality of the 4 into 2 section with integrated lambda sensor (so it senses all 4 ports). Primaries look to be about 1.5 inches dia, though I've not measured them yet.
Bought 2 over axle parts as well as 2 rear box RC40 silencers and Mini van centre pipes , the rest will be made of pipe I''ve found rootling about in dad's garage.
Theory is that the K series manifold is good for at least 120 bhp; there'll be one on each bank so potentially enough flow for 240 bhp before the exhaust might start to be restrictive. The RC40 is also good for around 130bhp according to my David Vizard A series book and (and there will be 2 of them too).
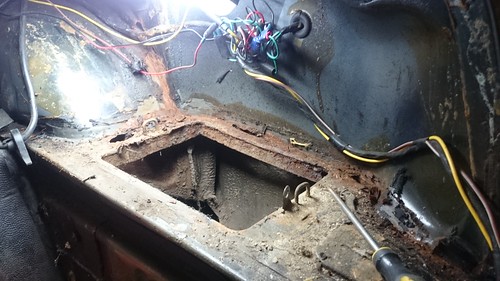
Current plan is to cut the 4 into 2 parts off, place them in an area of the car where they will actually fit, then join the head flange to the collector with appropriate bits of pipe. Then use two 2 into 1 K series lower manifold parts to get twin 1.75 outlets next to the gearbox. I'll then weld up a little H pipe section and go twin all the way to the back, with an RC40 mounted each side in the very back (after moving the battery box upwards a bit)
I'm attempting to make it out of re-buyable bits for longevity. The manifolds won't be! The K series manifolds leave you with a rather nice 4 bolt attachment flange with a gasket so I can work it so that the thing will bolt apart and back together in situ. Hopefully.
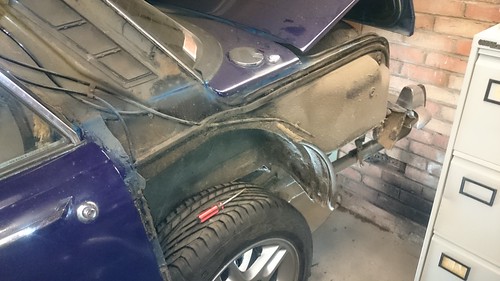
Having said that, there is almost NO space on the driver's side, particularly now someon'e been and fitted a clutch slave cylinder...
I've got hold of a pair of plasma cut exhaust flanges to go on the cylinder heads, 8mm steel. I've also bought 2 Freelander exhaust manifolds, having been impressed at the quality of the 4 into 2 section with integrated lambda sensor (so it senses all 4 ports). Primaries look to be about 1.5 inches dia, though I've not measured them yet.
Bought 2 over axle parts as well as 2 rear box RC40 silencers and Mini van centre pipes , the rest will be made of pipe I''ve found rootling about in dad's garage.
Theory is that the K series manifold is good for at least 120 bhp; there'll be one on each bank so potentially enough flow for 240 bhp before the exhaust might start to be restrictive. The RC40 is also good for around 130bhp according to my David Vizard A series book and (and there will be 2 of them too).
Current plan is to cut the 4 into 2 parts off, place them in an area of the car where they will actually fit, then join the head flange to the collector with appropriate bits of pipe. Then use two 2 into 1 K series lower manifold parts to get twin 1.75 outlets next to the gearbox. I'll then weld up a little H pipe section and go twin all the way to the back, with an RC40 mounted each side in the very back (after moving the battery box upwards a bit)
I'm attempting to make it out of re-buyable bits for longevity. The manifolds won't be! The K series manifolds leave you with a rather nice 4 bolt attachment flange with a gasket so I can work it so that the thing will bolt apart and back together in situ. Hopefully.
Having said that, there is almost NO space on the driver's side, particularly now someon'e been and fitted a clutch slave cylinder...