Lady Charlotte - 1966 2000SC

arthuy said:
will be good to know where the caliper failed, there isnt much to the hydraulic side.

Both calipers leaking from the same place, ie the hydraulic piston bore. Must be worse than I thought. Hey-ho :roll:

New calipers are now fitted and adjusted up. I replaced them both without dropping the diff this time and apart from being a bit tight for space when maneouvring the calipers out from over the diff I found this far less hastle than last time. It's amazing how much quicker the job is second time around. I'm still not happy with the handbrake (6 clicks to full on) and the level of brake pedal travel despite the disks being reasonably tight when slid between the pads (the harveyp6 method) so I'll be having another go at adjusting next weekend. No leaks this time which is the main thing :D

Onwards an upwards as they say.

Dave
 
Glad you've got it sorted Dave, sometimes you just have to throw money at these jobs to get them done right and quickly.
 
Hi Dave,

I have a pair of NOS rear calipers that I purchased in 1990. They were wrapped in that brown sticky paper inside their original Girling boxes. I kept them in a dry dark cupboard. In late 2007, my Rover's rear calipers began leaking, which was 14 years after I had last rebuilt them, so a pretty good innings I thought. I removed them and decided to fit my NOS calipers. Two days later I found them leaking... :evil: not happy was a massive understatement. The calipers that I had removed were rebuilt, the bores had been resleeved in 1986 so remained in perfect condition and with great assistance from a friend and fellow Rover owner, they were refitted. My NOS calipers which I then stipped had corrosion in the bores.. :evil: At some point I'll probably have them resleeved.....

Provided the replacement calipers are resleeved, you should in theory never have a problem with fluid loss, if they haven't been, then it is always a distinct possibility.

Ron.
 
Update

I spent an hour or so last weekend re-adjusting the rear brakes to take up the excess travel, it's surprising how much there was given that when I first fitted the new pads the disks were only just slipping in :roll:

Anyway, the extra adjustment helped and The Lady was presented for MOT today...............


..........yes of course she passed .........with flying colours :D :D :D :D :D No matter how much checking and re-checking it's always nerve wracking come MOT time so good to get the all clear. I'm considering having her tested again later on in the year to get the MOT away from the end of winter. It's no fun being forced to do a job in the cold because you know it needs to be done. Despite having a garage to keep the car in I do prefer working outside on the drive when the weather is fine. I've been quite fortunate the last few weeks in that respect. Of course if we keep having summers like we've had recently it'll be a toss up between the cold and the wet if I do move the MOT :roll:

Dave

Dave
 
:D :D Well done Dave. Congratulations to you and Lady C.

Of course, the benefit of getting your MOT just going into spring means that you can hopefully enjoy a nice long summer of P6 driving without any nasty MOT surprises interrupting proceedings?
 
JVY said:
Of course, the benefit of getting your MOT just going into spring means that you can hopefully enjoy a nice long summer of P6 driving without any nasty MOT surprises interrupting proceedings?

Yes that's a good point Steve. I guess timing is a factor. If I shift the MOT to October though I'll have already enjoyed the spring and summer driving 8)

In broad terms it actually makes no odds because I drive it all year anyway.

Dave
 
Congratulations on the MOT pass, Dave! Glad that you got your caliper issue sorted in the end, and hopefully that'll be those sorted for a long time!
 
Well done Dave, I always find it nervewracking waiting for the result too.

You can have a go at that headlight relay now. :wink:
 
well done Dave.

You can always MOT October then present the car 30 days before if the weather is nice in September.

Colin
 
testrider said:
You can have a go at that headlight relay now. :wink:

Ok then :roll:

I had an enforced day off work today as our dog is poorly and we didn't want to leave him at the kennels when he's not very well :cry:

So that gave me a day to get the headlamp relay fitted.

Very straighforward job. Disconnect the battery first as the supply to the sidelight switch is permanently live and I'll be tapping into that for the supply to the headlamps via the relay. A quick reminder of the circuit diagram:

LCHlightswiringnew_zps9f126663.jpg


I removed both knee bins (glove compartments) for access then removed the sidelight switch

CIMG5955_zps39401cf9.jpg


The thick brown wire at the top is the live supply and the thick red wire at the back goes to the headlamp switch.....which was removed next

CIMG5956_zpsb6108ed0.jpg


Only two wires on this. The red one comes from the sidelight switch and the blue one goes to the headlamps via the dip switch. There's not a lot of spare wire to these switches so my plan to replace the single spade on the thick brown wire to the sidelight switch with a double spade was scuppered. I decided to slice away a section of the insulation and solder a new wire onto it. This would then be sealed with a small section of heatshrink.

CIMG5959_zps26353cd9.jpg


Tie-wrap holds the two wires in place while they are soldered

CIMG5961_zpse32b7b6e.jpg


Heatshrink

CIMG5958_zps01b22e67.jpg


All connections soldered

CIMG5964_zps0c4ddf66.jpg


This is where I chose to fit the relay. I generally earth relays via the securing screw.

CIMG5968_zpsa24f89e5.jpg


Let there be light :D

I should say that I bench tested the relay prior to fitting just to make sure it worked and amended the circuit diagram, including the new wire colours. This relay fit is completely reversible in case I decide to return it to original.....but why would I?

Dave
 
Very effective job! I must do the same to mine, when I've got a spare day, as I'm sure it'd make a noticable difference at night.
 
DaveHerns said:
Hope your dog is better now .What was wrong with him?

Hi Dave

Yes he is much better now thanks. If you know anything about labradors then you'll know they are eating machines. I reckon he'd picked something nasty up outside and it had him expelling from both ends for a couple of days. Not very nice :cry:

Dave
 
If you know anything about labradors then you'll know they are eating machines
Funny , everyone says that but my Bonnie is not greedy and has to be encouraged to eat her food
I can eat my dinner sitting on the settee watching TV and she doesn't scrounge .
I was told when I rehomed her that she has a pedigree and obviously she's been brought up with good manners
 
Nice job Dave. You shouldn't have to worry about that sidelight switch burning out again :D. Glad your dog is better too.
 
Lady C clocked up 50,000 miles today

50kclock_zps6eaedd9d.jpg


Which prompted me to look back at the mileage when I bought her in May 2011

CIMG4420.jpg


I do enjoy driving my P6 :D

Dave
 
Well done Dave. Come this May, you'll be well over the 20,000 mark. Very impressive for a classic car :) .
 
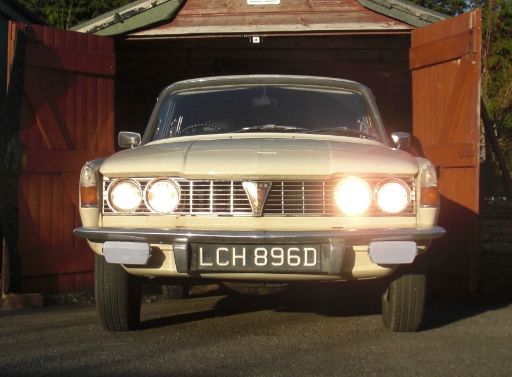
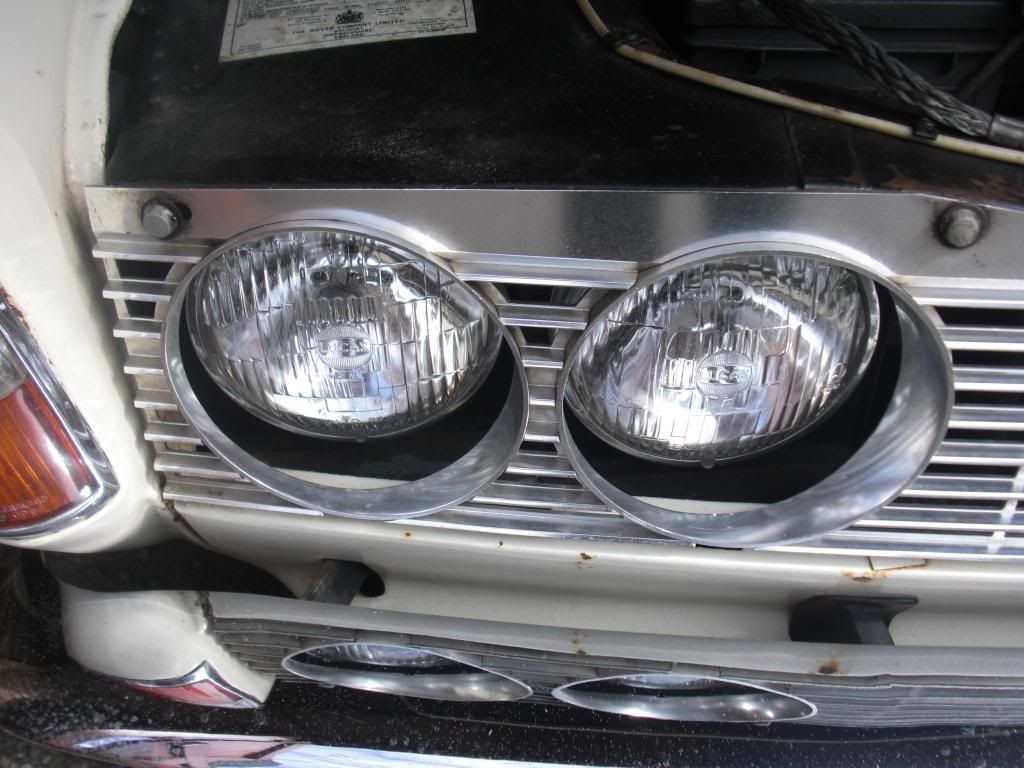
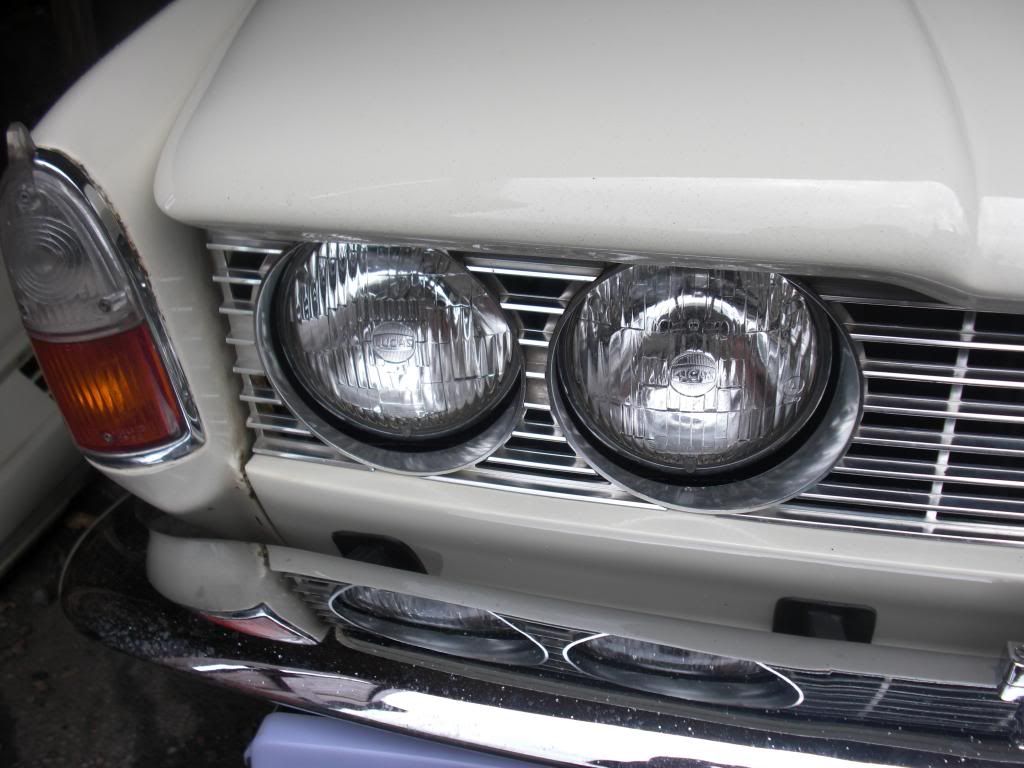
Those who know Lady C know that she has the wrong front valance fitted. Initially, I hadn't even noticed until someone at a show asked why there was such a big gap between the headlamp rims and the grille.....

CIMG5985_zps77f9e107.jpg


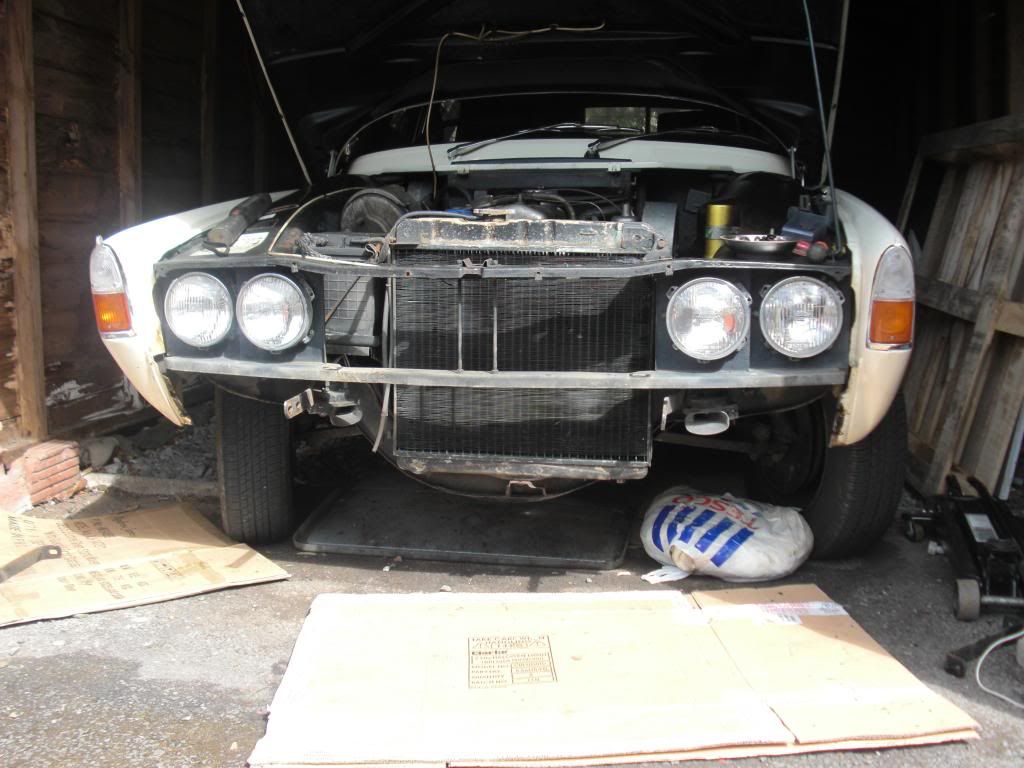
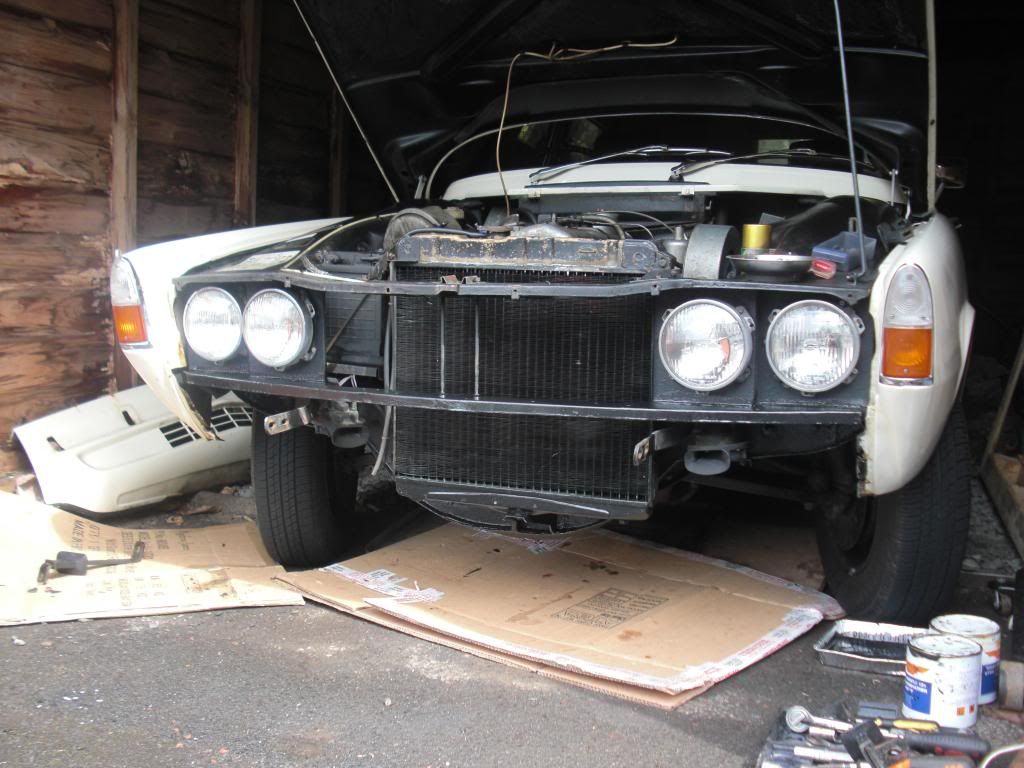
A closer look revealed the S2 front valance that was fitted causing the grille misalignment. I'd picked up a second hand S1 valance that I got the repair centre to spray whilst Lady C was in getting repaired after the rear end shunt last year. I have left it until now to fit it as I didn't want to subject it to the salty roads just yet. So off came the front grille, bumper, number plate and valance.

CIMG5992_zpsf53c5196.jpg


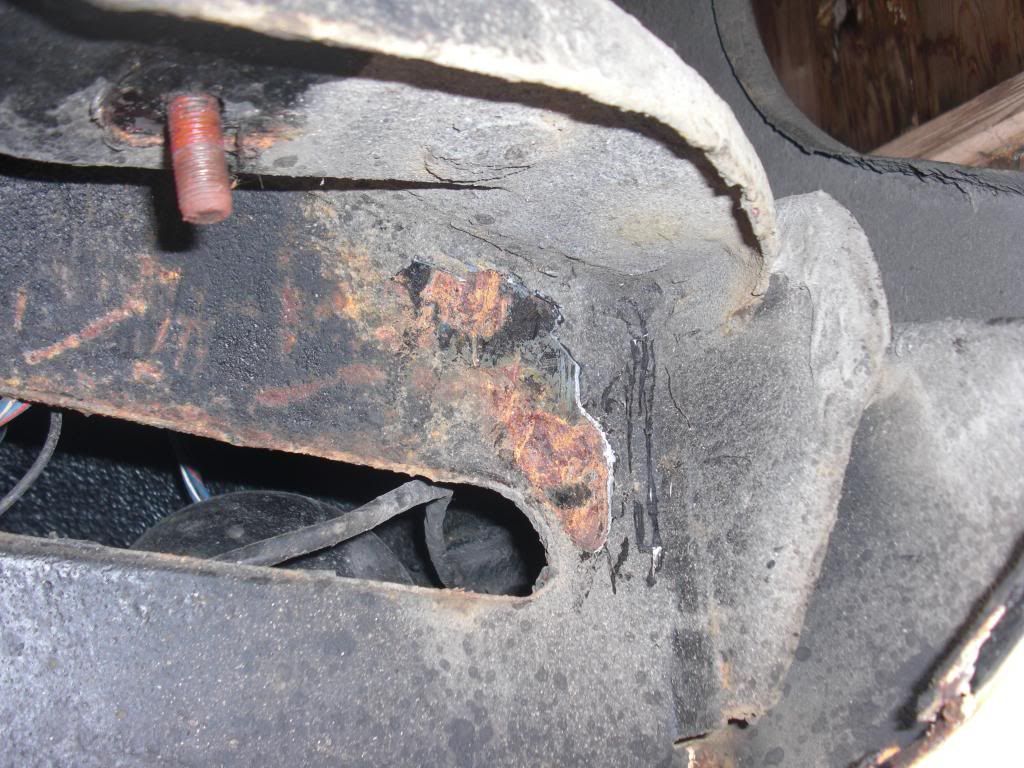
I had a look underneath the front of the base unit whilst I had the valance off and spotted a few bits of underseal that had failed

CIMG5993_zps31157d44.jpg


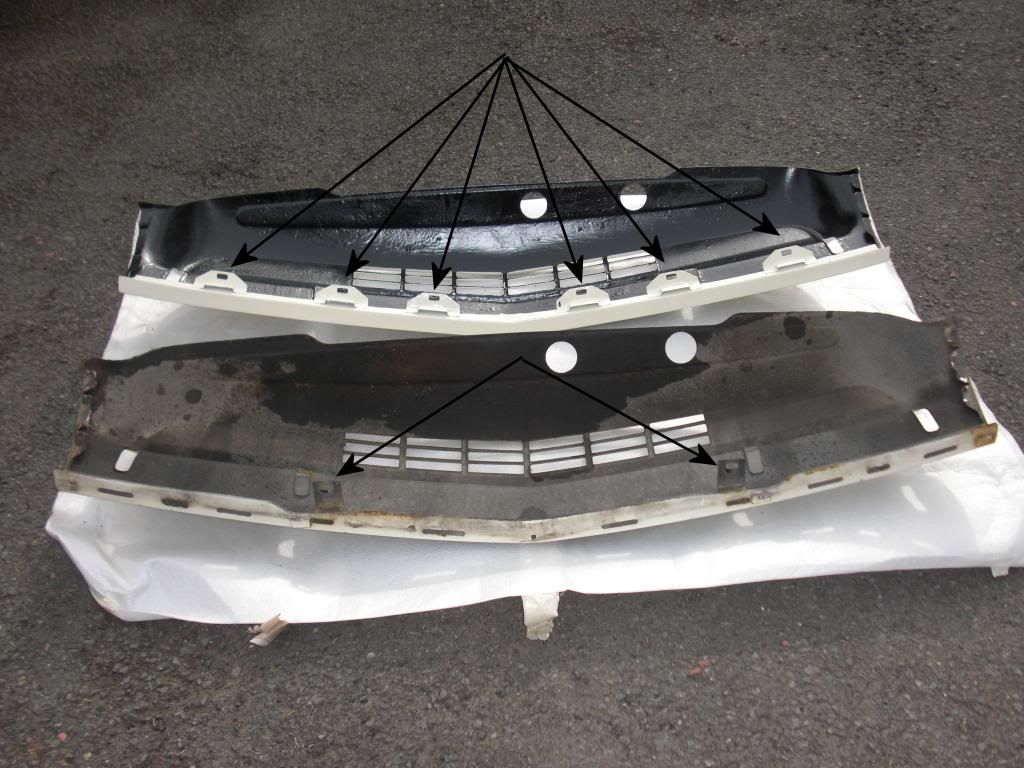
The valance had also suffered from impact damage through constant use. Spot the difference between S1 and S2 valance. The extra top mounting points meant I had to find some extra screws and washers.

CIMG5997_zps4e0899f6.jpg


I scraped back to surface rust, treated with rust converter and gave the whole front area that would be behind the valance a coat of Epoxy Mastic 121 (I left the top as was because I would not have to remove the valance again to do this later)

CIMG5998_zps65afd7a6.jpg


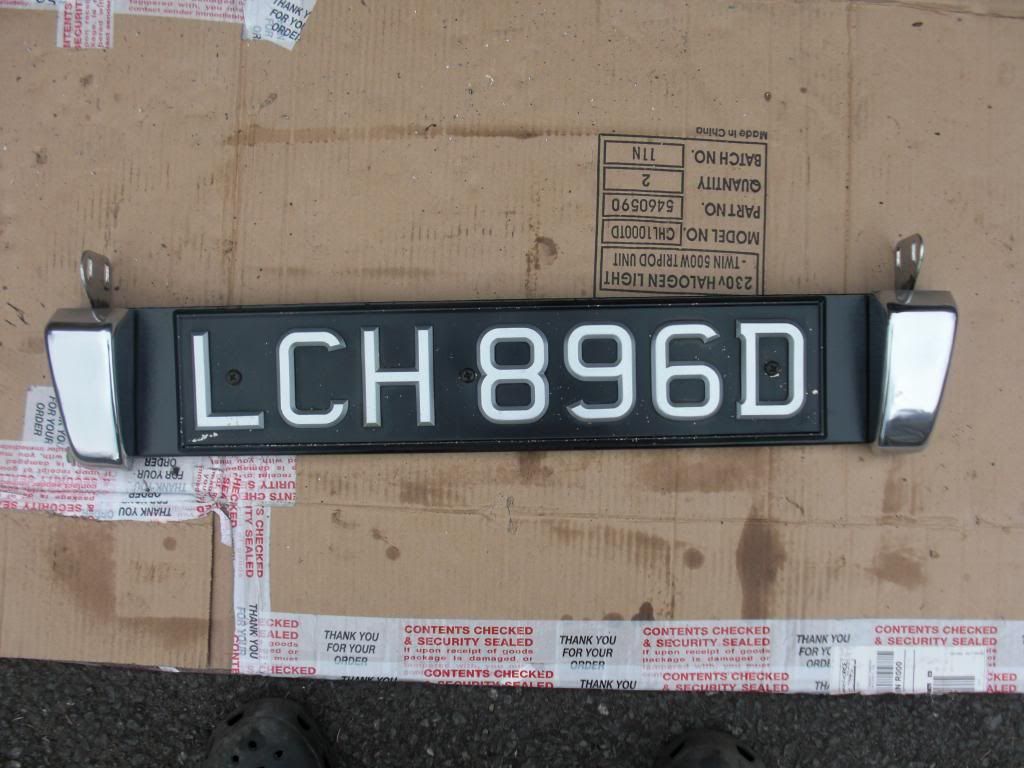
That was about 5pm on Saturday and I left it like that overnight to dry. I had also cleaned and prep'd a replacement number plate plinth and underriders

CIMG5994_zps5a586e0d.jpg


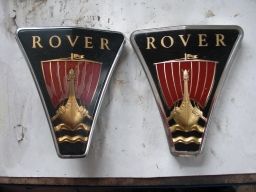
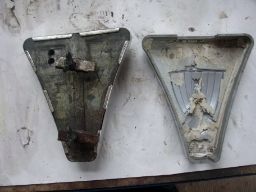
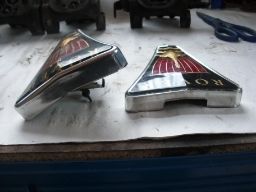
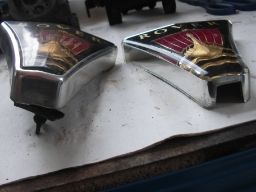
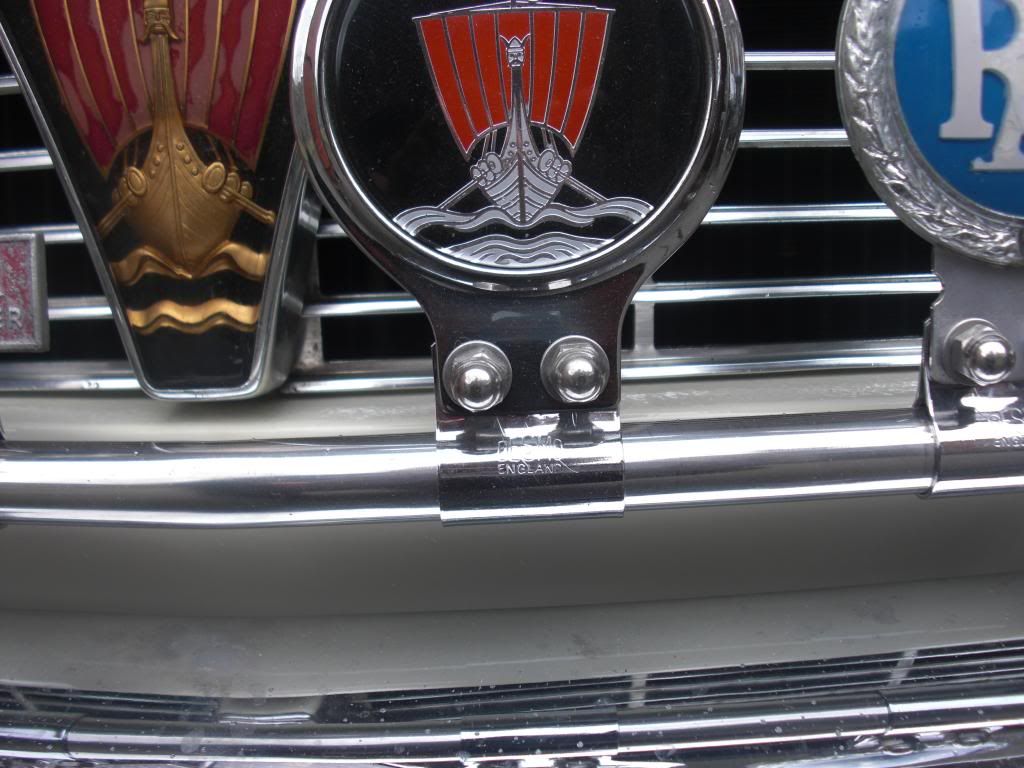
Sunday (today) arrived and it had been raining up until 1pm so I eventually managed to get back out to fit the replacement valance. Before that, can anyone explain the differences in these 2 grille badges. The solid one on the left is off Lady C and has a metal case, the other is plastic with no backing and a gap at the top and bottom?

CIMG5987_zps1b5db602.jpg
CIMG5990_zpscf85106e.jpg
CIMG5989_zps36e1b2d3.jpg
CIMG5988_zps8705b47f.jpg


The original valance had been attached to the wings by a couple of nuts, bolts and large washers. I'd got a few stainless brackets to fit as these can be a bit of a pain to get off if they corrode badly. All was going well on the refit until I tried to loosen one side to make an adjustment and the bolt seized on the thread :evil: I was not a happy chappy and my attempts to release the nut so I could use the rest of the bracket resulted in the thread being stripped so that was effectively trashed. I ended up having to refit bolts on that side. Other than that little hiccup the valance went on no bother.

The grille was refitted as was the bumper. I left all the bolts on the bumper and the outer bumper irons (which were removed to allow the valance to come off) loose to ensure everything fitted prior to tightening. Refitting the fog and spot lamp under the bumper was a bit of a headache though. There is next to no access to the back of the bracket because of its shape. There is also no access to the lamps' top swivel joints when they are mounted. So it's a case of aligning everything as best I could, swinging the lamp mounting bracket vertically down to tighten the top swivel joint then pushing it back into place and tightening, hoping everything is still in place. It's then slow progress with a ring spanner, half a flat at a time until tight. The largest socket in my 1/4" drive socket set is 1/2" (bolts are 9"16") and my 1/2" drive ratchet is too chunky to get behind the bumper without fouling on the valance. It's all back together again now and I've fitted the badge bar again too. I've used stainless bolts and domed nuts on the outside of the badges to make it all look neat.
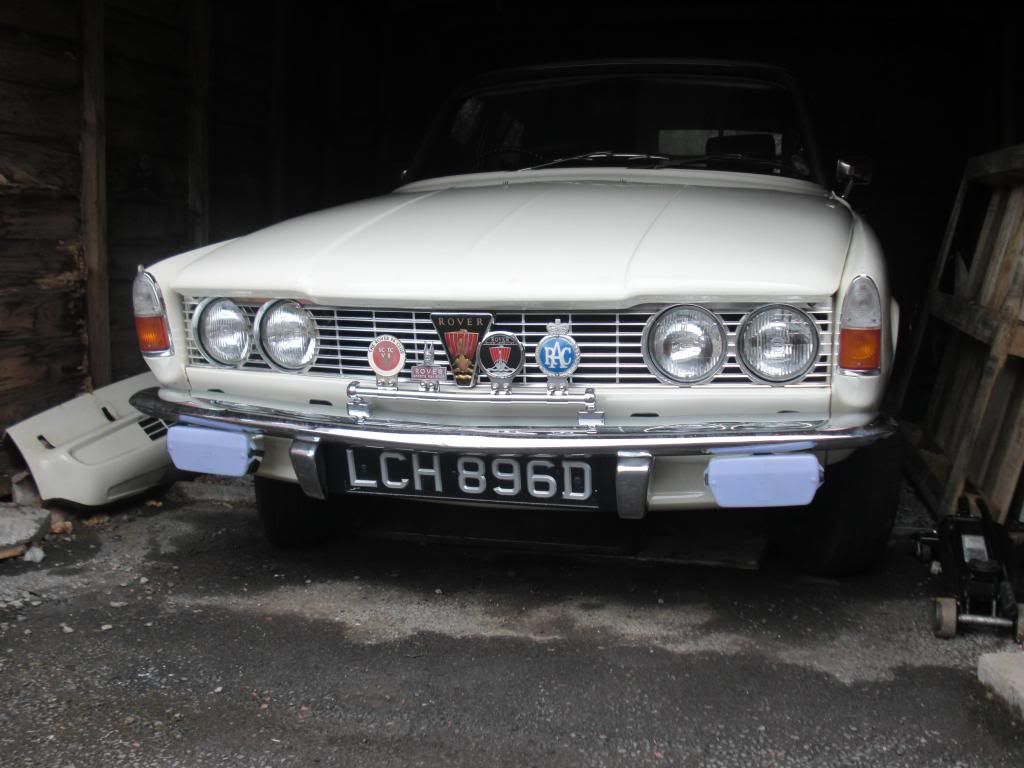
CIMG6001_zpsffde4eb6.jpg


No massive gaps now

CIMG6000_zpsfba47a11.jpg
CIMG5999_zpsc9bea57e.jpg


Anyone need an S2 front valance in very good condition?

Dave
 
Looks very good indeed Dave :) The light grey covers on the lamps certainly suit the overall appearance of Lady C.

Were the Rover grille badges ever remanufactured?

Ron.
 
Back
Top