1970 Rover 3500 - EMF

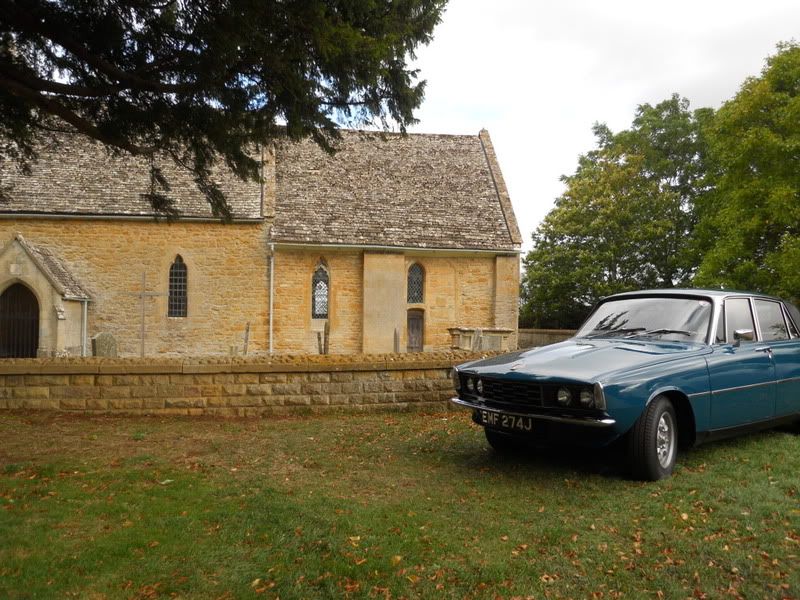
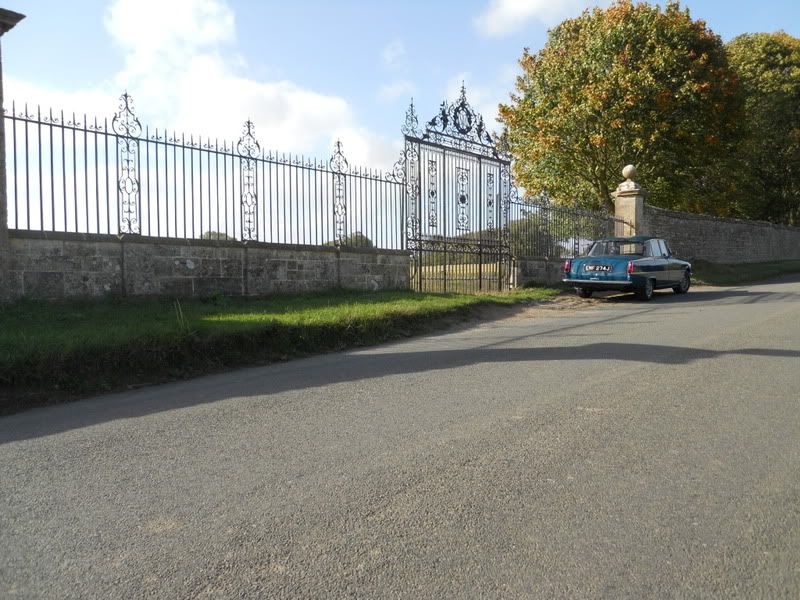
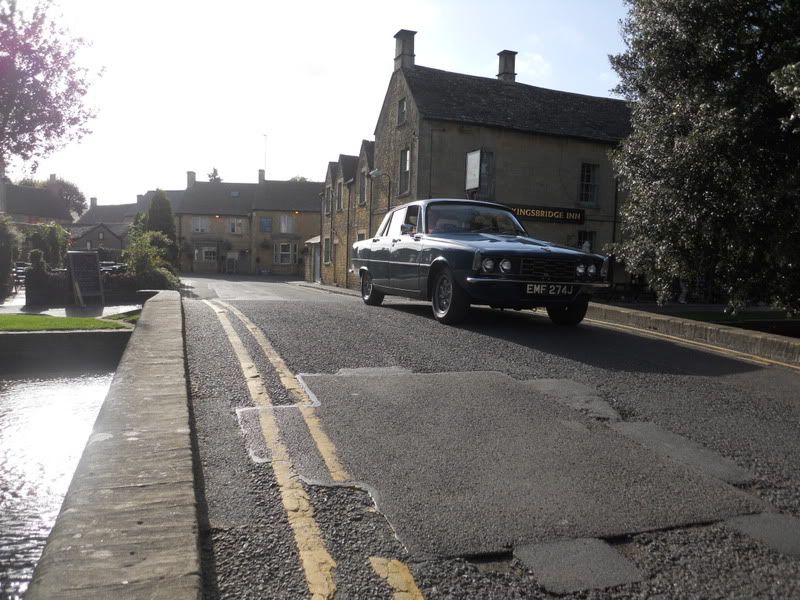
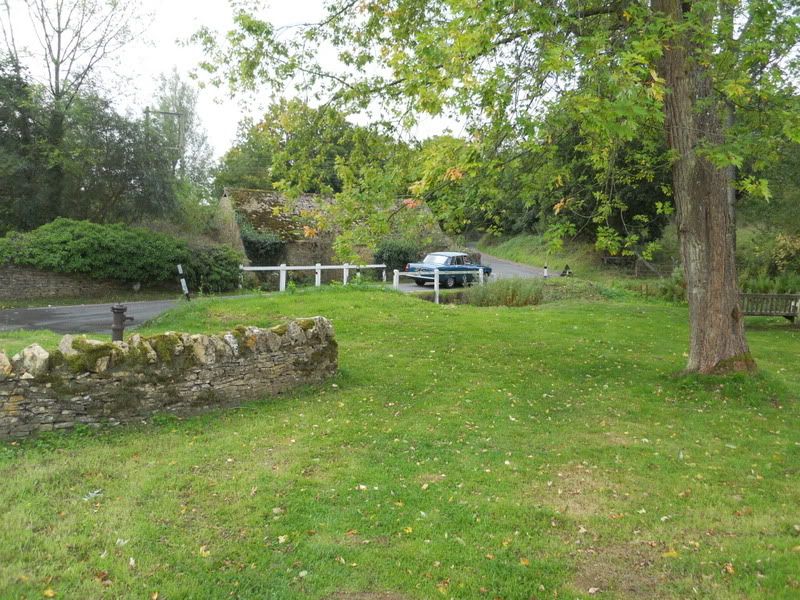
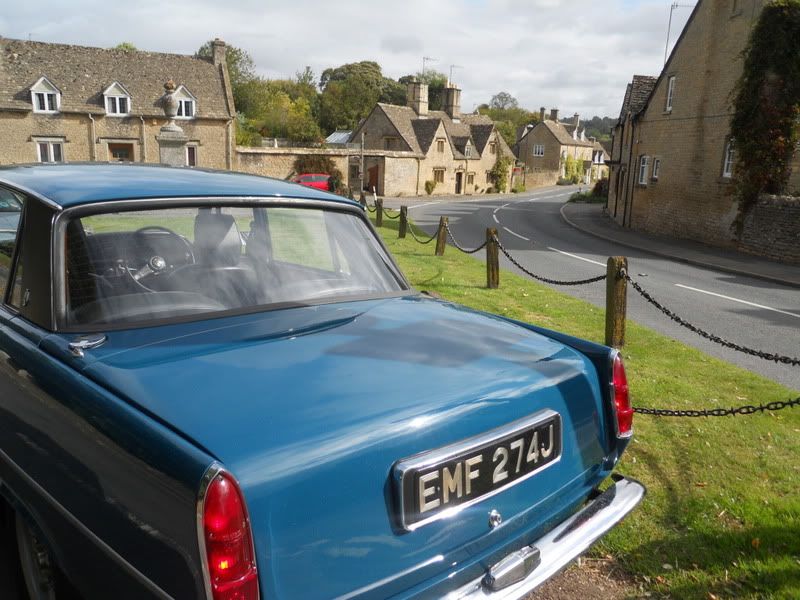
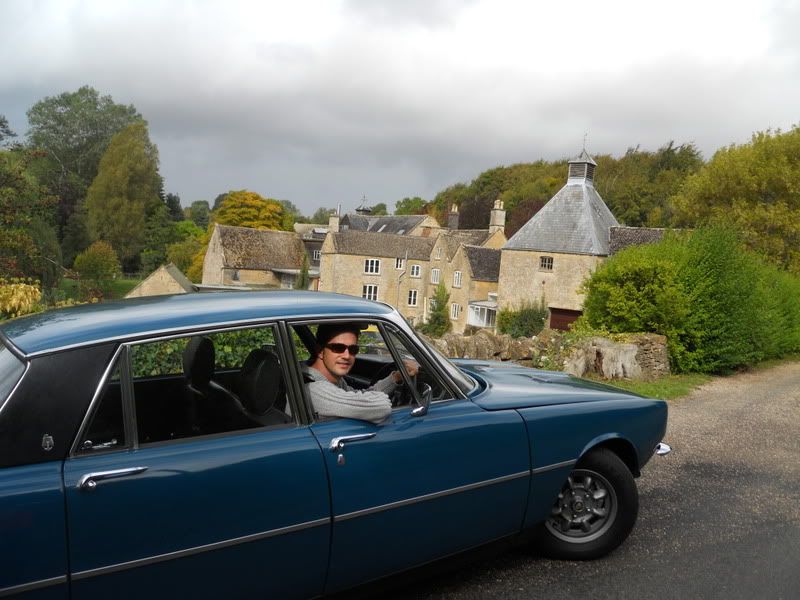
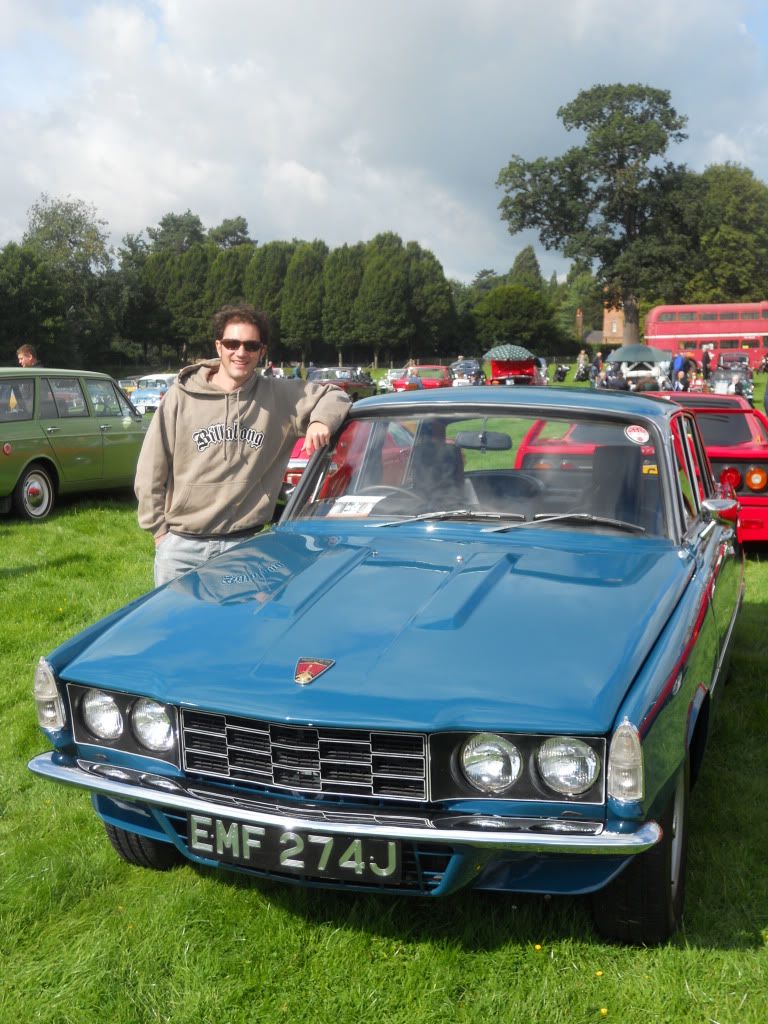
Thanks for all the compliments guys. Here's the obliagtory first car show photo - Capesthorne Hall on Sunday - and no that's not an F40 in the background.

DSCN7117.jpg


Dave3066 said:
Ooooh that does look very good :D

Excellent beading on the paint too. Shows a good seal. Did Clive use wax or a sealant, or is that from the final laquer?

I see you've gone for the early rear light clusters. Will you be fitting a reversing light at some stage?

Dave

He just used a basic wax to seal the paint, I'll give it a couple of coats of Meguiars Gold Class next week though.

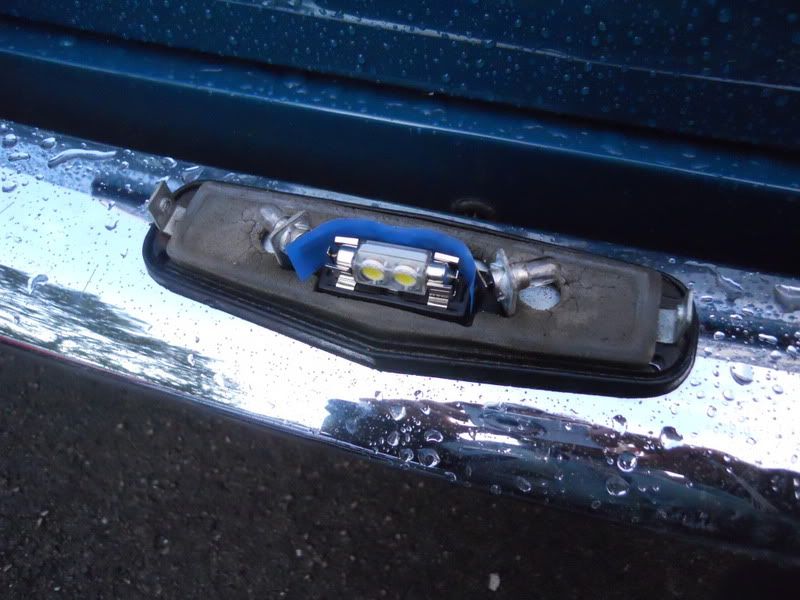
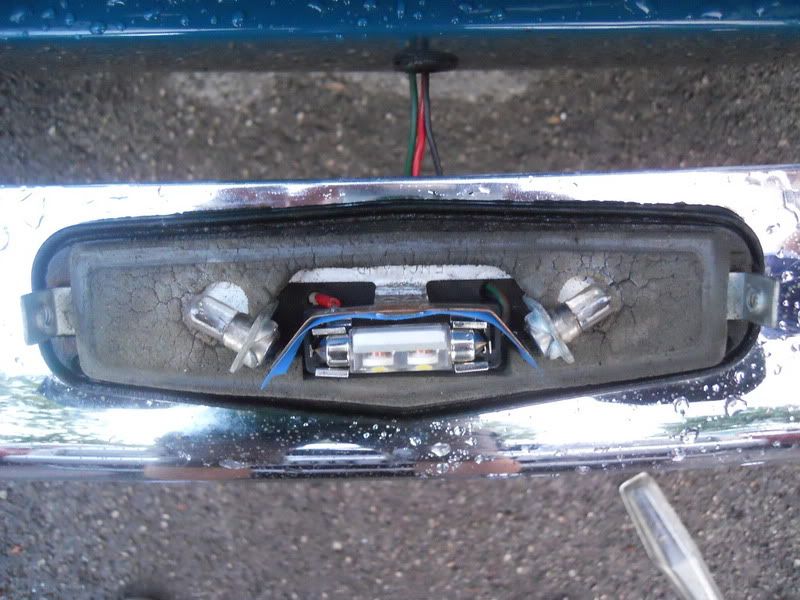
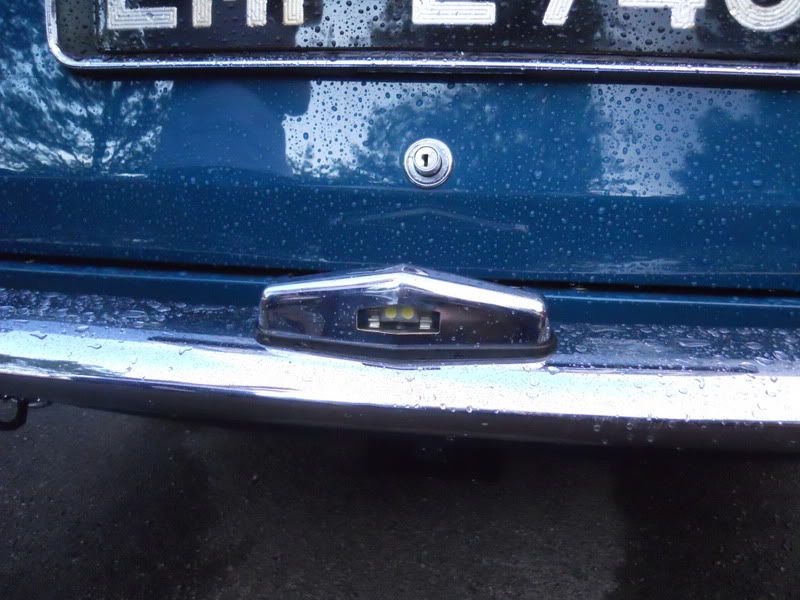
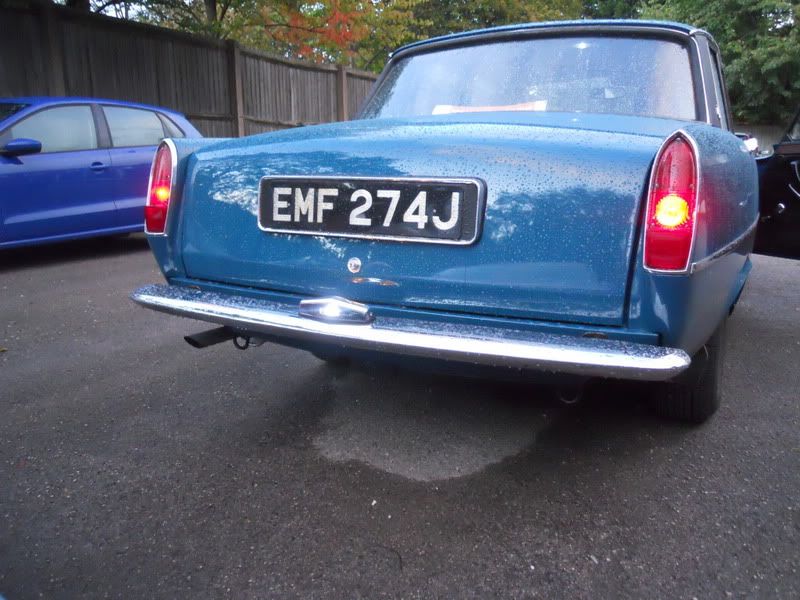
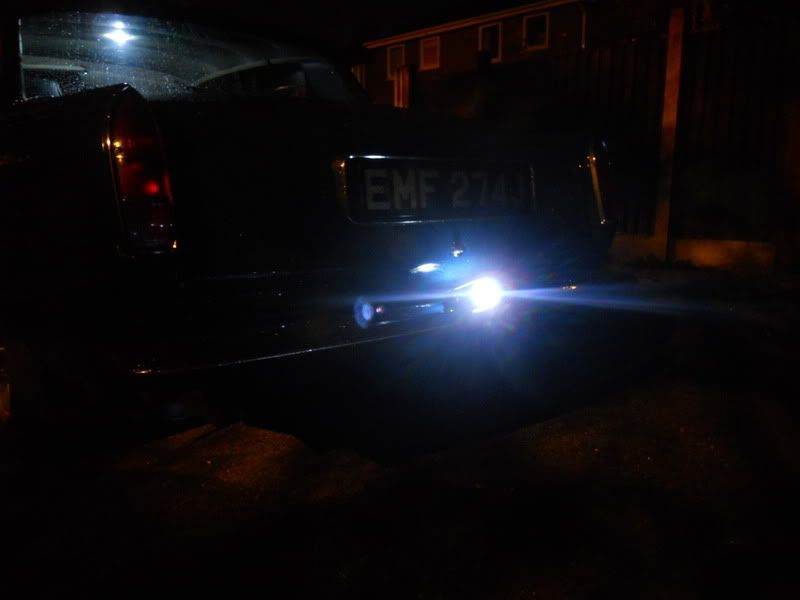
I'm working on a reversing light at the moment - I've had an idea something a little different. I've only changed the lenses on the rear light so could go back to standard if needed. I think the series 2 reflectors are an absolute abortion though and I'm glad to see the back of them.

chrisyork said:
Well now. Back in time for Rugeley! What odds are you giving on silverware to go with it!

I shall look forward to seeing you and EMF there!

Chris

Silverware!?! Crikey, well that'll be down to you lot to vote for it if you think it's worth it.
 
I love the colour, i will be interested to see what you come up with at the rear, i do like the rear reflectors in the light surround than the reverse lights nice touch, and a lovely car
marcus :mrgreen:
 
The car's looking absolutely amazing now. I like the discreet modifications, they really seem to work well with the car! One of my mates was saying that his Grandad was speaking to someone called Paul with a lovely P6 the other week, so I can only assume that it was you! :D
 
Thanks Fraser, yes that was me! It was just a random chance meeting at the Capesthorne Hall show and they had their two Mercedes 230E's there. He started telling me about his Grandson's friend who'd bought a yellow P6 from down south and had it towed back home etc, and I suddenly realised it was you.
 
Right then, a bit of housekeeping to do here now that the RP6C National has been and gone and I've had chance to empty the camera.

After picking EMF up from Clive Annables on the Bank Holiday weekend it became apparent that there wer a few bits letting the side down which needed to be sorted out asap.

Firstly the door upper trim bits - the black plastic bits that the formica cards slide into - were badly faded as was the steering column surround. I had a look around various hobby and car accessory shops before I spotted some Flexible Vinyl Paint from Halfords. It actually soaks into the surface of the plastic and leaves them looking like new as you can see here, freshly painted on the left, cleaned up and ready for paint on the right. The finish is a nice deep stain black and I'm pleased with the results.

DSCN7130.jpg


I also gave the wheels a quick spruce up to get rid of the chips and scratches. Not a professional job - I just let the tyres down so that I could mask them off neatly, but it came out ok I think.

Sanded down and ready for primer.

DSCN7132.jpg


After 2 coats of white primer.

DSCN7133.jpg


And then the finished items after 2 coats of silver and further 2 coats of lacquer outside the Hawksyard Estate at Rugeley.

DSCN7136-1.jpg


I think I got caught up in the excitement of the day and I must admit to being ever so slightly dissapointed that I didn't pick up a prize, but in reality whilst it's a nice car now, it's nowhere near standard of the guys who won trophies. At the end of the day though I'm not doing this to win anything, it's all for my own pleasure and I wouldn't want to finish up with something that's too prescious to use. Which brings us on to....

After Rugeley we didn't go home but went to stay in the Cotswolds for a couple of days where are had a thoroughly enjoyable time (inspite of the tail end of Hurrican Katia) cruising down countyr lanes and through pretty villages. We thought we'd have a go at some FrazzleTC style pictures along the way and here are a few of our favourites.

DSCN7165.jpg


DSCN7178.jpg


The bridge in Bourton on the Water.

DSCN7179.jpg


DSCN7182.jpg


The village green at Upper Swell.

DSCN7185.jpg


Donnington Brewery.

DSCN7187.jpg


I have a few more which I shall post in 'The View From the Windscreen'.

More to follow soon.
 
rockdemon said:
That blackening stuff sounds interesting!

Your car looks fabulous - that's your prize :D

Rich

Thanks Rich, you're right. I'm not normally bothered about that kind of thing but I got carried away in the day.
 
Please please don't become a trophy chaser, I was talking to a chap yesterday who was adamant that he should have won a prize and wanted to see the score sheets :roll:

Just enjoy the car, and the shows, and you just never know, you may get a trophy one day when you least expect it. The car looks fabulous by the way, wheels look great, refurbing wheels is never fun.
 
Don't wory Richard I shan't. As I said I think it was just the excitment of the day and it being all shiney and new. Normal service has been resumed - it spent 3 days being sprayed with mud and battered by twigs and branches while we were away during those strong winds so it's had it's first scratches now.
 
Re: 1970 Rover 3500 - Reversing light

Another mini project I've been working on is what to do about a reversing light now I've fitted early series 1 tail lamps with integral reflectors which fit in place of the reversing lamps in the normal series 2 versions.

The easy option would be to find an early series 1 lamp and fit it under the rear valance or bumper, but to me that looks like an after thought like the series 2 reflectors that I just got rid of. So, I set about looking for alternatives that the factory designers could have thought about at the time and there's space on the number plate plinth either side of the number plate, but I'm not sure there's enough depth to flush mount a lamp without cutting into the boot lid underneath.

The other prime candidate was the numberplate lamp itself, perched on top of the bumper with just two little bulbs in there. I found a festoon bulb holder and a super bright LED lamp which fits perfectly in between the other bulb holder.

DSCN7240.jpg


The new bulb holder is bolted down using the existing hole in the bumper where the wire passes through. There isn't really enough room for the wires to go under the bulb holder and out of the same hole so I had to drill two new holes for the wires. The red wire is for the number plate lights and is now soldered to the bulb holder as the original bullet connector was in the way. The green/brown wire is for the new reversing lamp and exit through the other side.

DSCN7241.jpg


The blue tape is temporary insulation in case the bulb holders may work lose and touch. It didn't stick very well so I need to find a better solution in the future. The wires are now encased in a black sleeve to neaten it all up and all the connectors are pushed inside the rear valance.

Here's a shot with the chrome casing back on. I cut what I thought was a pleasing shape out of the outer cover for the new lamp to shine through, I think the bottom edge is a bit too low though.

DSCN7239.jpg


The lamp isn't open to the elements, there's a glass cover over it, and since that picture was taken I've been experimenting with old lamp lenses to disguise the bulb and refract the light a bit more. It's certainly bright enough though.

DSCN7238.jpg


DSCN7243.jpg


One other thing I need to do it make a partition inside to prevent light spilling out from the other bulbs, but other than that I'm quite pleased with the results.
 
Loving that reverse light Idea Paul nice compact and neat too :D

I agree that the prize is the car after all it was built with the intention of using and enjoying it so carry on in that vain.
EMF is looking wicked :!: :!:
 
That's an excellent solution, in fact I thought I had suggested it, but looking back I didn't, I think I'd thought of it, but due to the glass under the cover I had discounted it, but you've made it work brilliantly. :D

Wonder if you could just acid-etch, or spray the glass to mask the bulb.

Now why didn't rover think of that in the first place ?, then we wouldn't have needed the horrible S2 reflectors.
 
The car's looking fantastic, and I like the way that you're making these discreet and classy modifications. The pics are great too!
 
Thanks guys, I wasn't sure what you'd all make of it, but I'm pleased you like it.

webmaster said:
That's an excellent solution, in fact I thought I had suggested it, but looking back I didn't, I think I'd thought of it, but due to the glass under the cover I had discounted it, but you've made it work brilliantly. :D

Wonder if you could just acid-etch, or spray the glass to mask the bulb.

Excellent idea, window frosting spray! I also have a spare cracked front indicator from my V70 (it's bigger than the P6 headlamps) that could yield a nice lens cover and reflector so need to try that too.

webmaster said:
Now why didn't rover think of that in the first place ?, then we wouldn't have needed the horrible S2 reflectors.

They did, sort of! The reversing lamps on the P4 and P5 are in the lip of the number plate surround, but they're too large for a P6 boot lid
 
webmaster said:
Wonder if you could just acid-etch, or spray the glass to mask the bulb.

Bead/sand blasting the glass gives a nice long lasting 'frosted' finish. You can mask off the areas that don't need blasting and it works really well.

By the way, nice idea with the reverse lamp Testrider. I'm also loving the debadged look on your car, I'm thinking of going that route with my car when I eventually get around to painting it.

Will
 
Back
Top