

You are using an out of date browser. It may not display this or other websites correctly.
You should upgrade or use an alternative browser.
You should upgrade or use an alternative browser.
1967 2000TC - HOT
- Thread starter testrider
- Start date
v8guy
Active Member
testrider said:Ah, but it's taking 3 times as long! I spent almost 2 hours last night on making the rectangle shape for the last piece of boot floor and it's still not ready to be welded in yet.
Some one once said "the attention is in the detail". Great work Paul

testrider
Active Member
It's a while since I've had chance to work on HOT as I've been cleaning and painting engine parts on EMF instead. Back in the garage bending bits of metal and welding it was nice not to have to think about getting dirty hand print on something that I'd just cleaned.
About 3 hours of bashing and clattering got me this panel to fill in the remaining (I hope) hole in the boot floor.
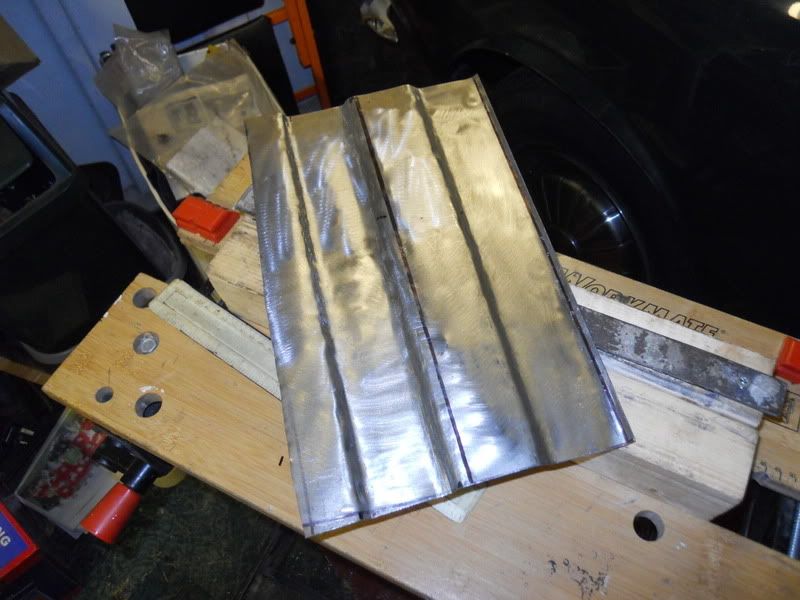
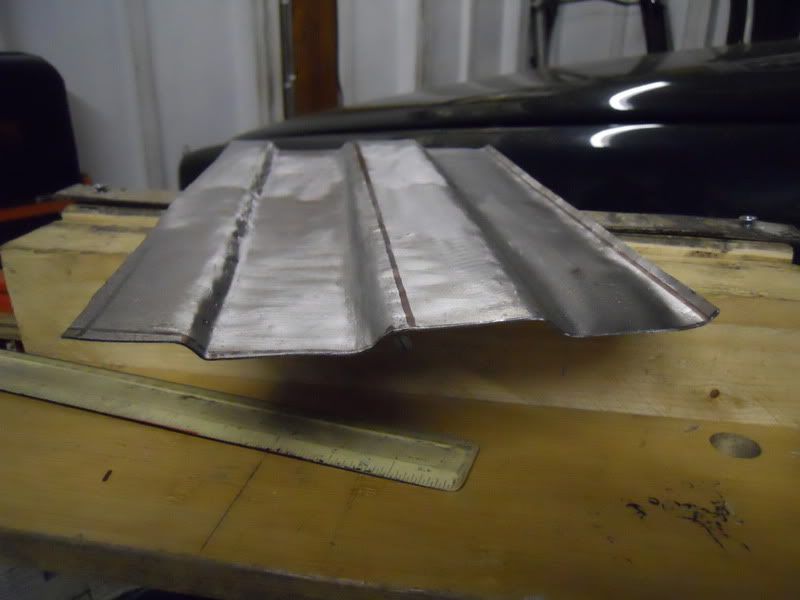
It's not perfect, but it's as good as I can get it. There's a tipping point where you think you can remove just one more imperfection and end up ruining all your previous work.
Here it is trimmed and welded into place.
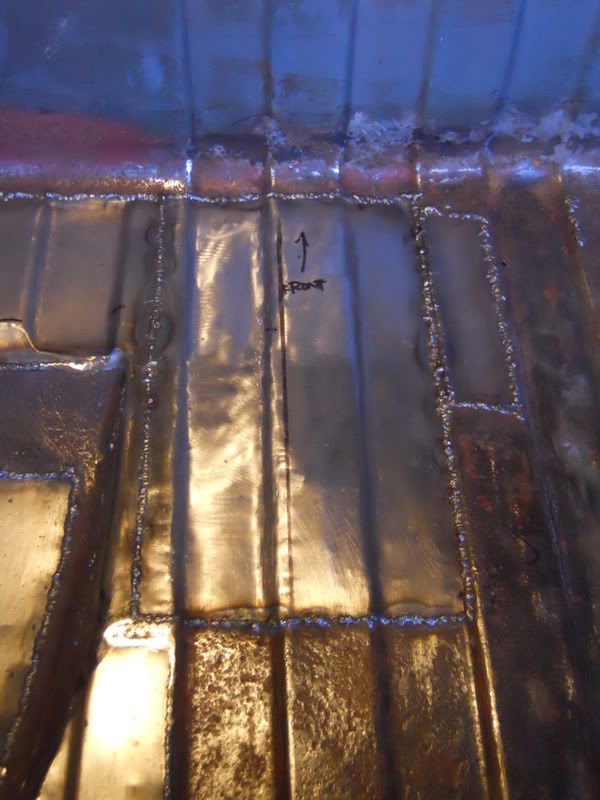
The welding is a bit blobby and the panel has bulged in the middle slightly, but the rest of the floor isn't flat either.

I think it's turned out OK and it'll look loads better when smoothed off and painted.
About 3 hours of bashing and clattering got me this panel to fill in the remaining (I hope) hole in the boot floor.
It's not perfect, but it's as good as I can get it. There's a tipping point where you think you can remove just one more imperfection and end up ruining all your previous work.
Here it is trimmed and welded into place.
The welding is a bit blobby and the panel has bulged in the middle slightly, but the rest of the floor isn't flat either.
I think it's turned out OK and it'll look loads better when smoothed off and painted.
Phil Robson
Well-Known Member
There's not a lot wrong with that!
testrider
Active Member
A mini update - slightly later than I anticpated, seeing as the last time I did any work on it was in May - I spent the last two Saturdays in the garage. First job was to smooth off the welds around the patches I put into boot floor and that inevitably showed up a few pinholes to fill in. I then put two coats of rust converter on the original steel to neutralise any surface corrosion.
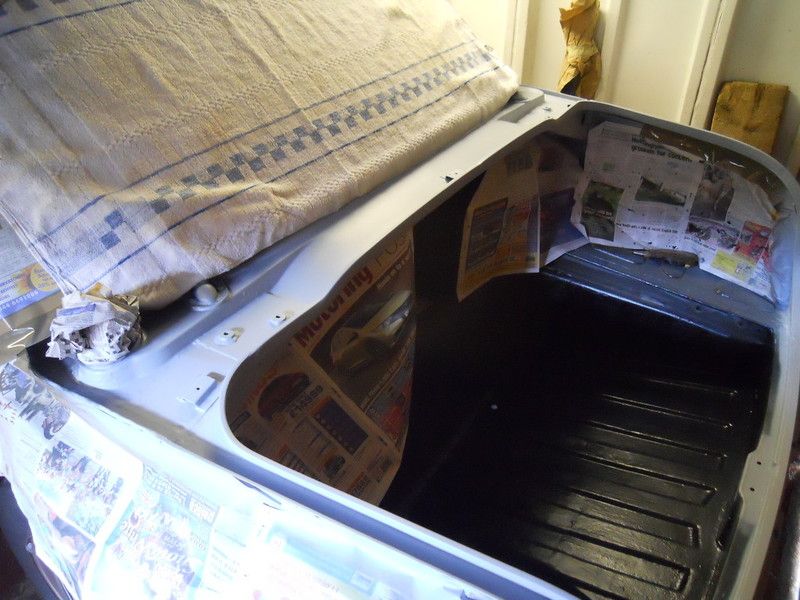
Once that had cured I covered the whole floor with a coat of Epoxy Mastic.

I had a bit of paint left over so I started to cover the area to the left behind the wheelarch.

Overall I'm pleased with it and with another coat of paint the finish will be tougher and smoother. Then I've just got to do the underneath with just needs cleaning up and a bit of rust coverter, then paint.
Once that had cured I covered the whole floor with a coat of Epoxy Mastic.
I had a bit of paint left over so I started to cover the area to the left behind the wheelarch.
Overall I'm pleased with it and with another coat of paint the finish will be tougher and smoother. Then I've just got to do the underneath with just needs cleaning up and a bit of rust coverter, then paint.
happy days
Active Member
I agree very impressed
OrganDoctor
New Member
If you happen to be passing by this way...............
testrider
Active Member
chrisyork said:Come on Paul, we need to see that TC winning shows at a Rally near us..
Chris
I know, I know. I thought I'd get more time to work on it during the summer but I seem to have less - just two Saturdays in 10 weeks. At least the other side should be quicker if it needs all the same type of repairs.......
Dave3066
Well-Known Member
testrider said:At least the other side should be quicker if it needs all the same type of repairs.......
Yes that's what I though too.......9 months later.... :roll: Dave
testrider
Active Member
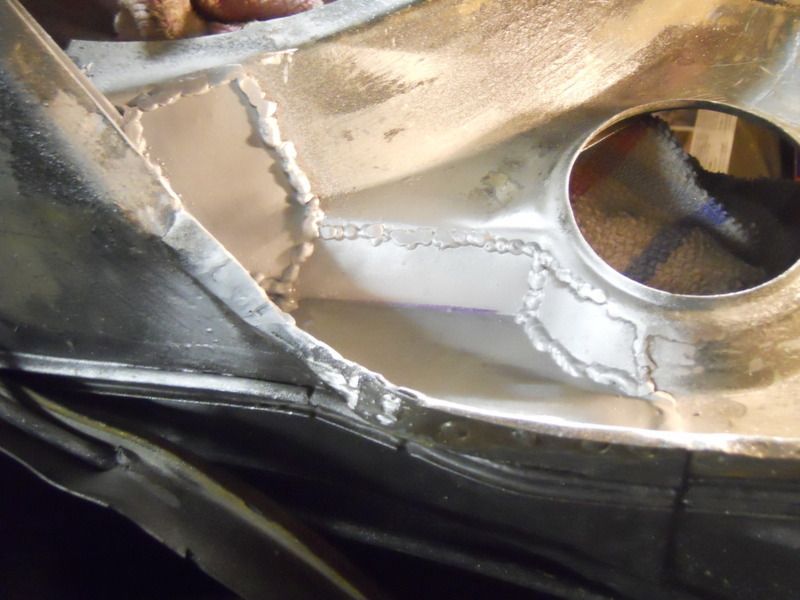
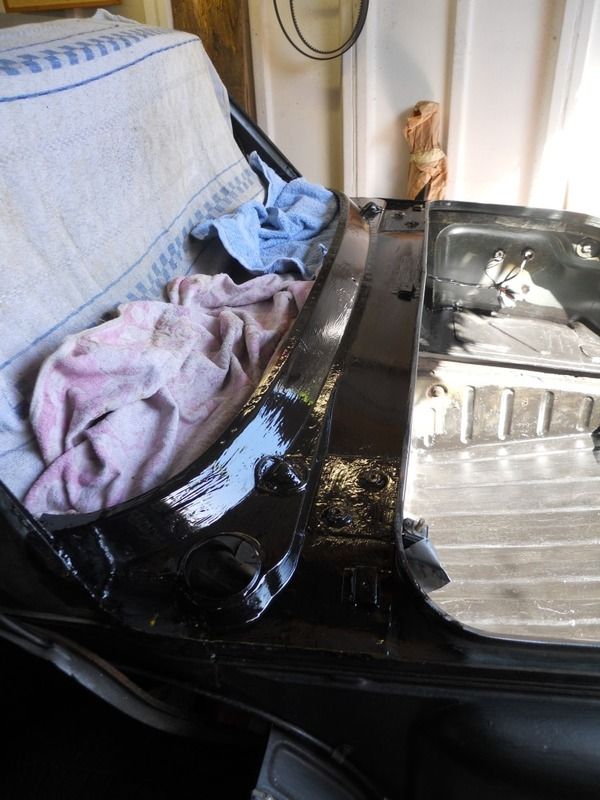
After getting the boot floor solid enough to stand in I had to repair the holes either side of the rear window that were letting water in to rot the floor out...
Here's the section replaced from the fuel filler up into the seal channel. It was done in 4 pieces due to the complex shape.

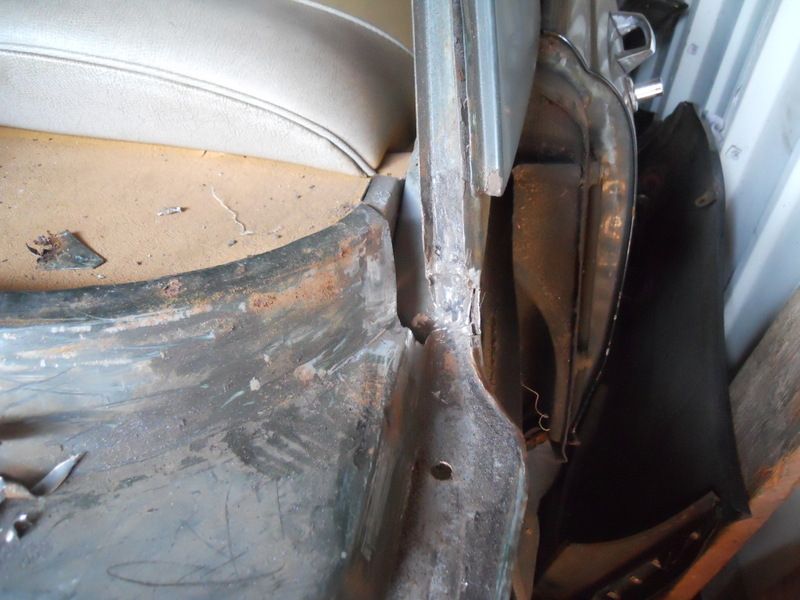
On the driver side the holes weren't too bad. Here it is cut out ready for repair.
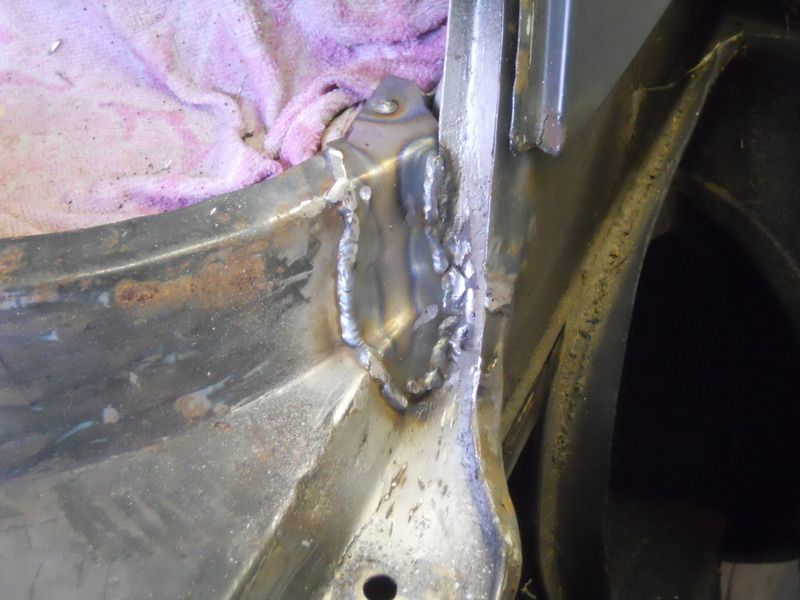
Given the potentially watery nature of this area I covered it in seam sealer to ensure any water can flow smoothly down and run off. I also welded up the mystery random holes that were either side of the decker panel brackets which were letting in water.
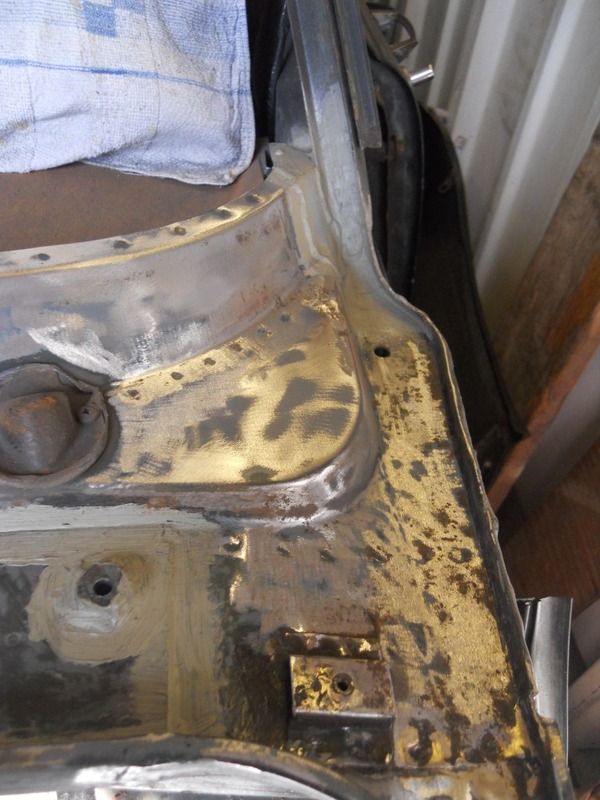
With all the welding done here I cleaned off the paint beneath the rear window and reapplied the seam sealer round the boot hinge mounts.
A good coat of Epoxy Mastic 121 should see it lasting for a long time to come. As it's a series 1 car I'll smooth this off later and paint it and the rest of the boot opening in Arden green.
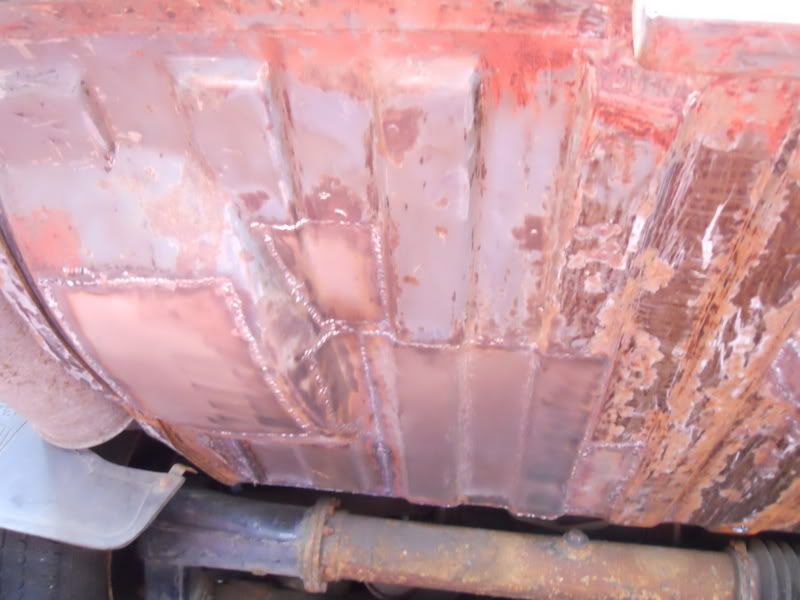
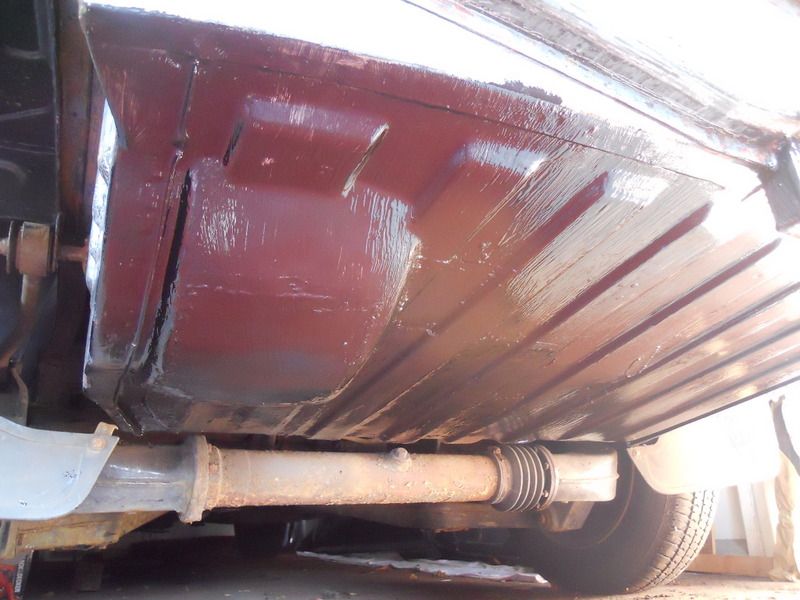
Whilst the paint was out, the underside of the boot floor got a covering too.
Next job is to get the boot opening painted and the glass back in, then I can turn the car round in the garage and start on the drivers side.
Here's the section replaced from the fuel filler up into the seal channel. It was done in 4 pieces due to the complex shape.
On the driver side the holes weren't too bad. Here it is cut out ready for repair.
Given the potentially watery nature of this area I covered it in seam sealer to ensure any water can flow smoothly down and run off. I also welded up the mystery random holes that were either side of the decker panel brackets which were letting in water.
With all the welding done here I cleaned off the paint beneath the rear window and reapplied the seam sealer round the boot hinge mounts.
A good coat of Epoxy Mastic 121 should see it lasting for a long time to come. As it's a series 1 car I'll smooth this off later and paint it and the rest of the boot opening in Arden green.
Whilst the paint was out, the underside of the boot floor got a covering too.
Next job is to get the boot opening painted and the glass back in, then I can turn the car round in the garage and start on the drivers side.
testrider
Active Member
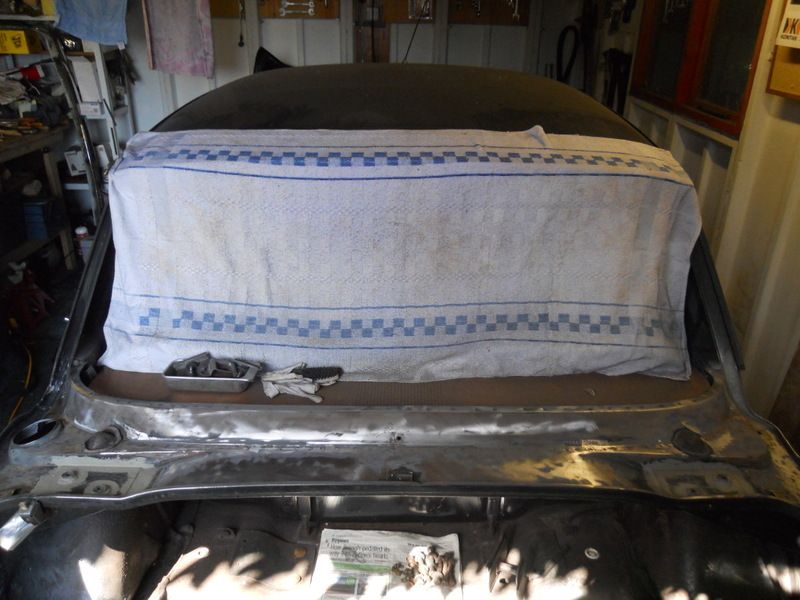
Here's the latest instalment of work on HOT which I'd hoped would be done by last April!
With all the welding on the back end finished I got some aerosol cans mixed up in Arden Green to paint around the boot opening.
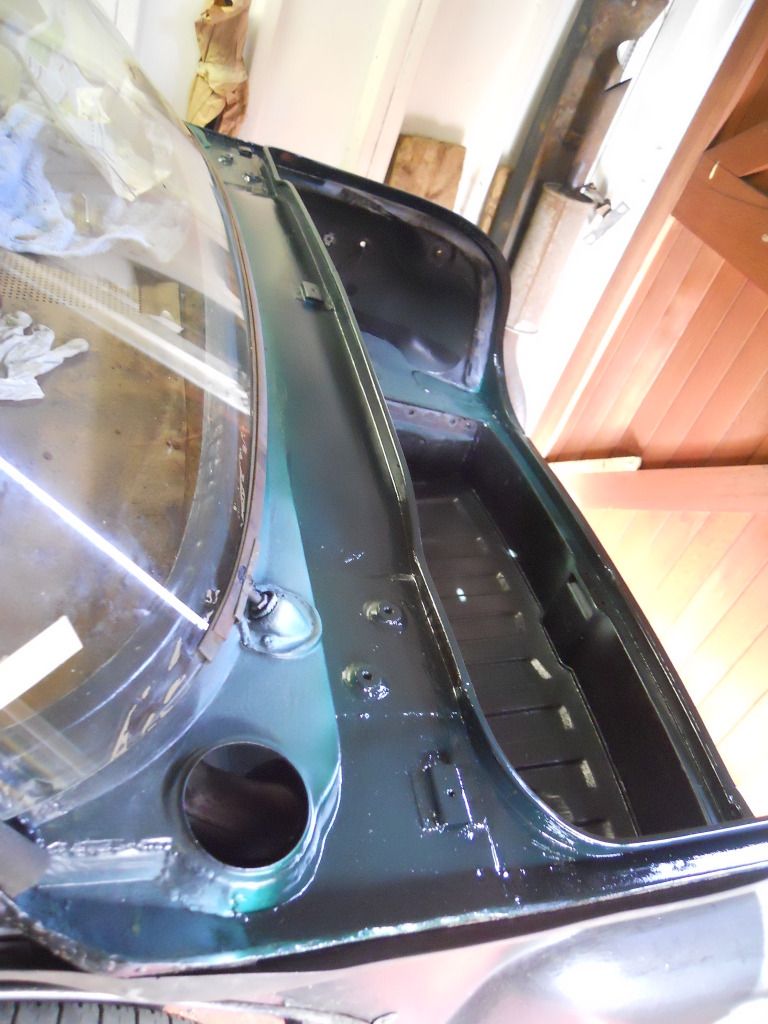
I wasn't sure about the colour match at first, but now one rear wing has been refitted I can see it's a good match.
With that passenger side base unit and boot area done (I'm not fitting the rear decker, bootlid or valance just yet as they need painting) I turned the car around to gain access to the driver's side sill and rear wheel arch.

I knew there were some repairs needed on this side as the last MOT tester thoughtfully marked them for me before writing a pass certificate.....
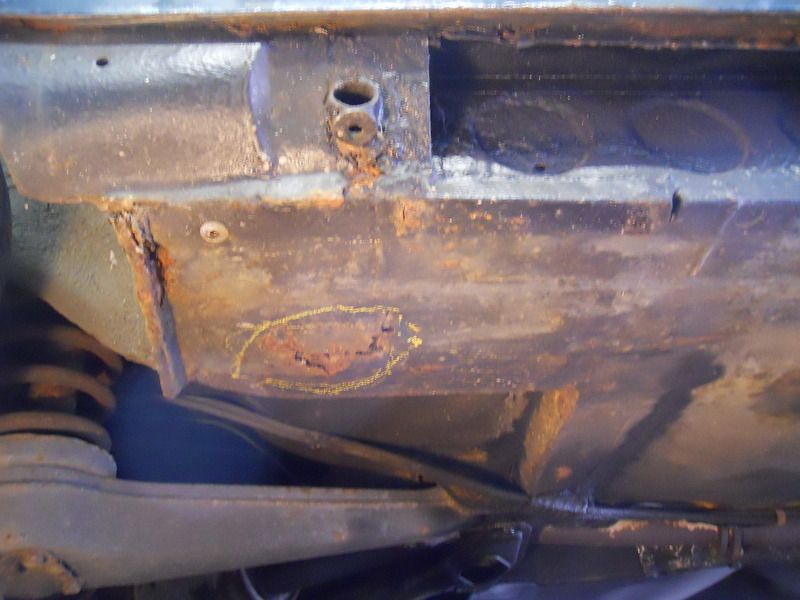
That quickly fell on the floor
Plenty of cavity wax in there (nearly ½" thick in places), maybe it won't be too bad along the reast of the car?
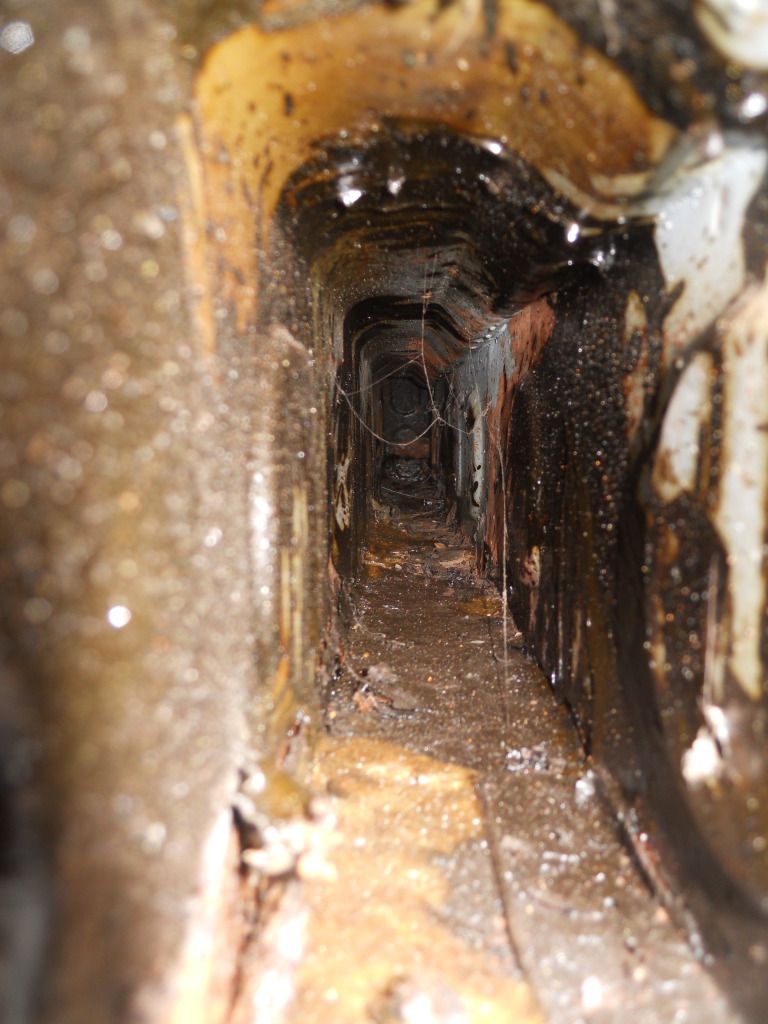
Or maybe it will.....
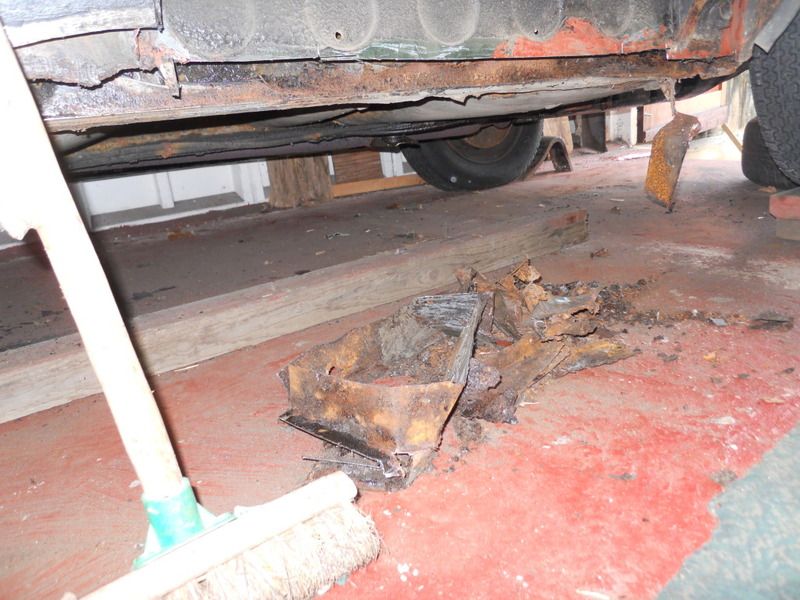
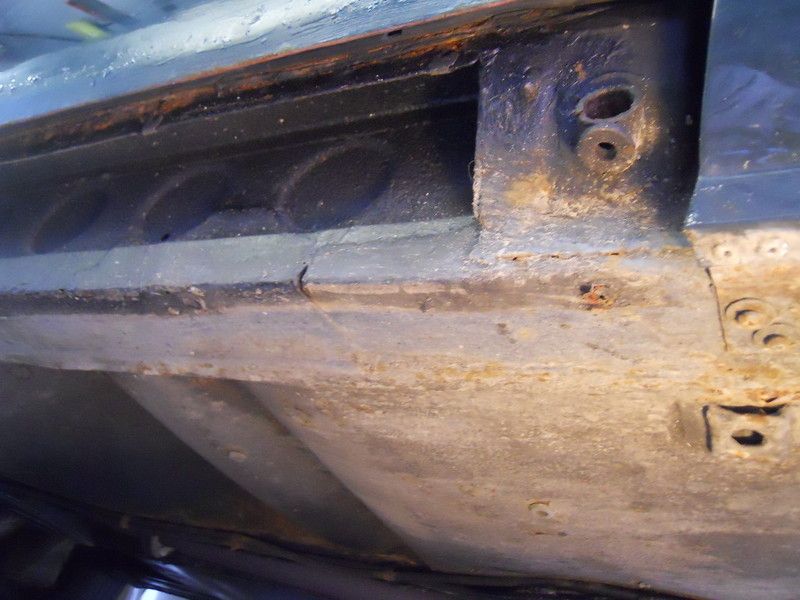
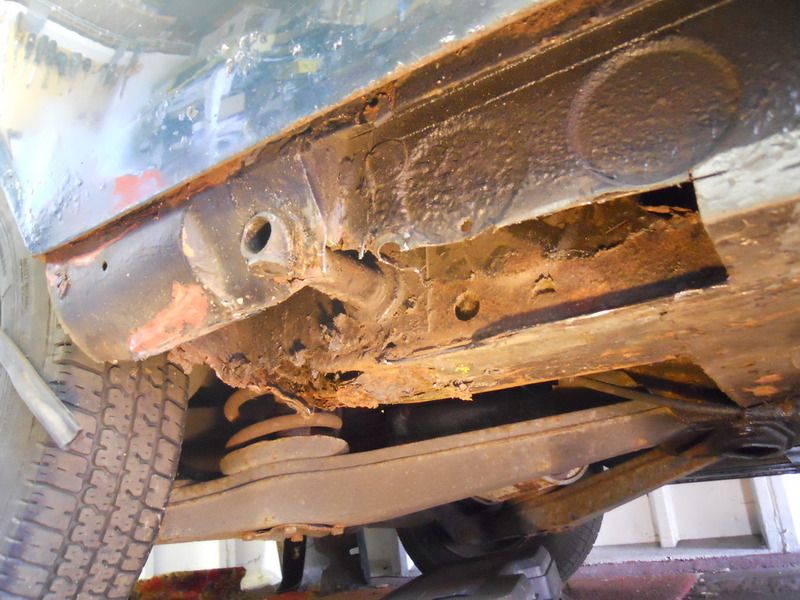
I had hoped that whoever did a nice job repairing the passenger side sill would have done both sides at the same time, but I wasn't that lucky.
Next job is to clean it up and get back to solid steel.
With all the welding on the back end finished I got some aerosol cans mixed up in Arden Green to paint around the boot opening.
I wasn't sure about the colour match at first, but now one rear wing has been refitted I can see it's a good match.
With that passenger side base unit and boot area done (I'm not fitting the rear decker, bootlid or valance just yet as they need painting) I turned the car around to gain access to the driver's side sill and rear wheel arch.
I knew there were some repairs needed on this side as the last MOT tester thoughtfully marked them for me before writing a pass certificate.....
That quickly fell on the floor
Plenty of cavity wax in there (nearly ½" thick in places), maybe it won't be too bad along the reast of the car?
Or maybe it will.....
I had hoped that whoever did a nice job repairing the passenger side sill would have done both sides at the same time, but I wasn't that lucky.
Next job is to clean it up and get back to solid steel.