Right folks, it's been a while since I've updated this thread (as you can see from the last post in late 2013) and a few people have asked how it's going. I have to admit I didn't do a lot on this car in the 2 years to date. Life got in the way a bit. We moved house etc etc and yes, I was getting fed up lying on my back or side welding so I lost interest. However, I've put in more hours on this car in the last 6 months than I have in the previous 3 years. A grand total of 40 hours, the majority of which (35) has been spent removing underseal. For that job I have removed 98% using a good quality scraper like this, most of it comes off in chunks.

the remaining 2% has been removed with a flat blade screwdriver for the fiddly bits and some tar remover solvent.
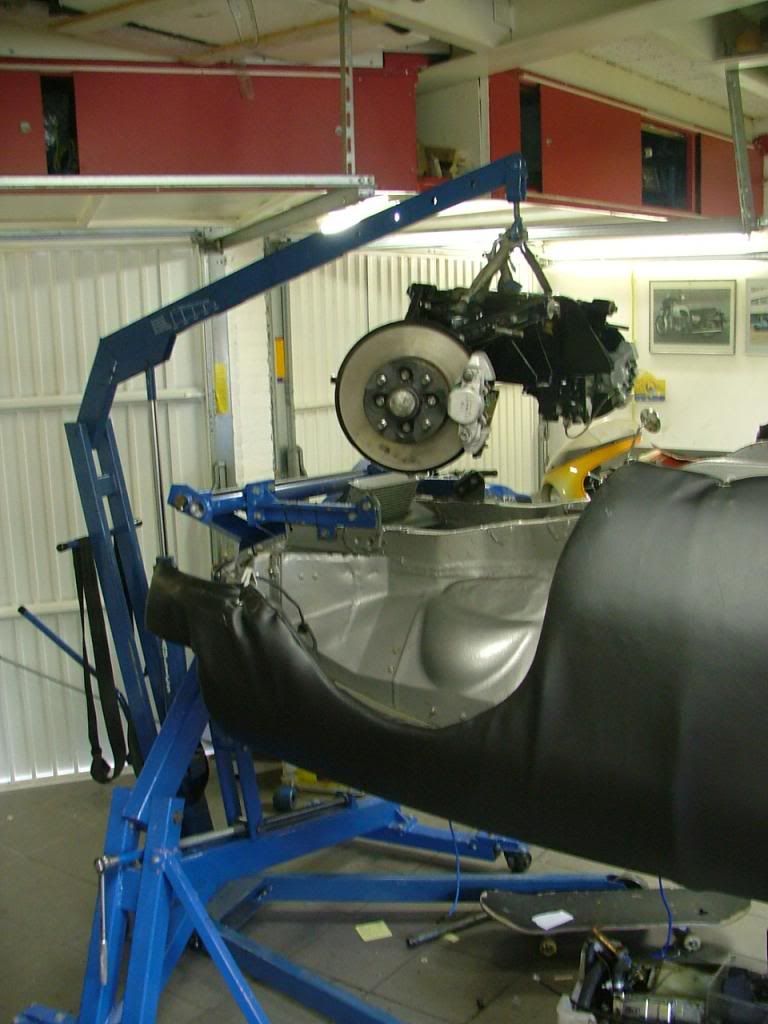
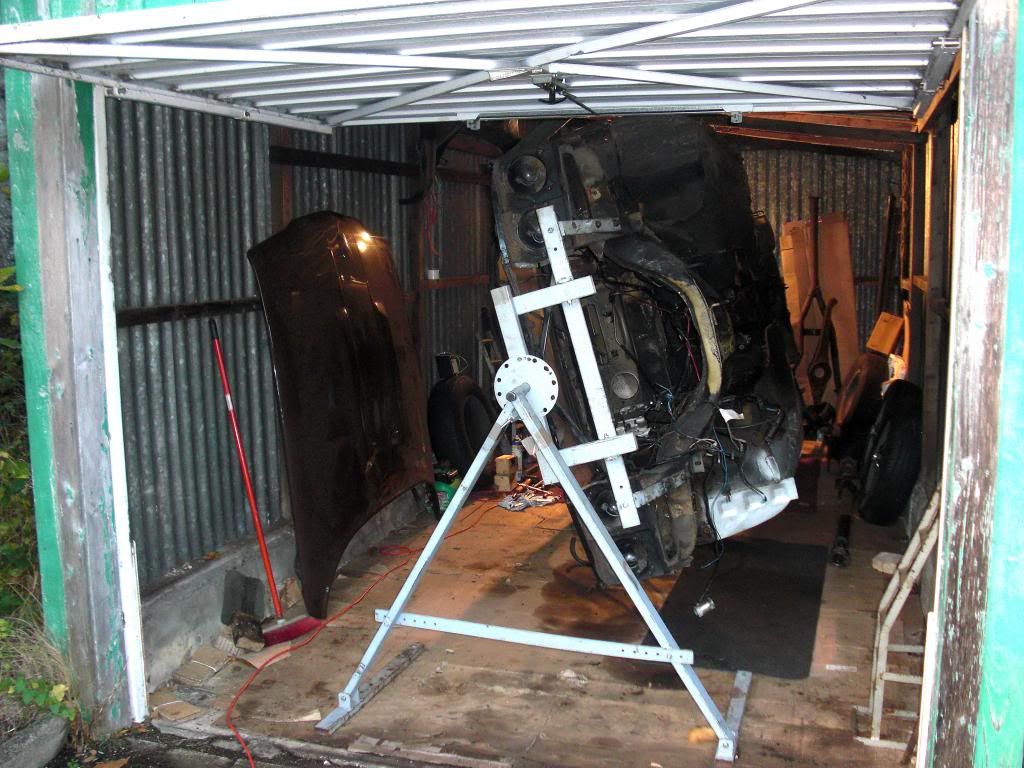
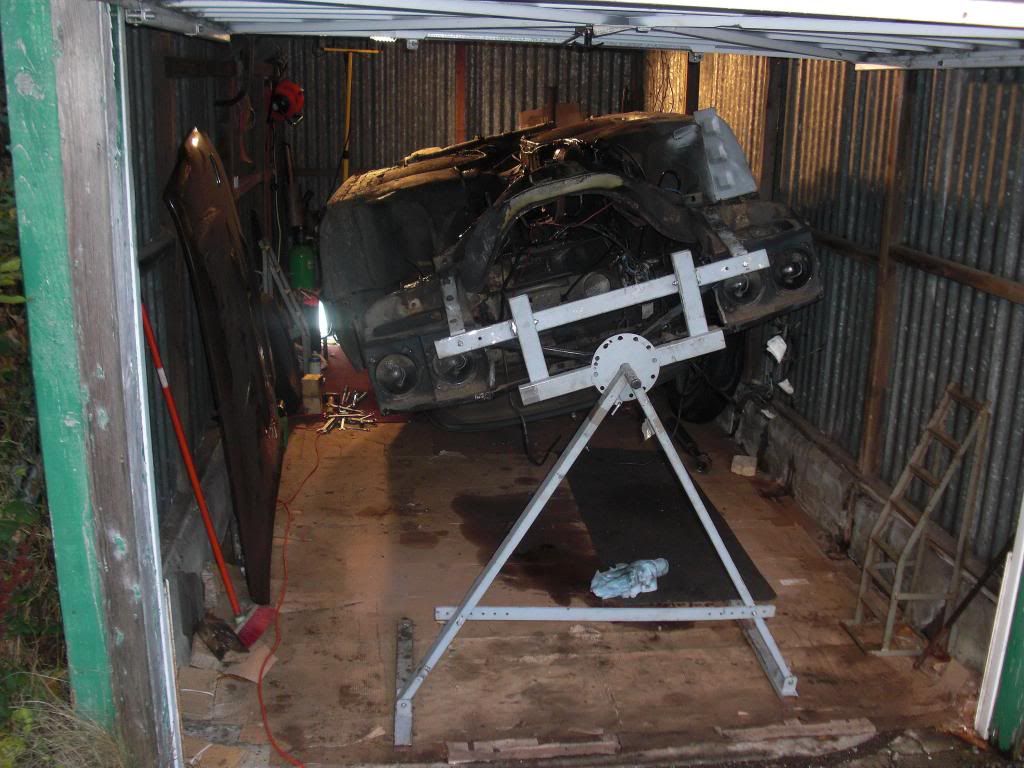
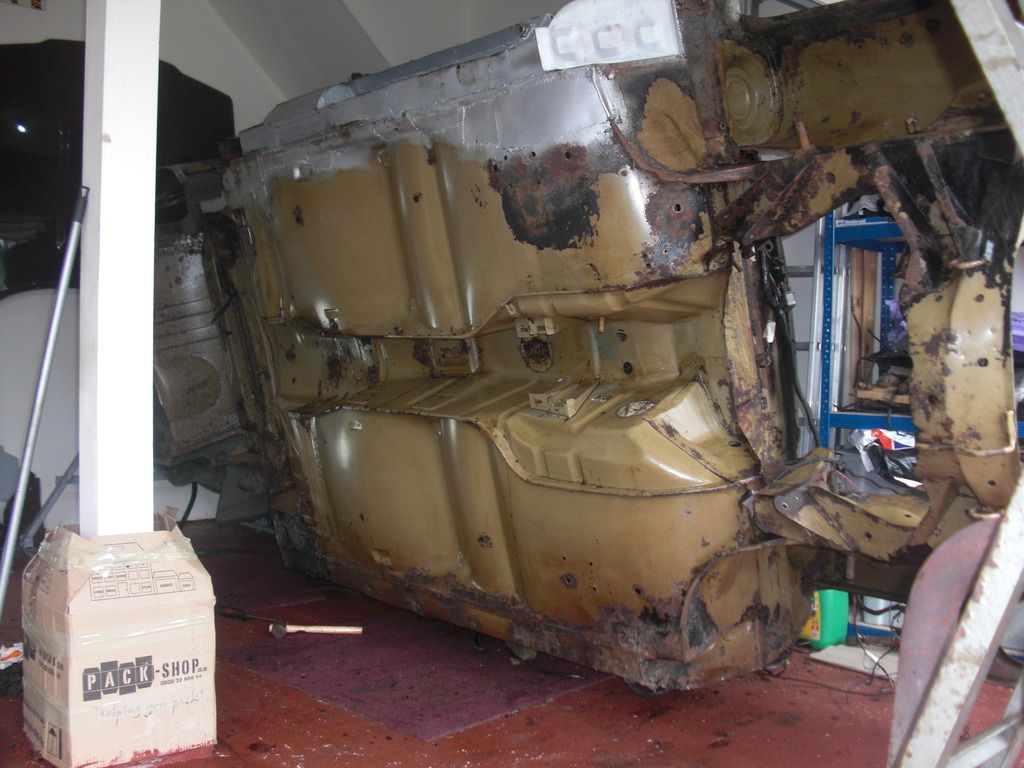
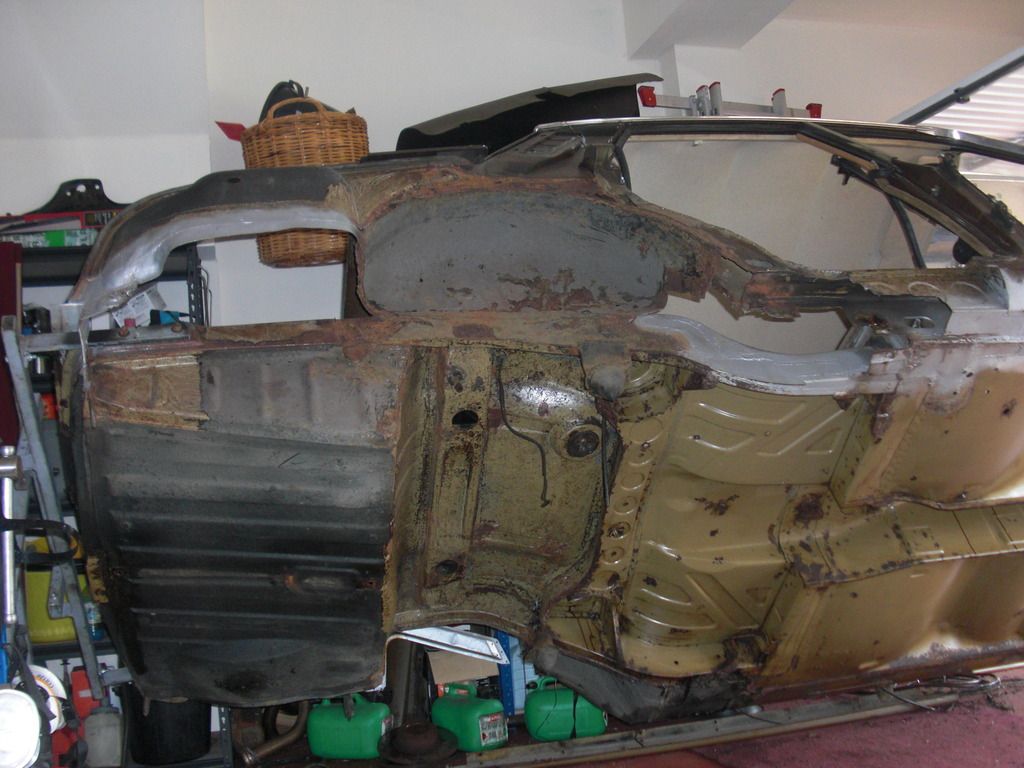
I'm currently at this stage
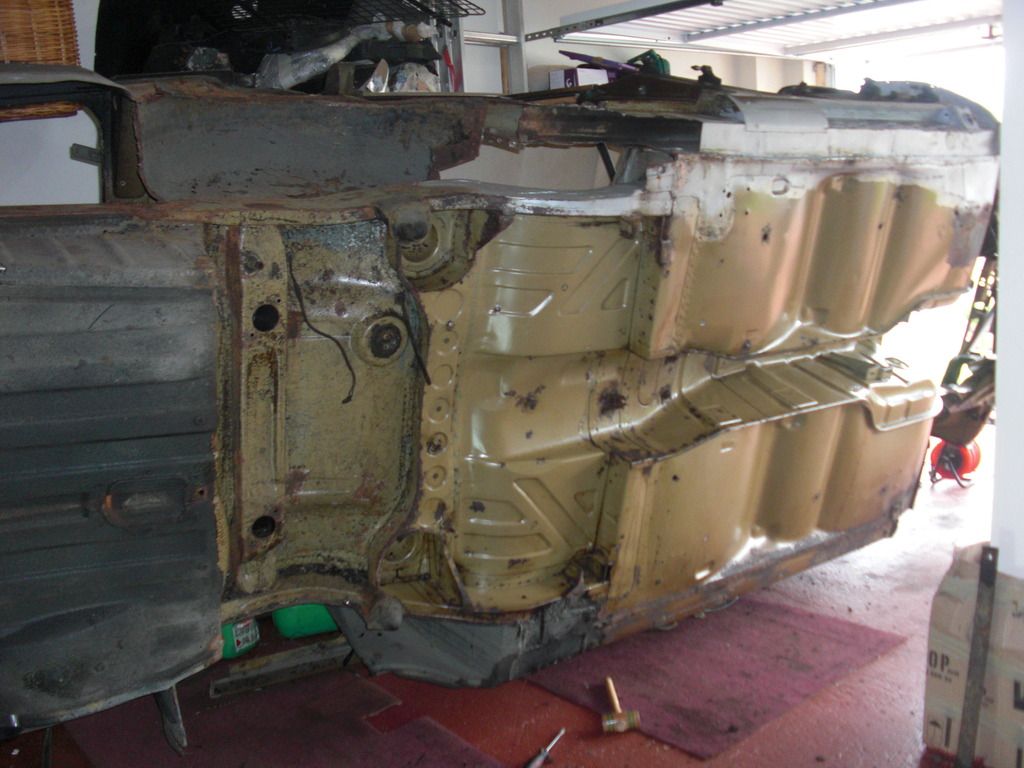
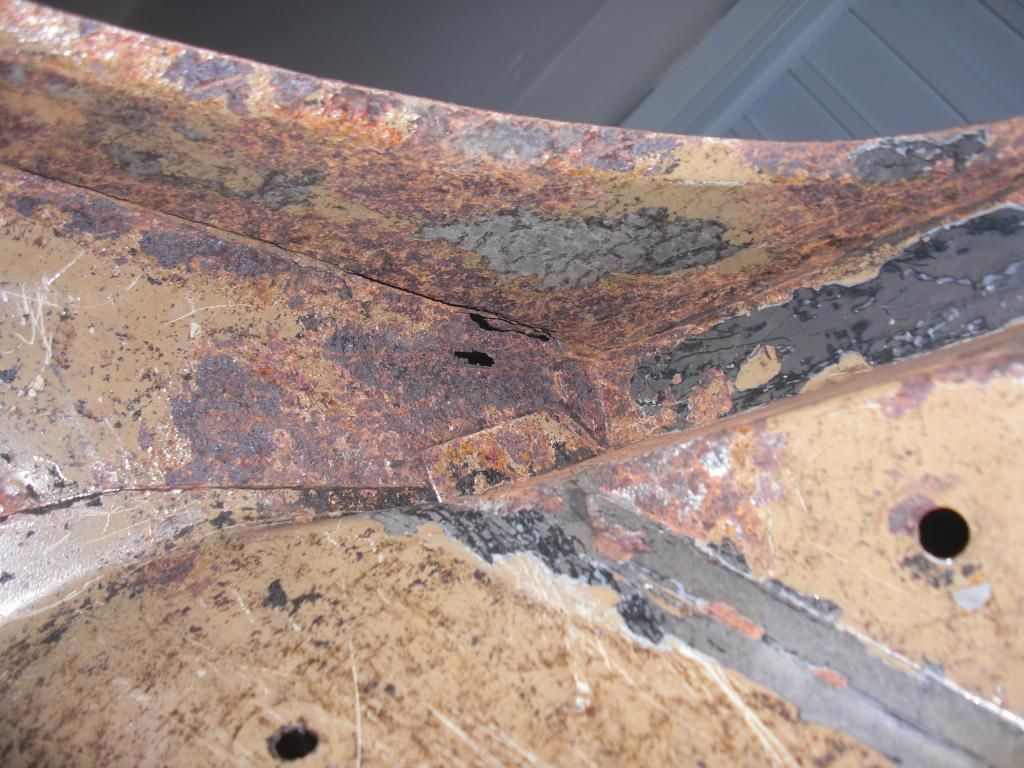
with just the boot and rear wheel arches to go, so one more session should see it all off. Verity is starting to reveal her hidden secrets too. She has clearly been in a front end knock at some time as shown by this crease in the engine bay
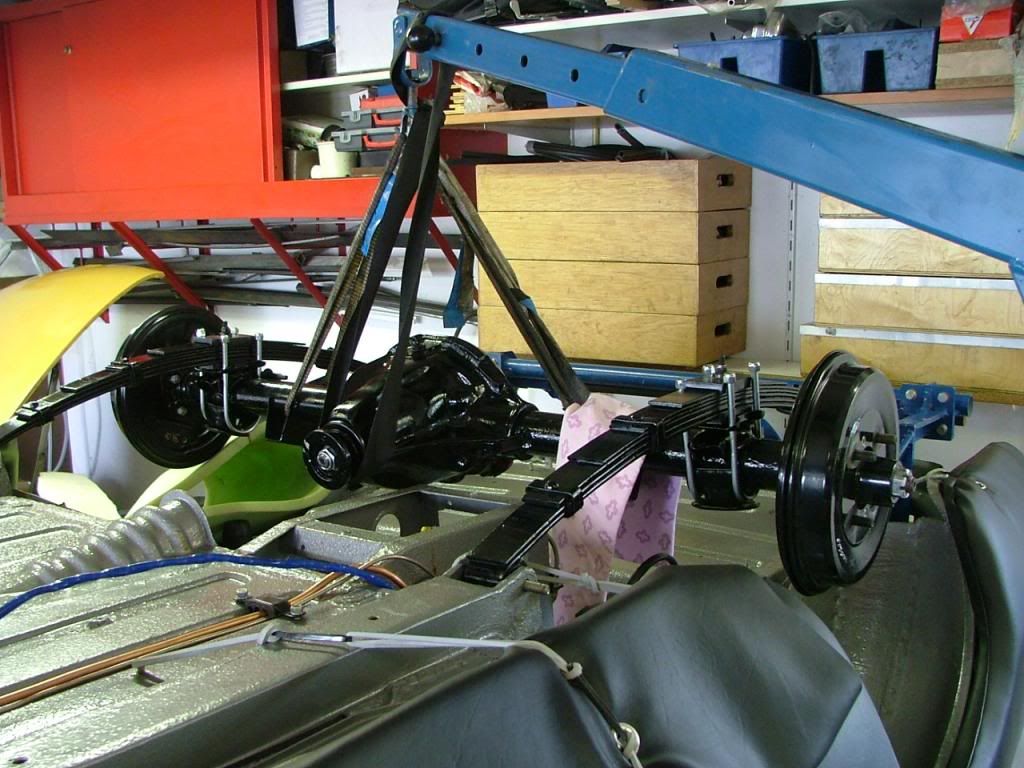
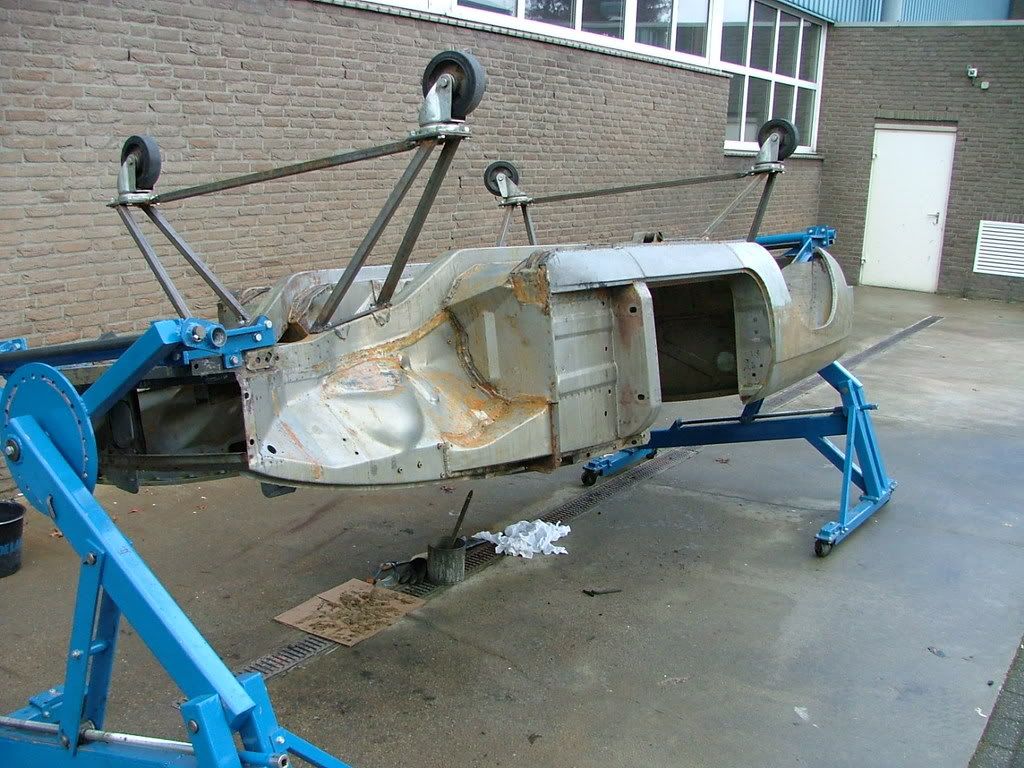
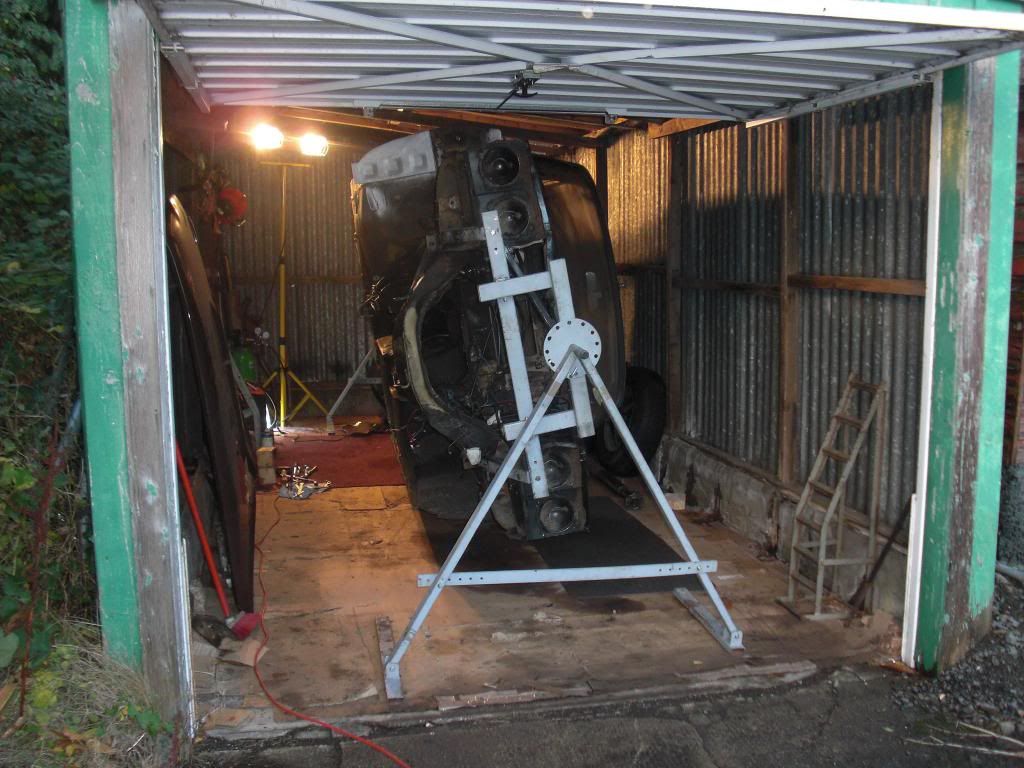
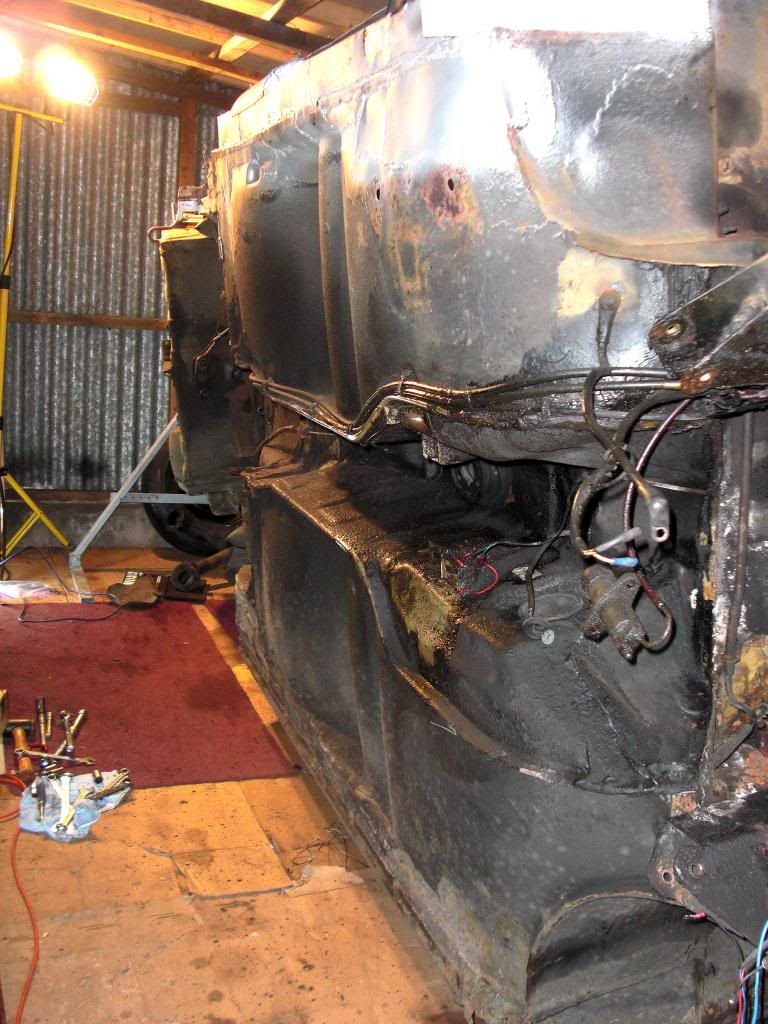
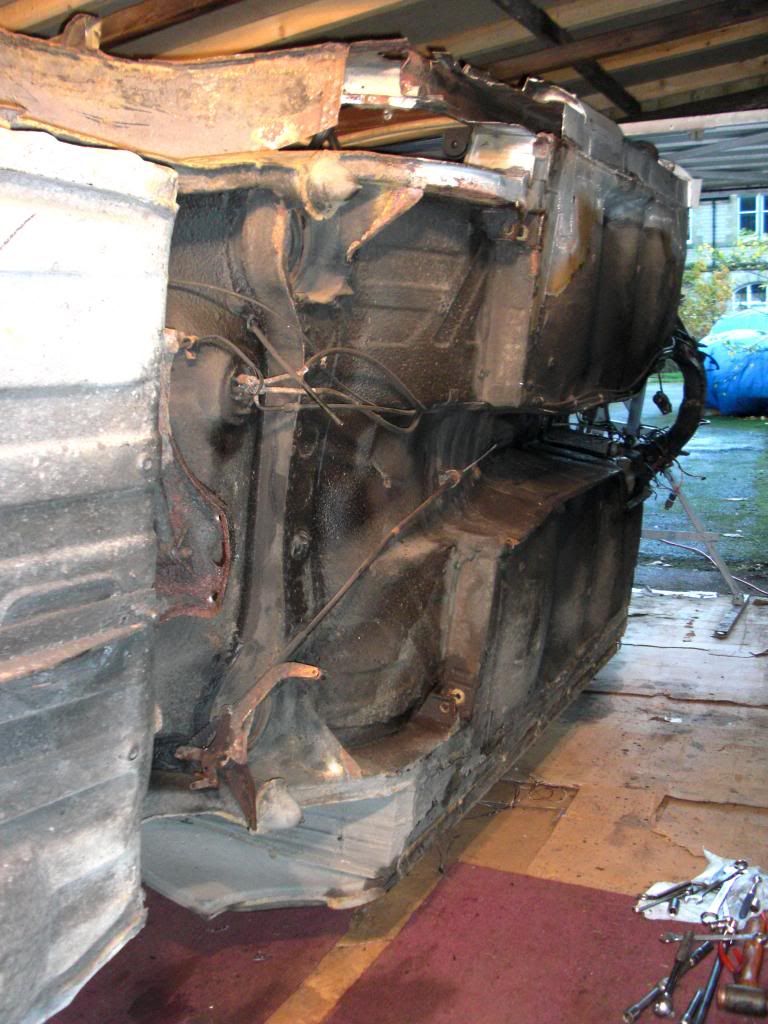
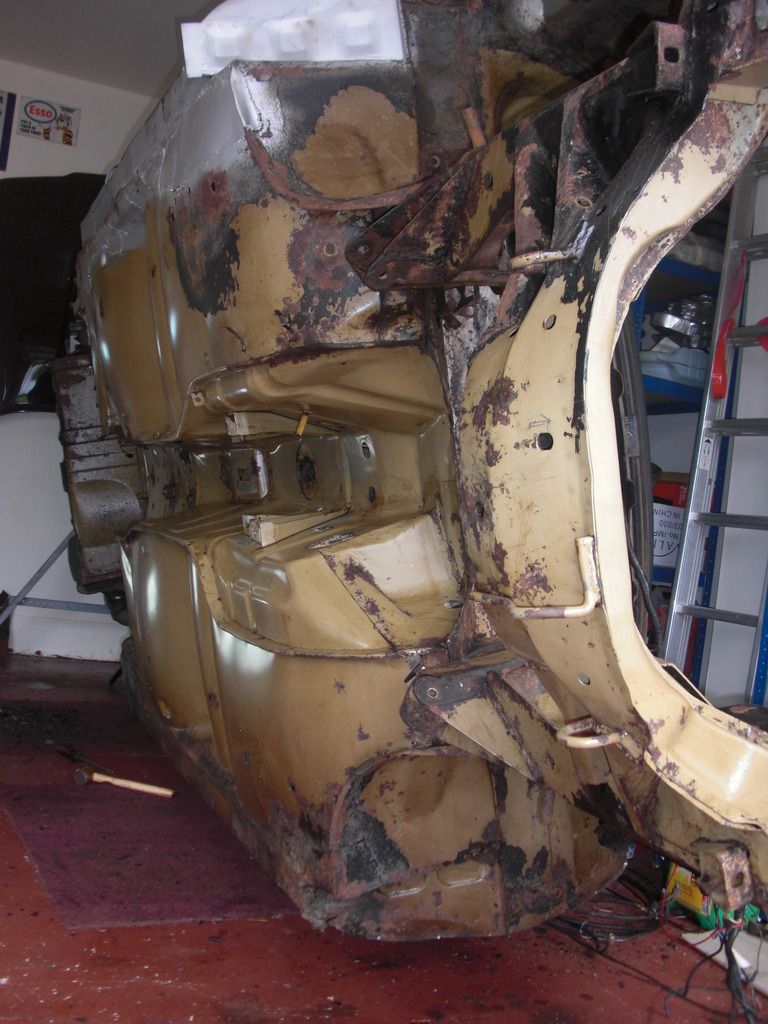
Here are some more pics of the underside.
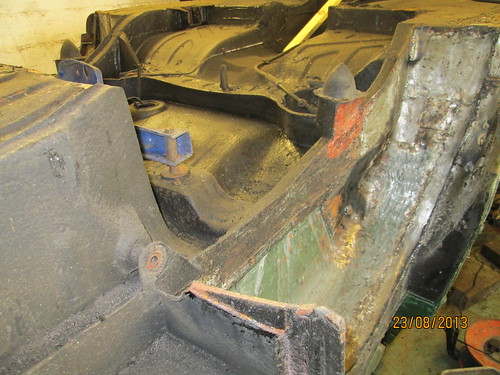
and a curious crease in the transmission tunnel just behind the handbrake aperture.
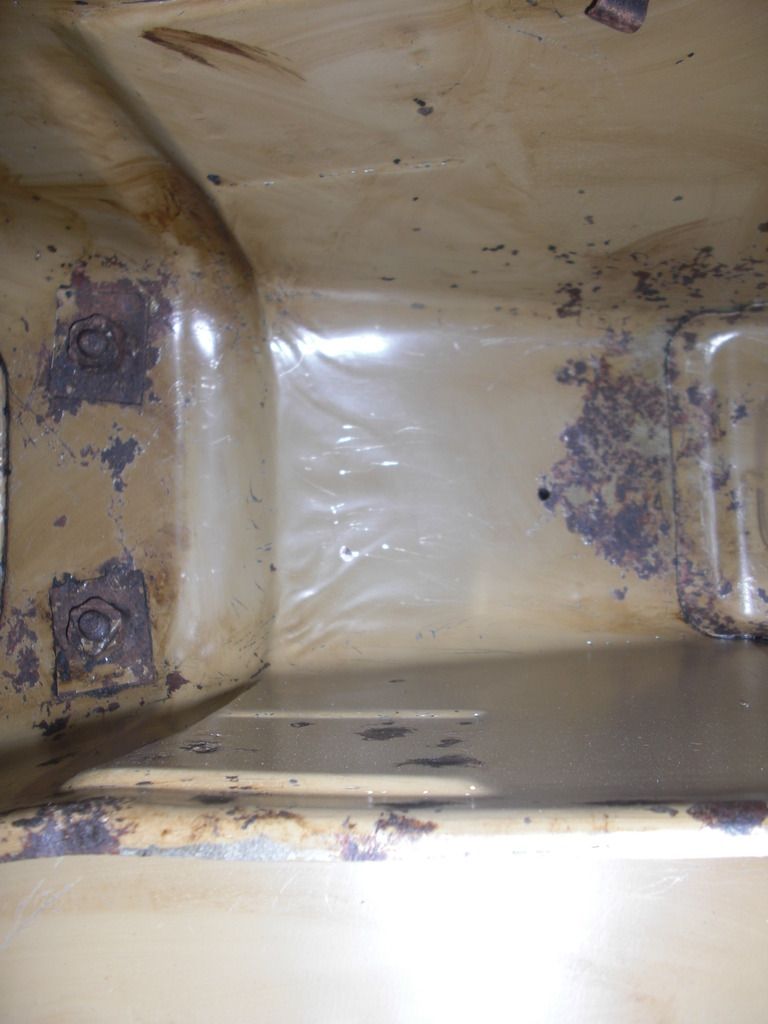
There's quite a bit of surface rust to remove and some old epoxy-mastic I applied several years ago that is still solid. Other parts are pristine with no sign of surface rust at all.
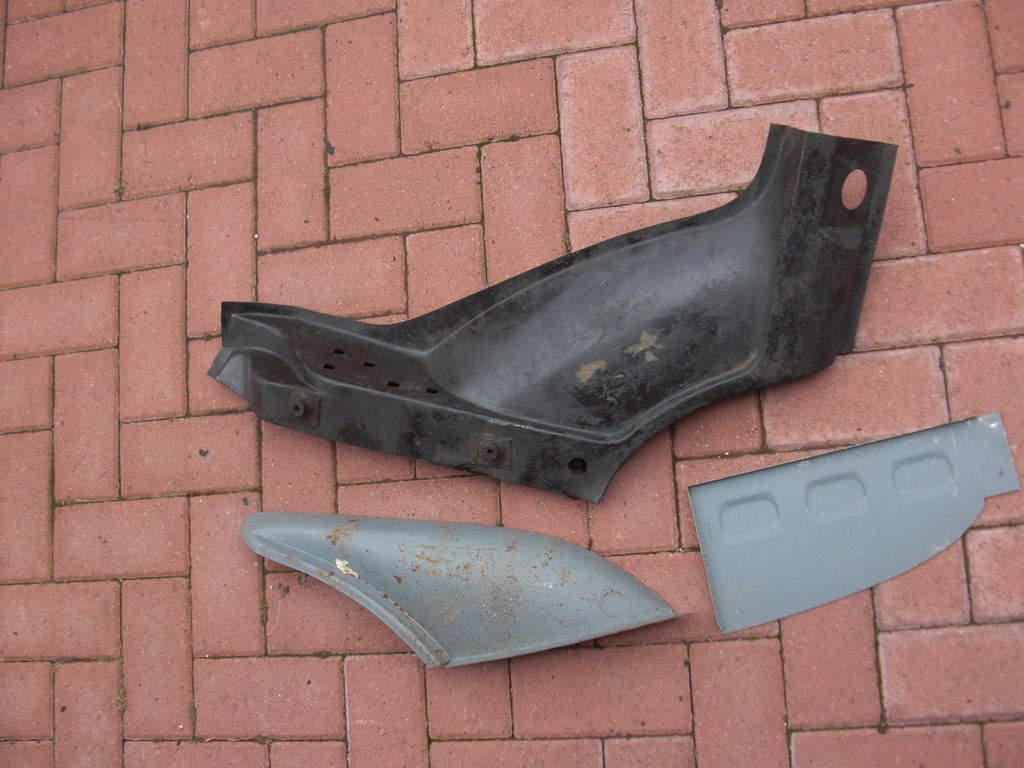
Quite a few bits that will need repaired. Both rear bump stops
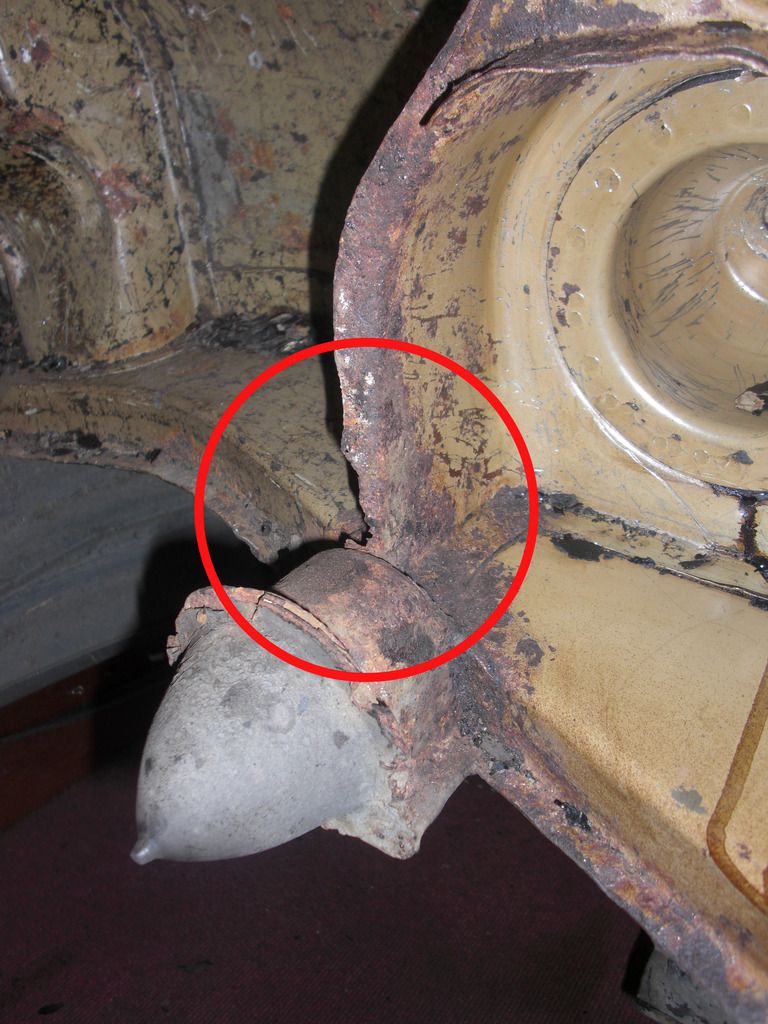
inner wings at the corner of the hockey sticks
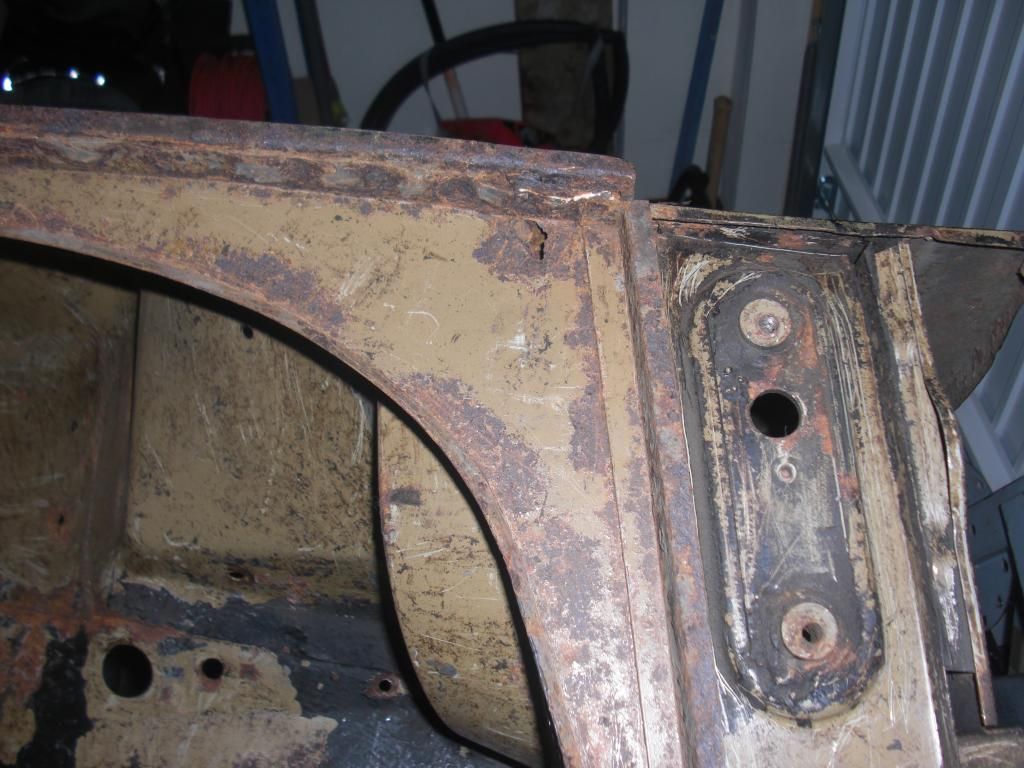
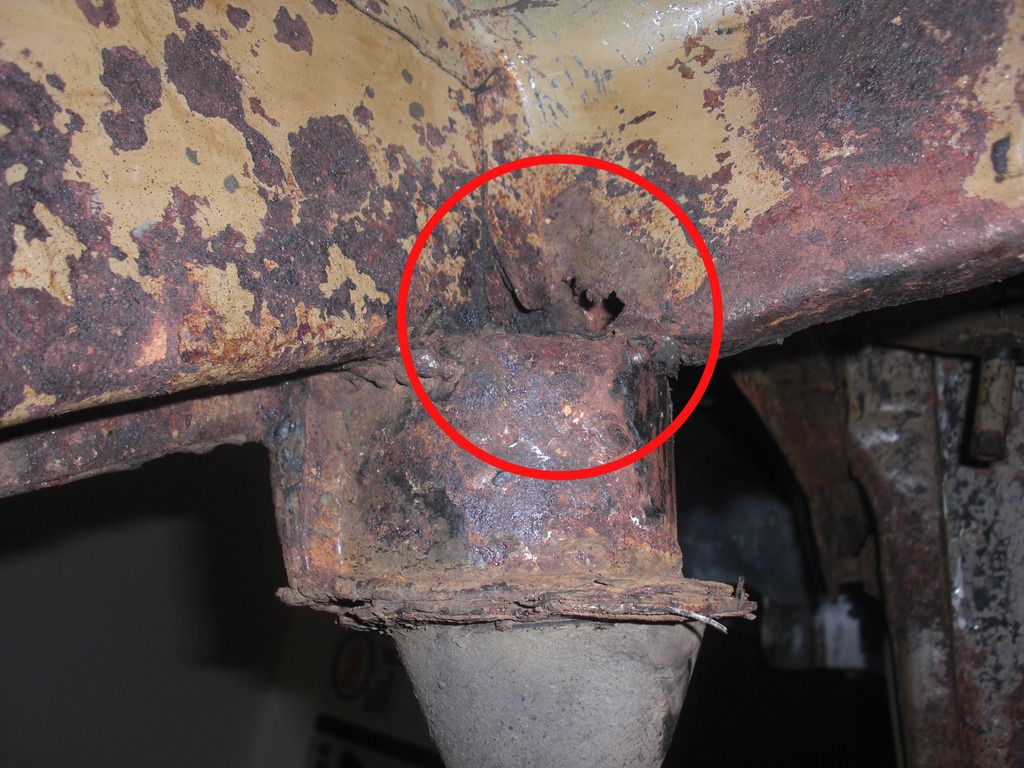
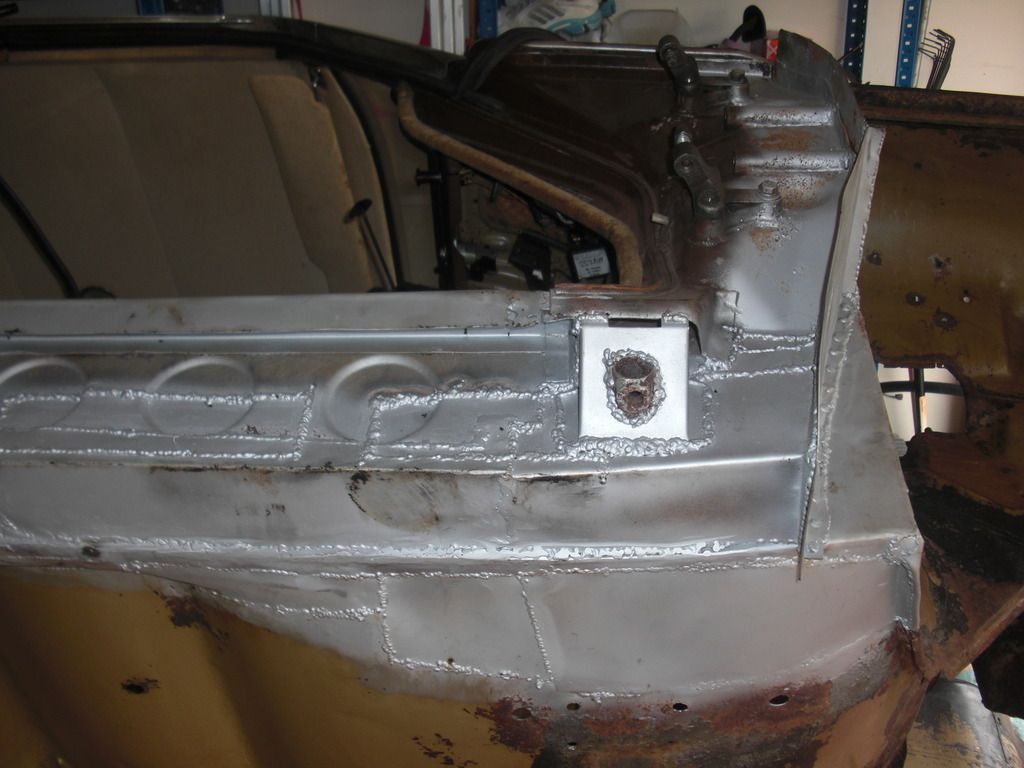
and this opening on the right hand side
If I hadn't stripped the car down completely this would worry me
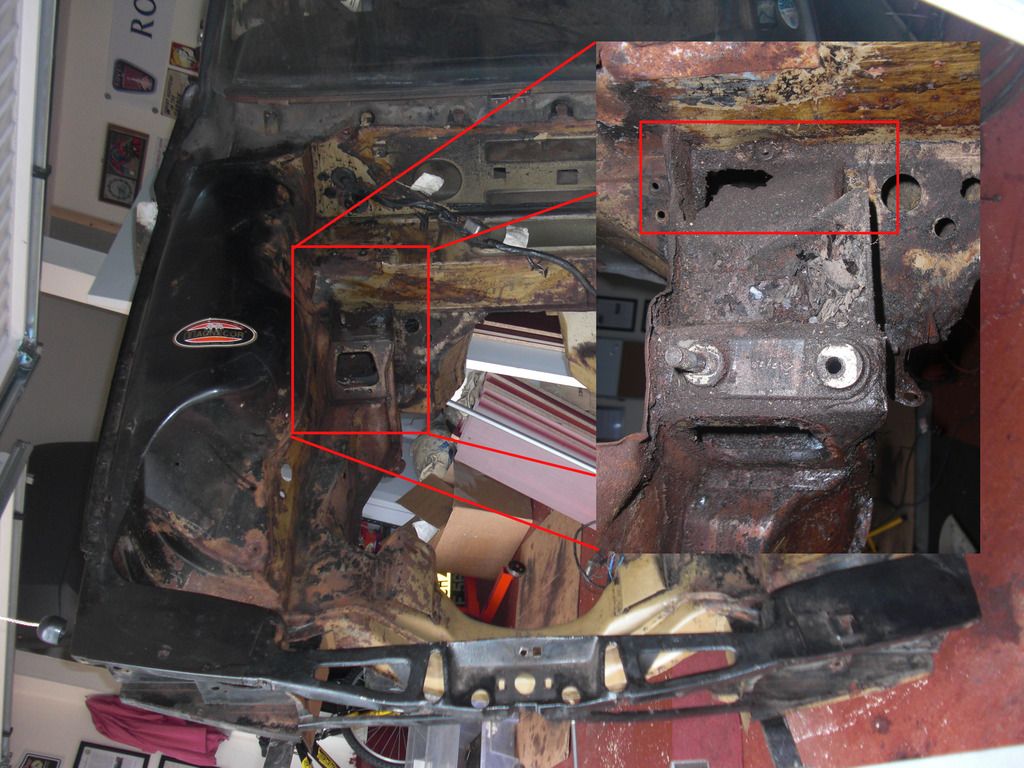
That's under the steering box mount.
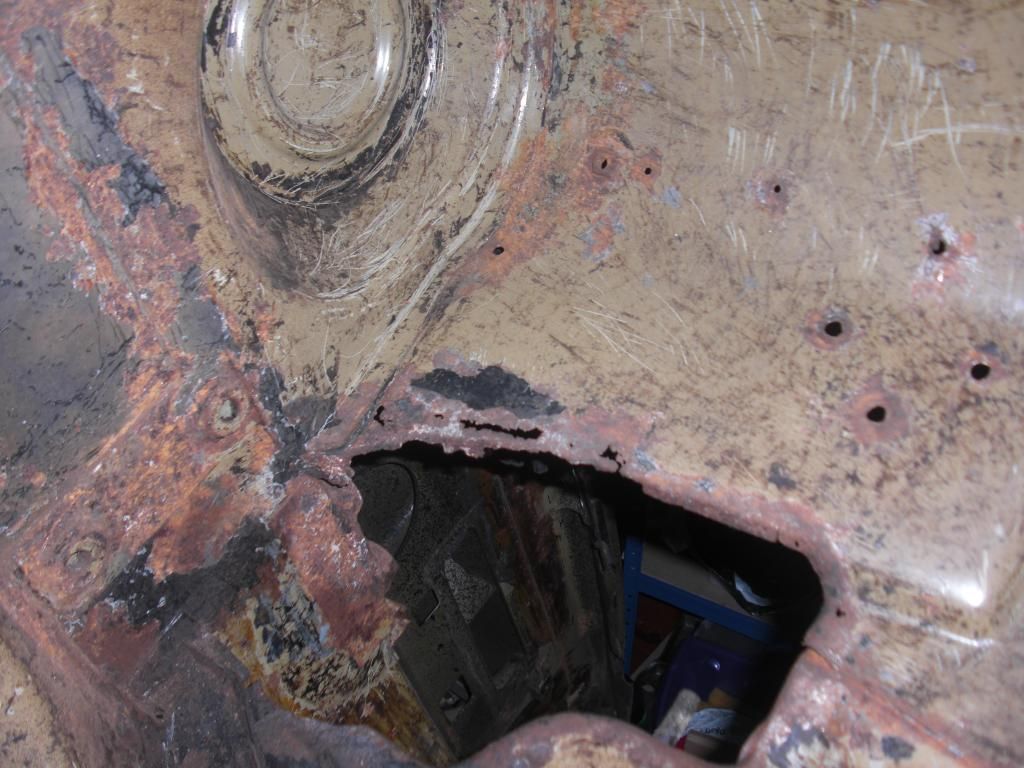
Then of course there is this big hole to fill. The D post on that side needs a complete rebuild as does the battery box panel, which I've kept as a template.
and this bit that I've done some work on previously but am not happy with so will more than likely do again.
but I have a range of replacement panels to help
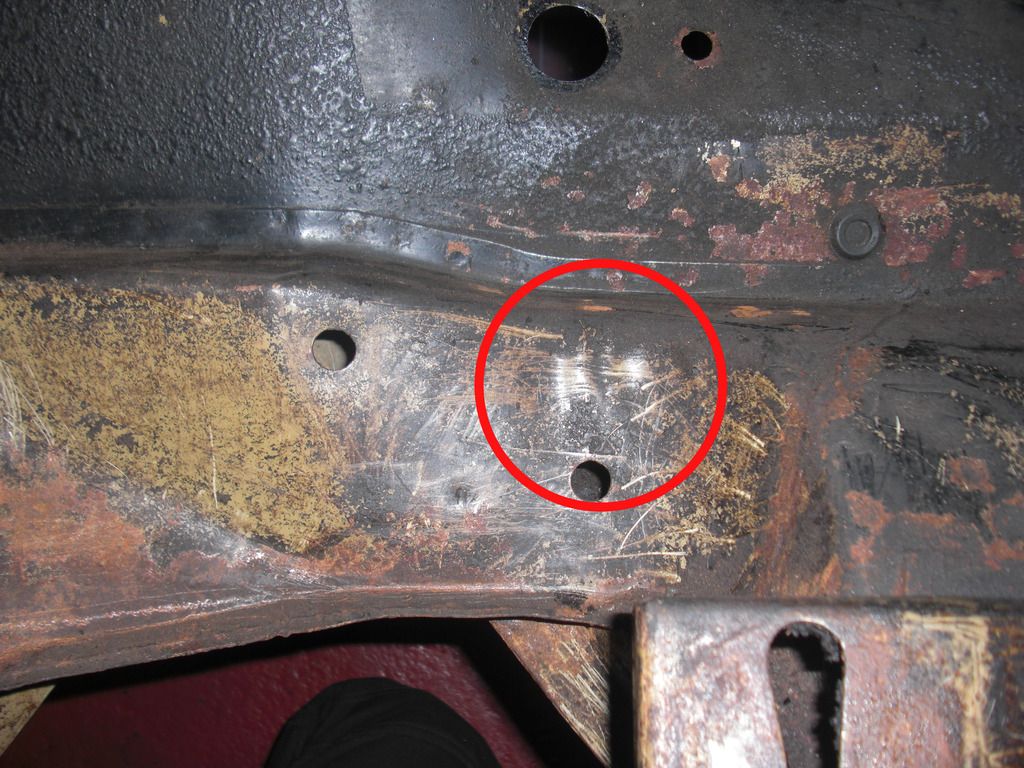
As an example of how much underseal comes off these cars this was the pile from the marked section only
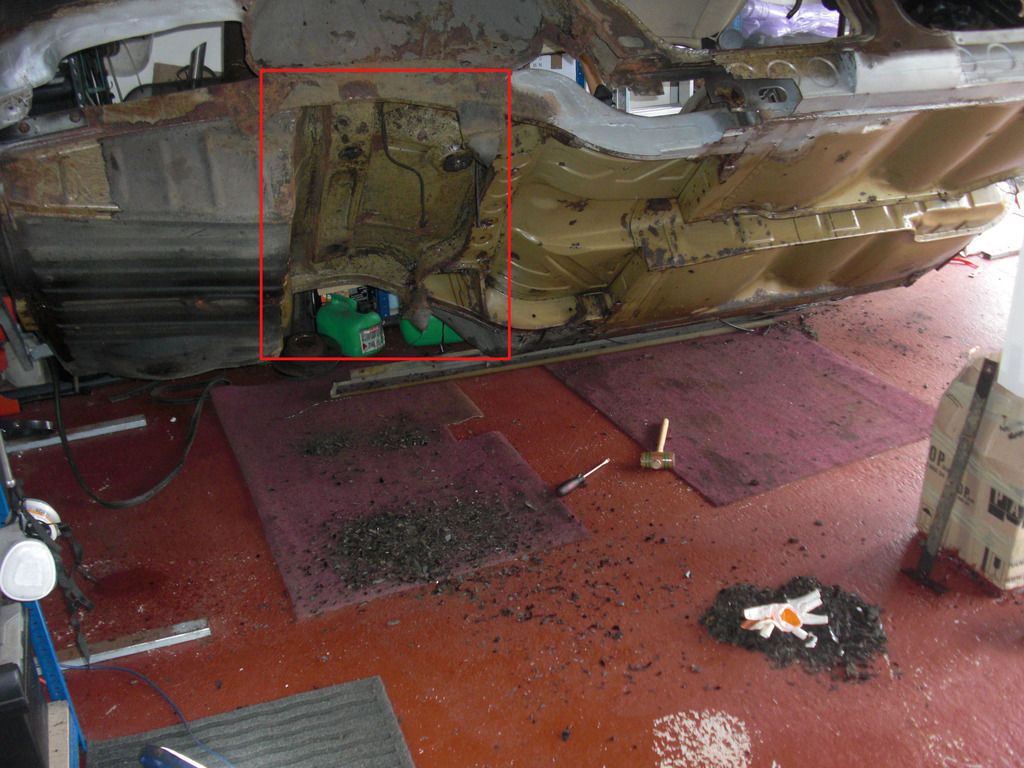
I've lost count of the number of bags I've filled.
In other news, the engine is currently with my local engine builder who has inspected the block and crank. Bores need deglazing only and the crank journals need a polish so I'm happy with that. He also has my SD1 heads which as the block and crank are in good condition I can spend a bit more money on. As a minimum I'm fitting new valve guides, having the valve seats re-cut and having both heads skimmed. I'm not sure how much further than this I'll go, but I'd like a bit of porting done too. I'll be speaking to RPi soon to have a chat about camshafts, timing gear, lifters and any other upgrades I can afford so I should be able to start rebuilding the engine when I need a break from welding.
It feels good to be making progress again so watch this space for further updates

Dave