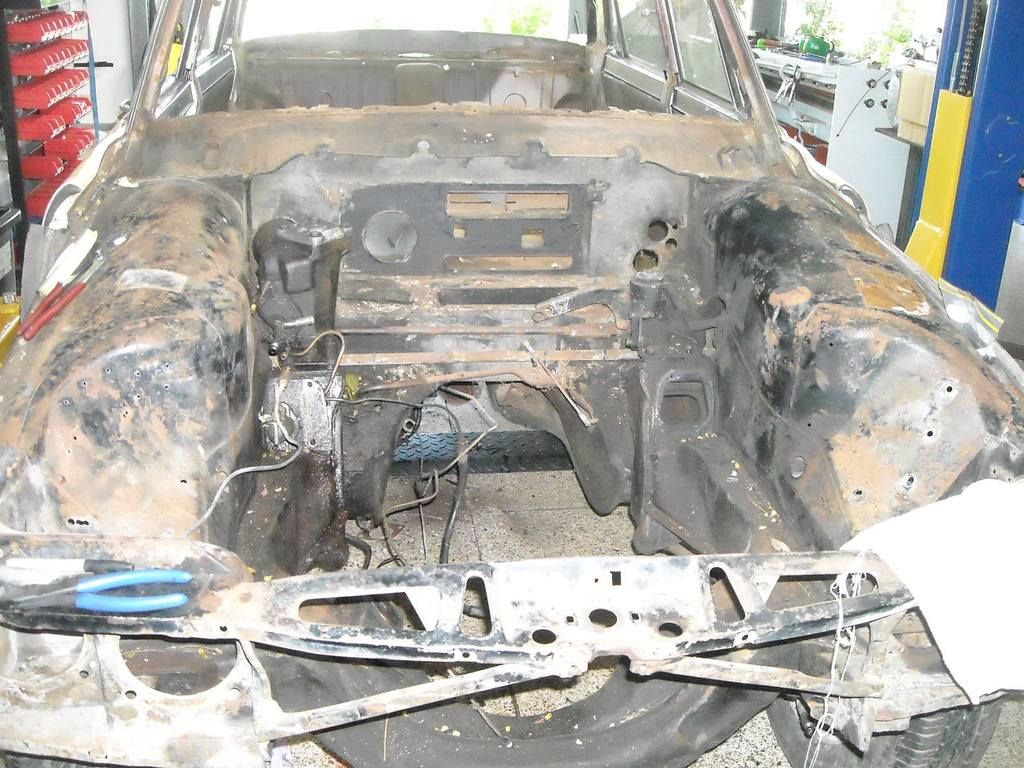
MAD POM

MADPOM said:
Molasses John, it eats all the rust out and leaves clean metal behind with obvious spots for repair. A protective zinc coating is sprayed over the metal to avoid flash rusting. The place that is doing it specialises in hot rods and has a tank big enough to immerse a whole vehicle.

http://youtu.be/8-gBAjEga1s

The video shows the process and the zinc coating material used afterward.
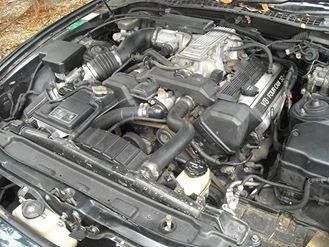
I thought it was going to be that. Very interesting process, that. From the video, it looks like you will get a spotlessly clean car back
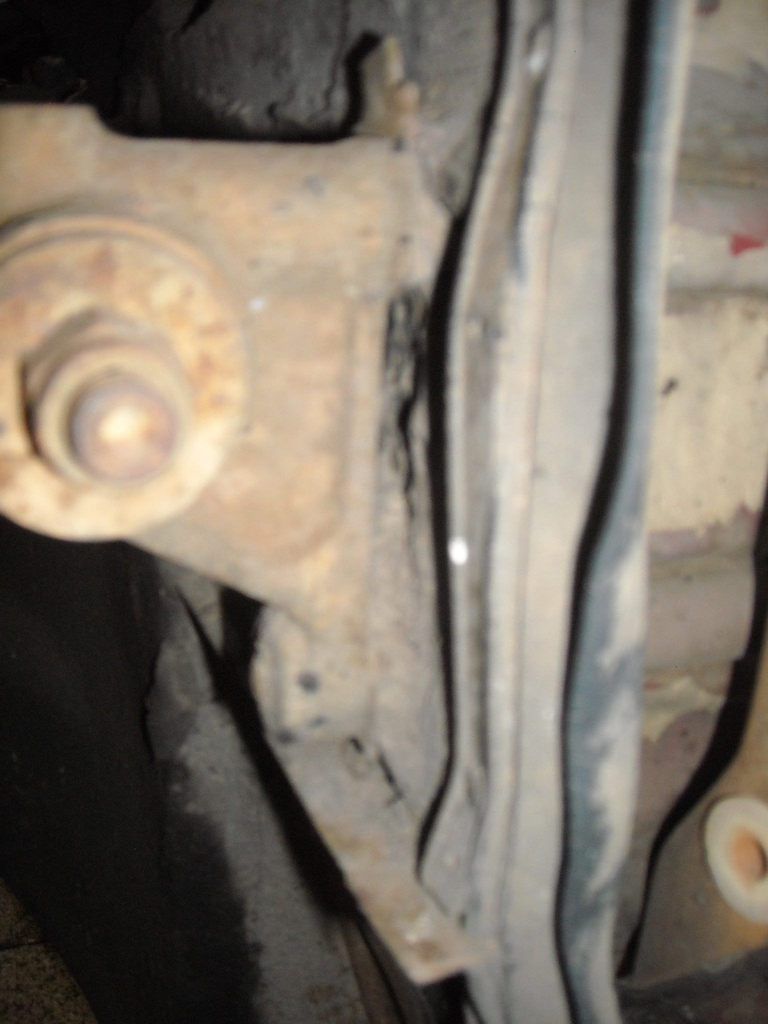
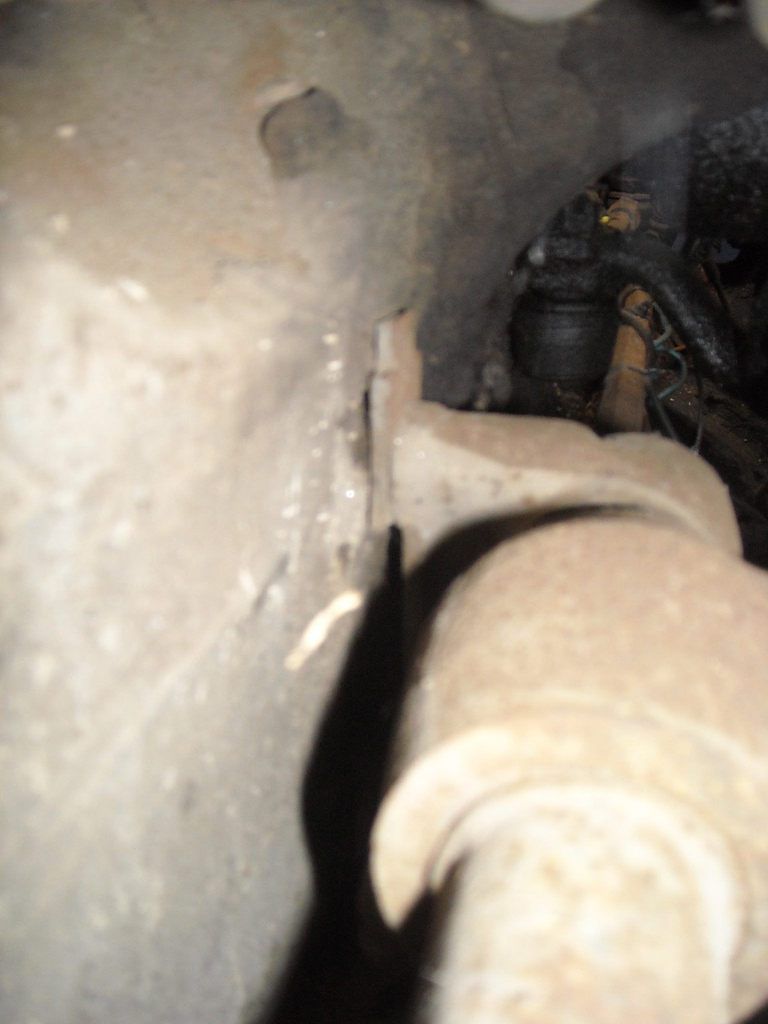
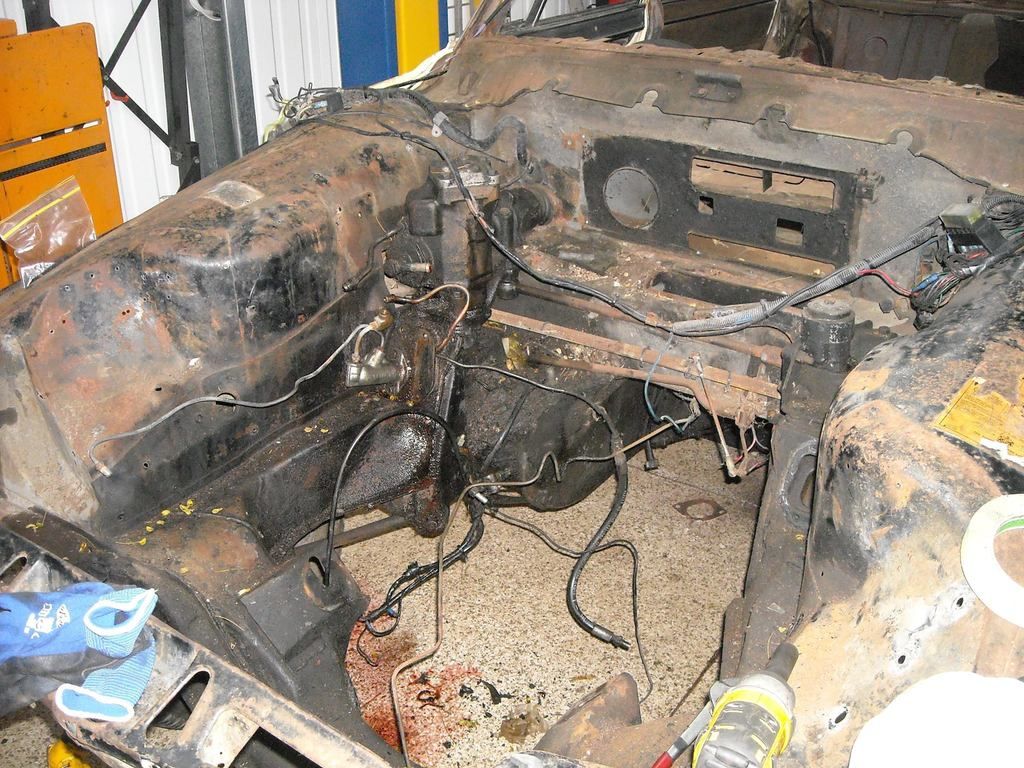
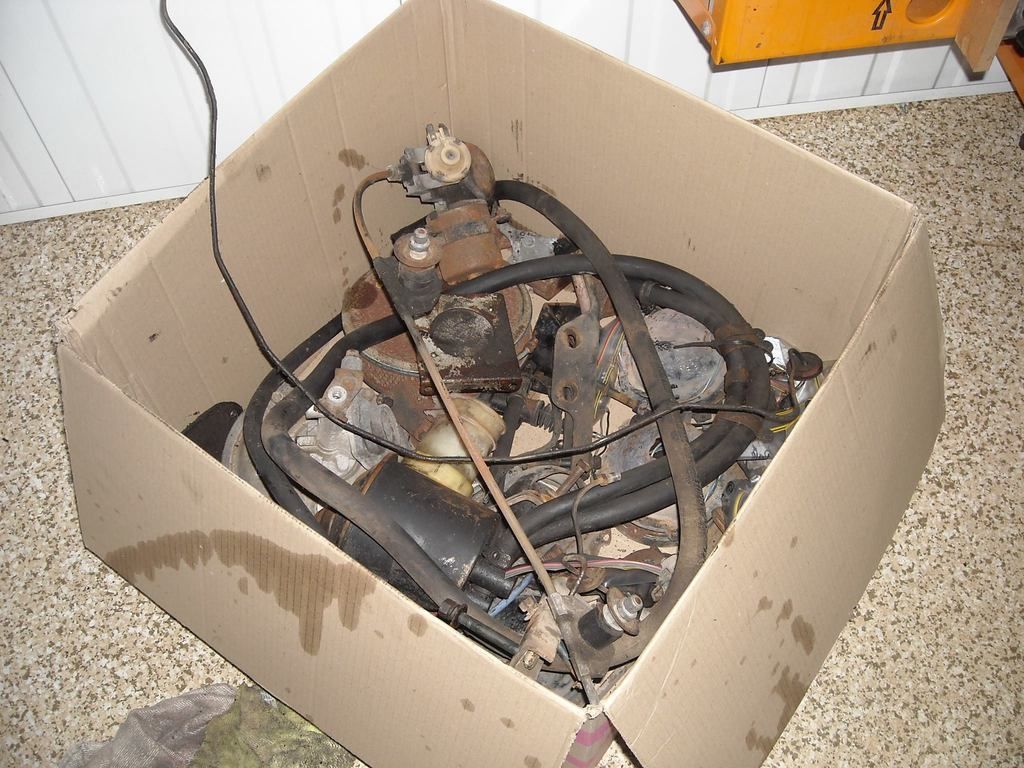
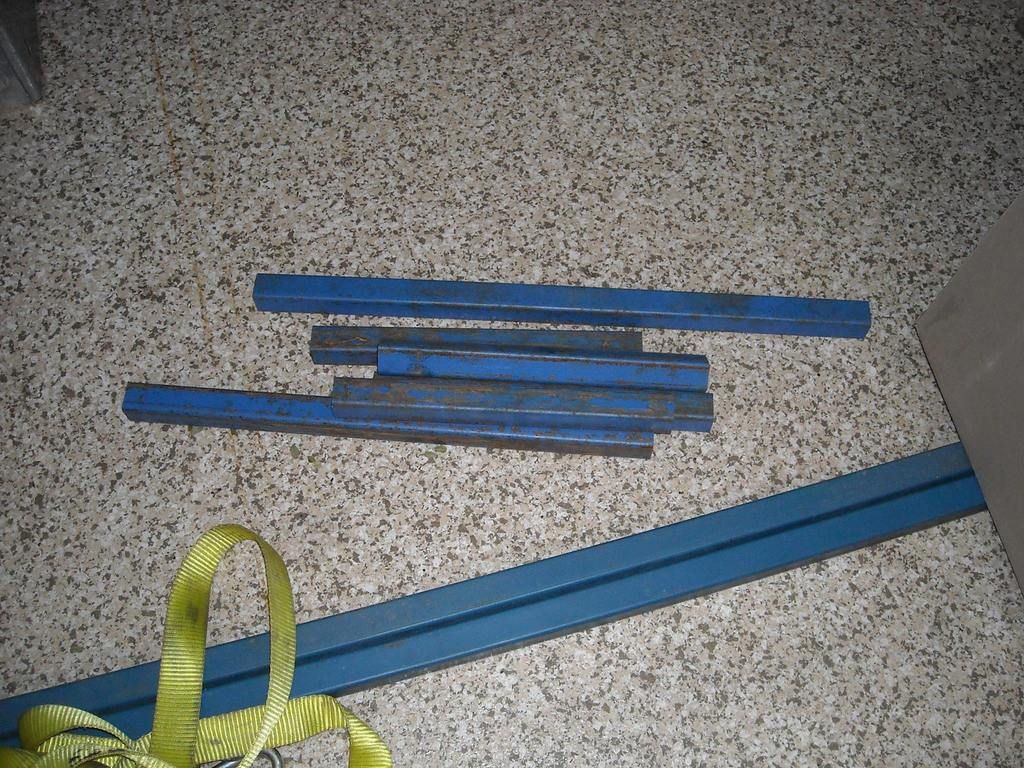
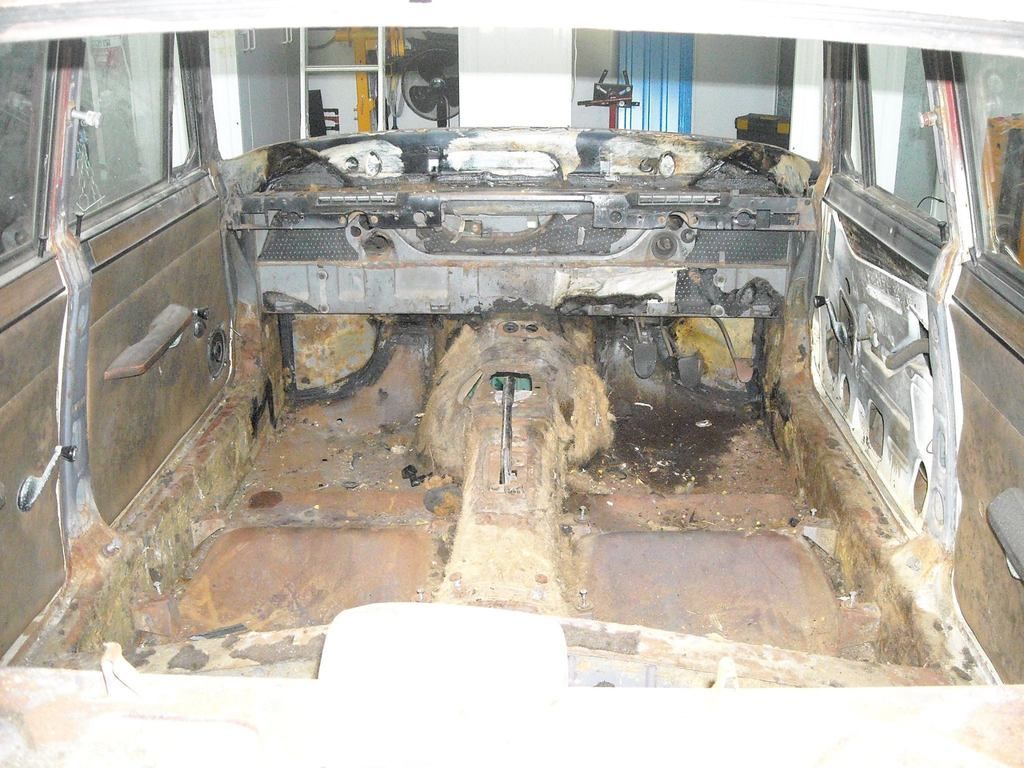
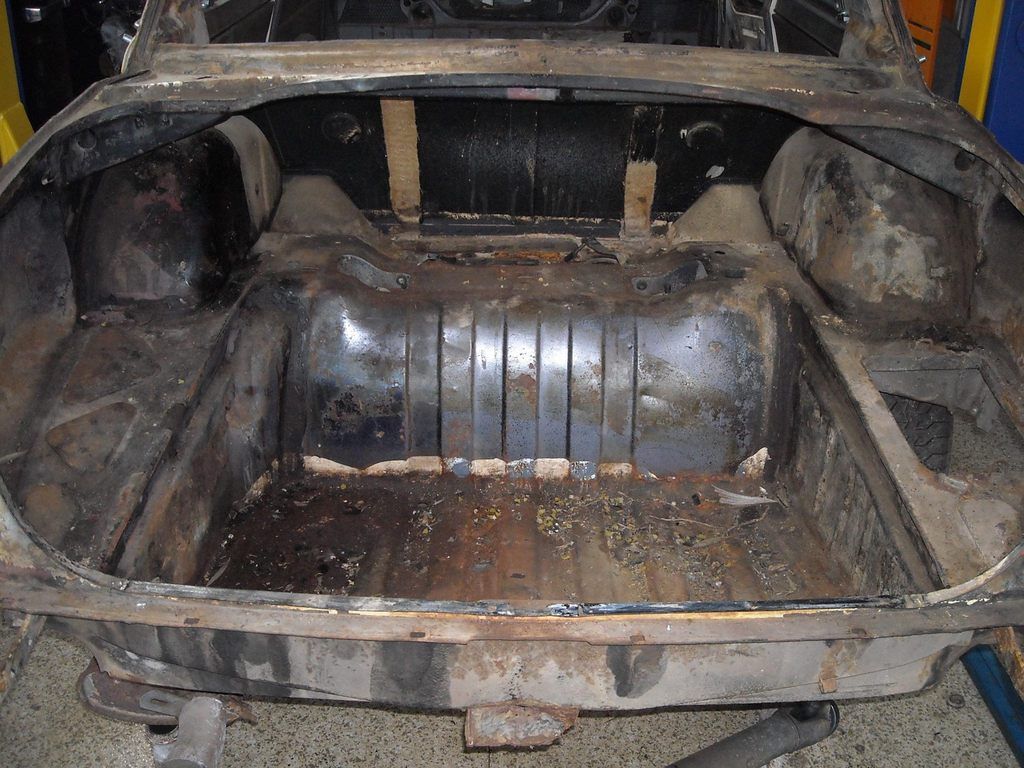
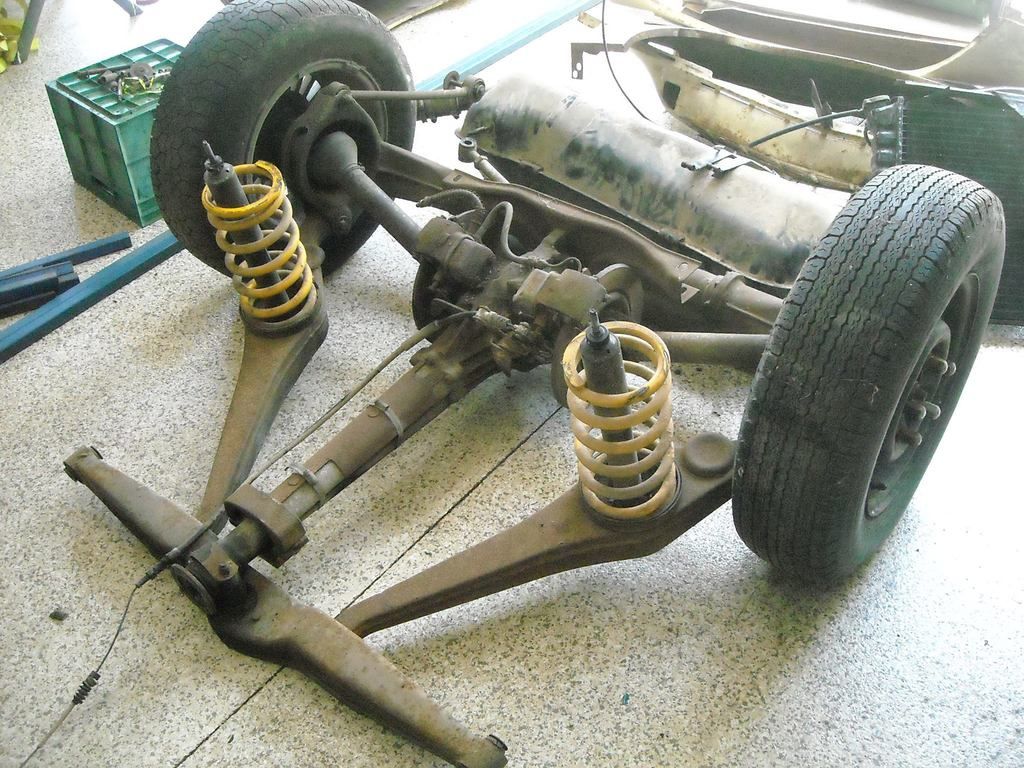
ready to tackle and make good.
 
MADPOM said:
It's amazing how little information Google reveals on the P6

Looking in the wrong place! I think almost everything you could want to know about the P6 is already on this forum. The auto tunnel is a lot wider, can't say by how much but fitting an LT77/R380 into my manual shell required some work to make clearance, whereas in an auto there's heaps of room all round...
 
Mine was an Auto, converted to manual with a W58 Supra 5 Spd.

Google's robots have cached most of this site, it features fairly prominently in most searches.
 
devilsplaymate said:
Hi Thanks for that info mate. Very much appreciated. I may stick a couple of shims behind the inner mount just to straighten things up a bit.
Keep up the good work
Glen.

G'day Glen,

You can clearly see the shims in both these photos, the first the RHD Passenger Side and the Second the RHD Driver's side.

Passenger%20Side%20Upper%20Outer%20Shim_zpsl94c2b7n.jpg


Top%20Mount%20Shim_zpsuzq012t8.jpg


If you'd like I can measure the thickness when they come off?
 
Progress

Yesterday the front end was attacked in earnest, engine out on the floor

Engine%20Out_zpsypsxsq3w.jpg


Leaving a gaping hole!

Bay%20amp%20Tunnel_zpsmzzedaua.jpg


Now to make up a stand on casters for the engine.
 
Engine bay is nearly completely stripped.

Engine%20Bay%20Getting%20there_zpsb76bsf1l.jpg


A box of bits with a few more things to go.

Box%20of%20Engine%20Bay%20Bits_zpsucdkicc8.jpg


The makings of an engine stand, which will include a radiatior stand to start and run the engine.

Engine%20Stand_zpsq2fm0q9l.jpg
 
MADPOM said:
devilsplaymate said:
Hi Thanks for that info mate. Very much appreciated. I may stick a couple of shims behind the inner mount just to straighten things up a bit.
Keep up the good work
Glen.

G'day Glen,

You can clearly see the shims in both these photos, the first the RHD Passenger Side and the Second the RHD Driver's side.

Passenger%20Side%20Upper%20Outer%20Shim_zpsl94c2b7n.jpg


Top%20Mount%20Shim_zpsuzq012t8.jpg


If you'd like I can measure the thickness when they come off?

Thank you for that, i will probably carry this out using a bit of trial and error until i get the camber the same as the other side.
Thanks again
Glen.
 
King Springs developed the 4" and 2.5" lowered springs from this very car, I'll measure them for a starting point anyway and you can go from there.
 
devilsplaymate said:
Thank you for that, i will probably carry this out using a bit of trial and error until i get the camber the same as the other side.
Thanks again
Glen.

I made some slotted steel plates and just slipped them in to tweak the camber on mine without needing to remove the entire bellcrank assembly or studs. I think mine are thicker than MadPom's? Got about 2 degrees negative camber on the front wheels 8)
 
Getting There!

Today's Progress

Engine Bay Almost Nude

Engine%20Bay%20almost%20nude_zpsf0pmgovj.jpg


Except the Handbrake Lever the Interior is done

Interior%20Almost%20there_zps5muyo0nk.jpg


Boot Stripped

Boot%20Stripped_zpsrwe3gnnl.jpg


Tomorrow's efforts should get front and rear end out and then the doors and roof off.
 
unstable load said:
What are you going to do regarding the felt and similar materials used for padding?

I have a mate who is a well renowned auto trimmer; that will be his challenge. I have kept all the old stuff for templates but not entirely sure at this stage.

We'll hit the monocoque inside and out with POR15 after it gets back from the dip and then line the interior with a high qaulity sound, vibration and heat dampener and then go from there.
 
Well you can put anything in anything, but will you have a usable well set up stable car at the end of the day, I doubt it, unless you have some god amazing body and suspension set up tools and jigs.
 
Back
Top