Bjk67
Member
Like others on this forum I have browsed and posted questions and now find it only right to post about my project.
Meet " Gaffer" a 1964 2000sc.
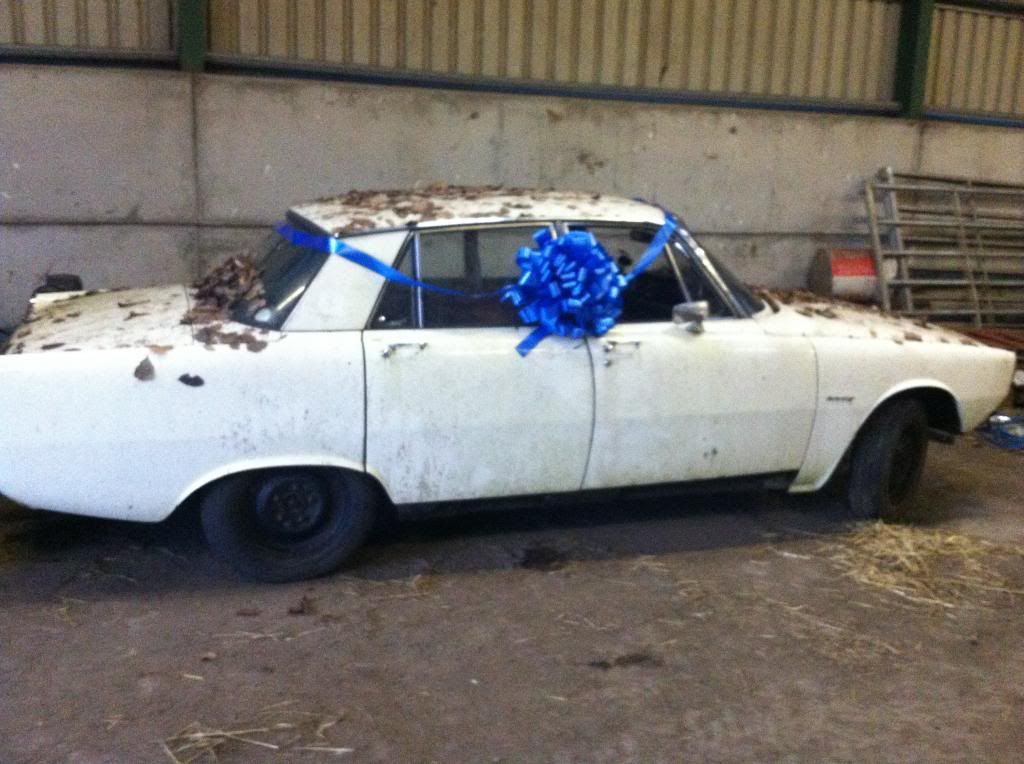
This was how I got it on Christmas day last year, a present from my wife. The leaves are genuine, not faked up as it had lain in a works yard for a few years where the previous owner had kept it as he did some work to it. The name "Gaffer" is on a folder of history i got from the previous owner so I feel it should be kept.
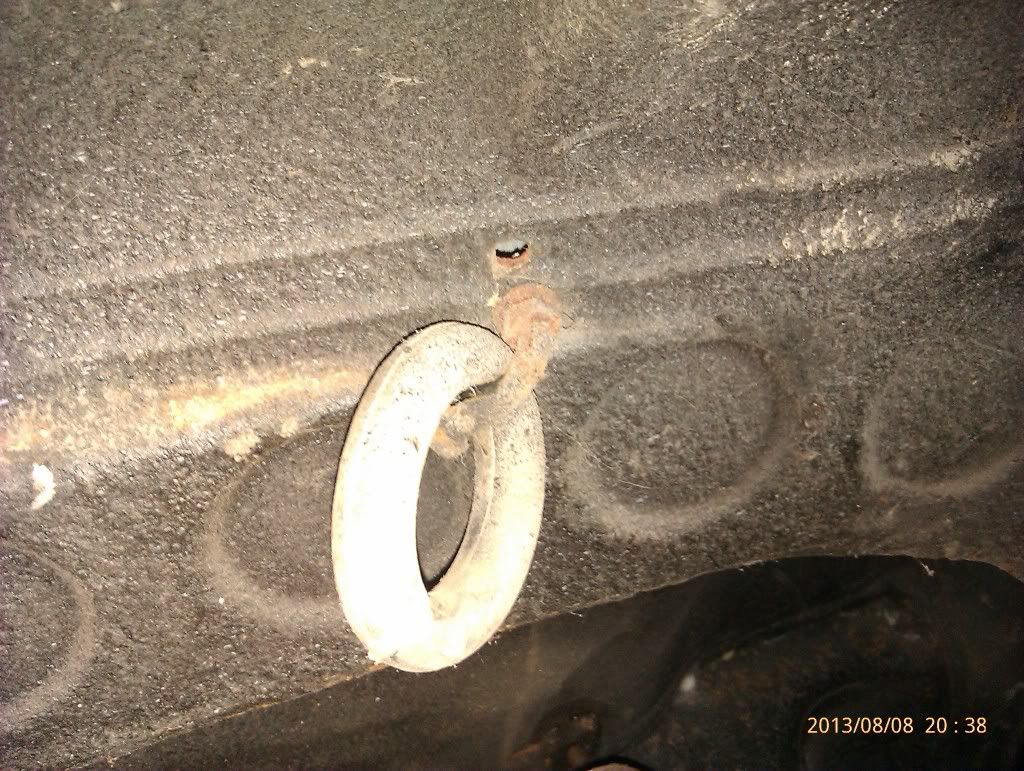
Most of the body work is in great condition, but underneath there has been a lot of welding done, sills, wheel arches, floor etc. Externally it needs a n/s/f wing and the sill covers. Oh and all the door window rubbers The interior has been removed for the welding but will need restoring or replaced as the leather is hard and the drivers seat has a hole worn in it.
Mechanically it needs the brakes sorted and by the look of it rear springs as it is quite low.
Engine wise I struggled to get it running, only after fitting new plugs, points and leads did i get it to fire but that was short lived as repeated attempts only made the starter fail. After removing the starter and dynamo I noticed a leak at the waterpump so I stripped that off only for the radiator to fall to bits as I took that out. After all that I thought the engine and bay were very cruddy so I have now taken out the engine to clean it up.
http://www.flickr.com/photos/93767782@N08/8637216760/
http://www.flickr.com/photos/93767782@N08/8636112845/
The heater box is in a bit of a state so that came out too and I ended up breaking the alloy levers at the back as I pulled it out. (Any new ones about hiding in your garages? :wink: )
http://www.flickr.com/photos/93767782@N08/8637222942/
Which revealed the bulkhead. It looks worse than it is as it is only surface rust, no holes.
http://www.flickr.com/photos/93767782@N08/8636111253/
Inner wings are just grotty
http://www.flickr.com/photos/93767782@N08/8637213766/
http://www.flickr.com/photos/93767782@N08/8637215206/
I'm planning to sandblast the engine bay and paint it up after one small hole on the front n/s inner wing top is welded.
The engine will get overhauled while it is out.
Meet " Gaffer" a 1964 2000sc.
This was how I got it on Christmas day last year, a present from my wife. The leaves are genuine, not faked up as it had lain in a works yard for a few years where the previous owner had kept it as he did some work to it. The name "Gaffer" is on a folder of history i got from the previous owner so I feel it should be kept.
Most of the body work is in great condition, but underneath there has been a lot of welding done, sills, wheel arches, floor etc. Externally it needs a n/s/f wing and the sill covers. Oh and all the door window rubbers
The interior has been removed for the welding but will need restoring or replaced as the leather is hard and the drivers seat has a hole worn in it. Mechanically it needs the brakes sorted and by the look of it rear springs as it is quite low.
Engine wise I struggled to get it running, only after fitting new plugs, points and leads did i get it to fire but that was short lived as repeated attempts only made the starter fail. After removing the starter and dynamo I noticed a leak at the waterpump so I stripped that off only for the radiator to fall to bits as I took that out. After all that I thought the engine and bay were very cruddy so I have now taken out the engine to clean it up.
http://www.flickr.com/photos/93767782@N08/8637216760/
http://www.flickr.com/photos/93767782@N08/8636112845/
The heater box is in a bit of a state so that came out too and I ended up breaking the alloy levers at the back as I pulled it out. (Any new ones about hiding in your garages? :wink: )
http://www.flickr.com/photos/93767782@N08/8637222942/
Which revealed the bulkhead. It looks worse than it is as it is only surface rust, no holes.
http://www.flickr.com/photos/93767782@N08/8636111253/
Inner wings are just grotty
http://www.flickr.com/photos/93767782@N08/8637213766/
http://www.flickr.com/photos/93767782@N08/8637215206/
I'm planning to sandblast the engine bay and paint it up after one small hole on the front n/s inner wing top is welded.
The engine will get overhauled while it is out.