

You are using an out of date browser. It may not display this or other websites correctly.
You should upgrade or use an alternative browser.
You should upgrade or use an alternative browser.
1975 Rover 3500 Project
- Thread starter FrazzleTC
- Start date
JVY
Active Member
 That is a good sign and hope that you manage to get a bit of work done.
The curious incident of the pink elbows is a strange one. Maybe a previous owner had fitted or was going to fit alloys that would have meant the elbows would be visible through the wheel (a bit like boy racers and their big red brake calipers)?? Maybe pink powder coat was all that was available? I'm trying to imagine a pink P6 but I don't like the idea (sorry Ron). Though, I suppose an S1 in very light pastel pink might be nice.
Although we think of pink as girl's colour, I believe this is a modern invention and that in times gone by, pink was a boy's colour http://kottke.org/11/04/pink-used-to-be-a-boys-color. Sorry, going off topic a bit.
Of course, please give us regular updates on your progress.
arthuy
Well-Known Member
Whats up with the sender?
they can be easy enough to fix mostly it either needs cleaned or the float replaced/repaired as they can draw in fuel an fail to float. I think I mentioned it on the old ARJ thread..
If the windings are shot you can rebuilt with parts from MG/landrover/mini ones which a cheap to get hold of, I can talk you through it. Down side is that the tank the sender is below the car so need the fuel drained.
Colin
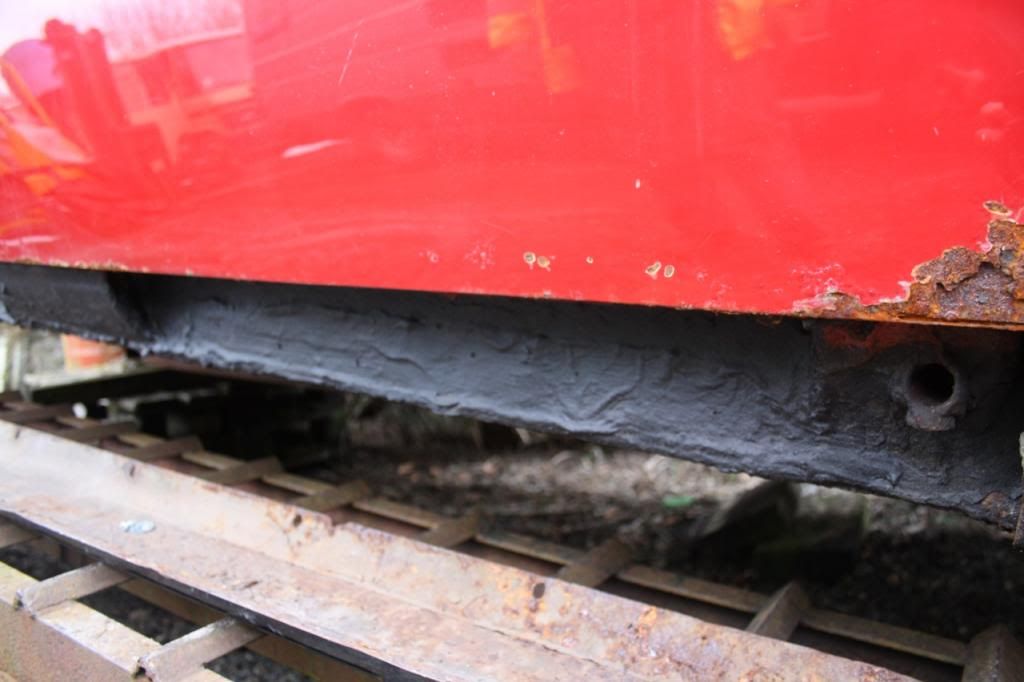
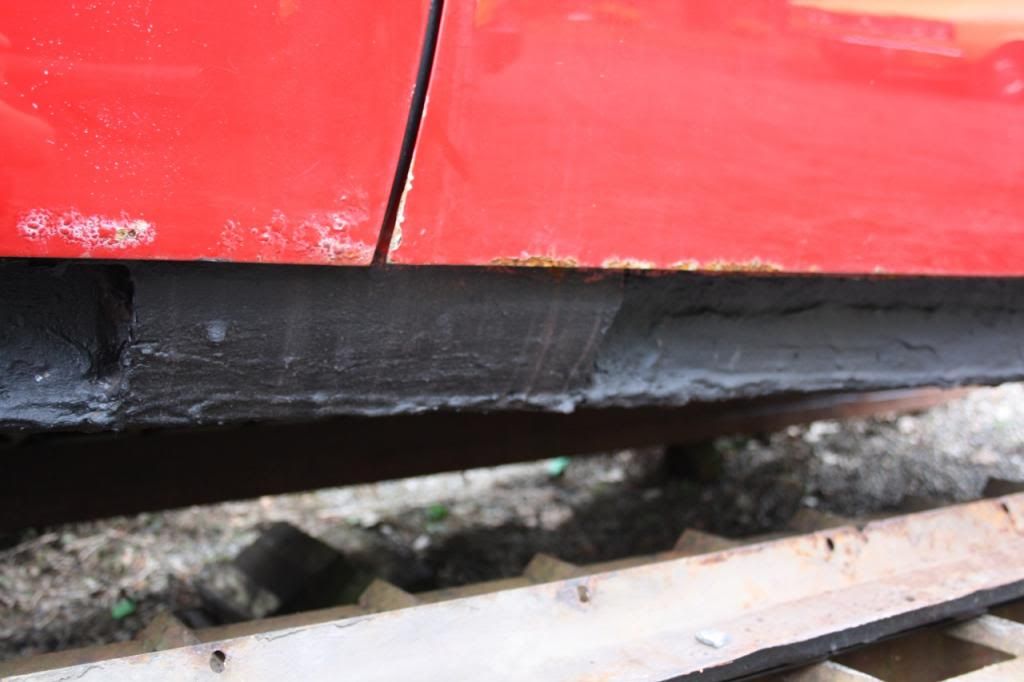
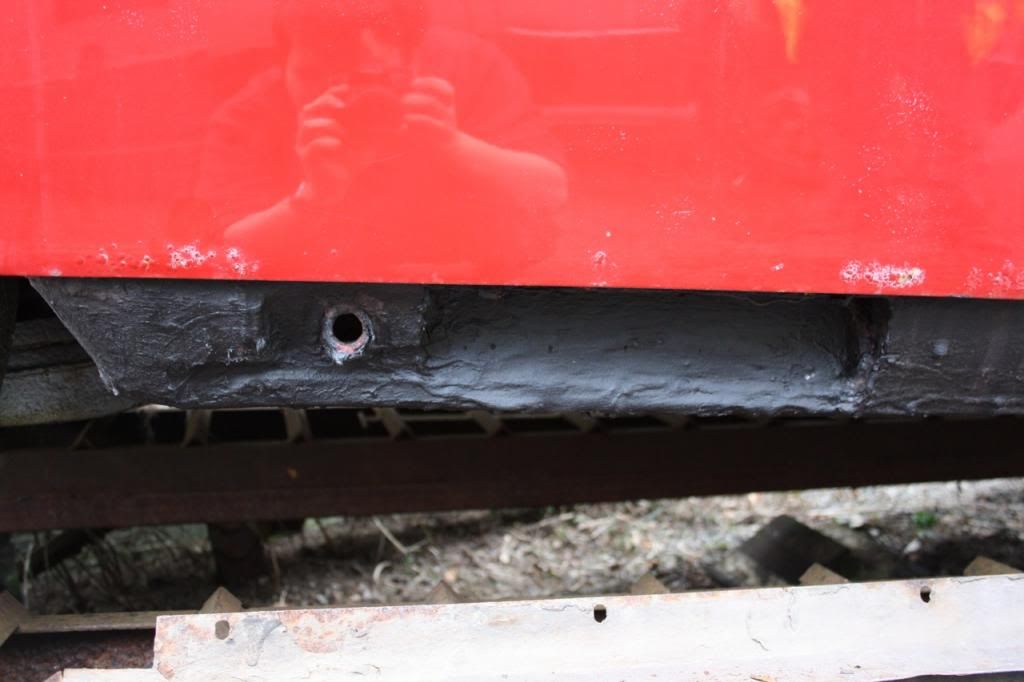
Today, I had a couple of hours free, so I thought it might be a good idea to take the sill covers off before progressing much further, in order to fully inspect the car's condition. I was very pleasantly surprised, for the first time with a P6, when I took the covers off. Although they're absolutely pasted in waxoyl, I checked very thoroughly with a screwdriver, and nothing gave way at all! The driver's side sill looks as Rover intended, but the passenger side has had a slightly odd repair, which is very solid, but doesn't look as it would have originally. All in all, a good result!
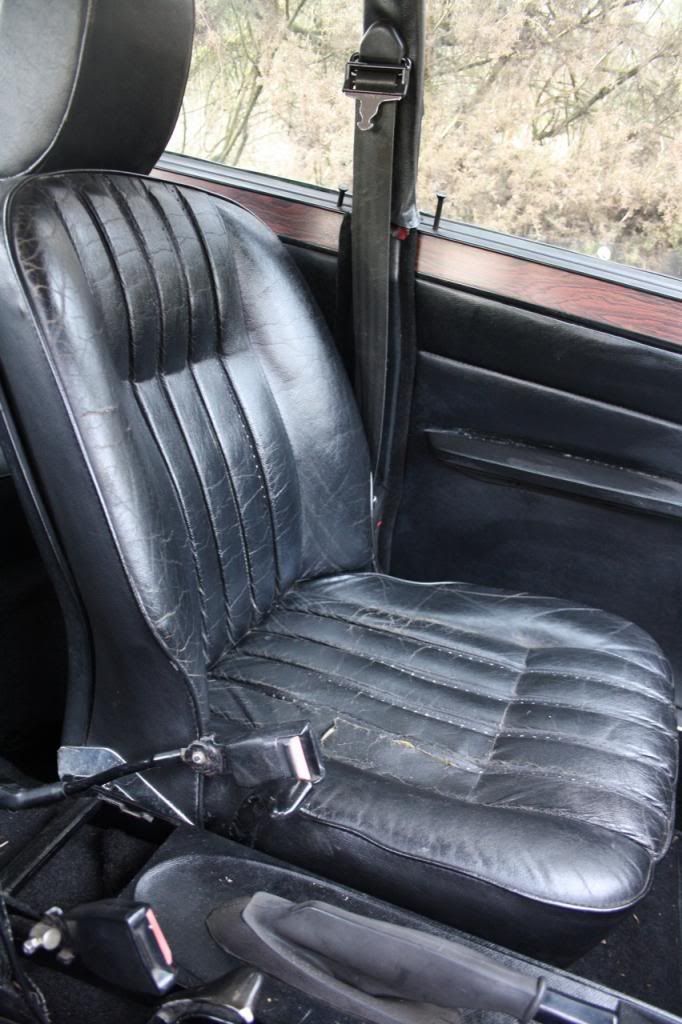
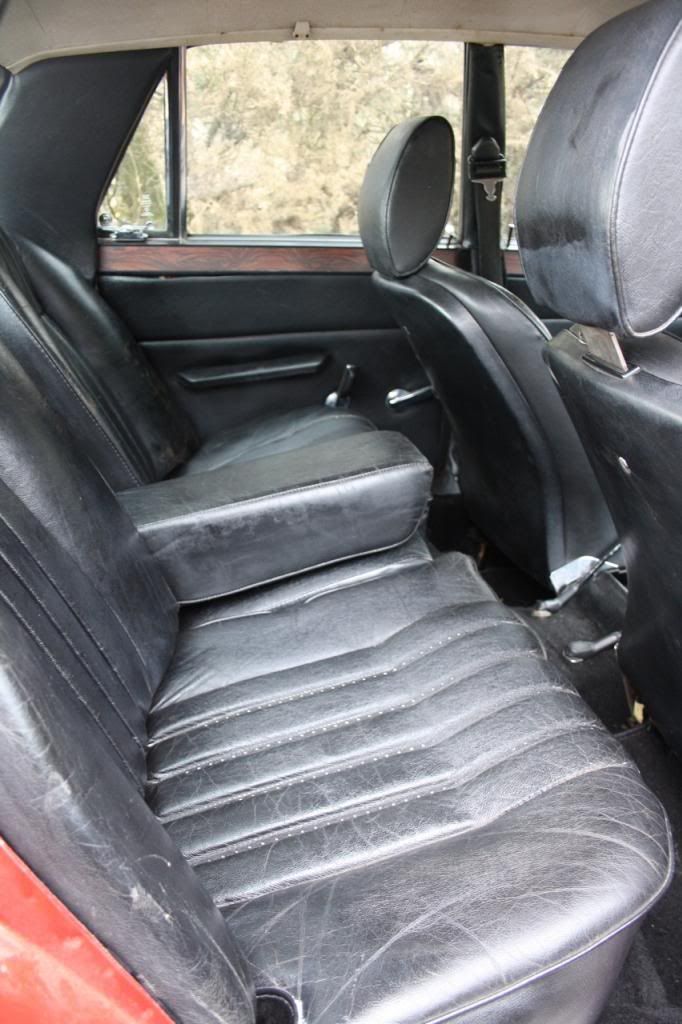
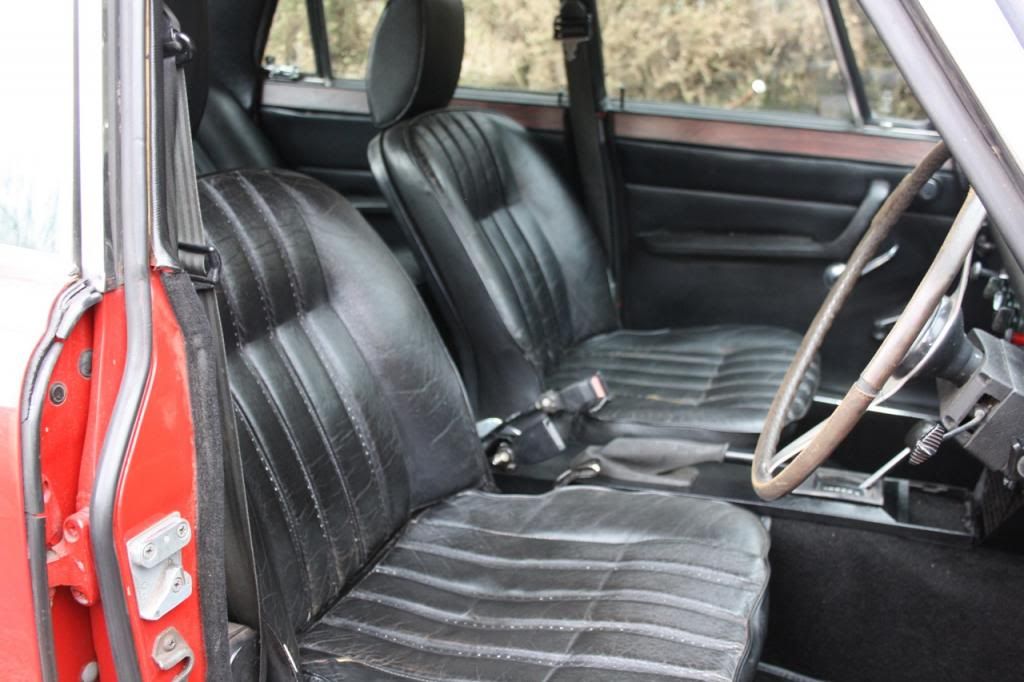
While out at the car, I thought I'd try cleaning up the seats to see if they were any good, and they don't look too bad after an hour or so of cleaning, and then protecting with leather balm.
The door bottoms aren't too pretty under such close inspection, but at least the car seems pretty solid!
Some interior shots.
Dave3066
Well-Known Member
Good to see well protected sills on the car Fraser. Get the wings off it next and see what it's like under there.
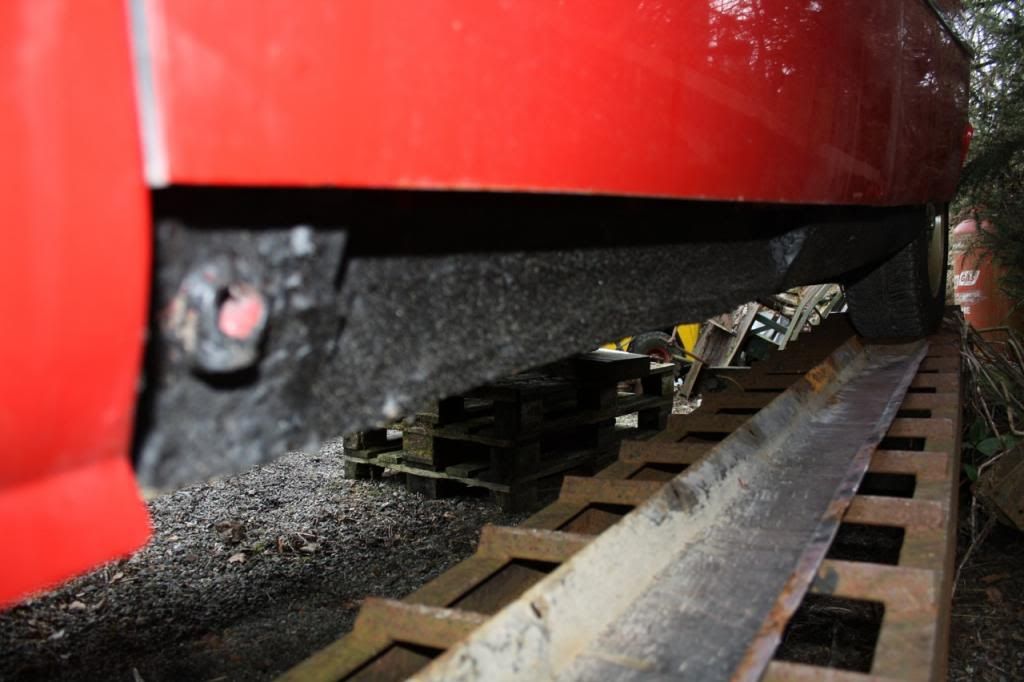
I think you need a bit more practice with the camera though as your usually exemplary skills seem to have deserted you with that last out of focus sill shot. Nice shot of the pallets underneath though :wink:
Liking those full length ramps too.
Dave
I think you need a bit more practice with the camera though as your usually exemplary skills seem to have deserted you with that last out of focus sill shot. Nice shot of the pallets underneath though :wink:
Liking those full length ramps too.
Dave
Hi Jim,corazon said:I like your ramp setup Fraser, what is it exactly?
Jim
The 3500 stays at a friend's house, where he has a large yard near the house. The ramp set up basically consists of some full-length ramps, and heavy duty pallets. It's not ideal, but it's handy for jobs like this, and I'm very grateful for my friend's help in storing the car.
Hi Paul,testrider said:There's definitely been a repair to the drivers side sill, but it looks good and strong. Probably better than finding the original sill looking intact from the outside but rusting through from the inside. You should have it on the road by the end of the summer holidays.
Yes, there have been repairs to the sills on both sides. They're not the prettiest, but seem to be a lot more robust than I was expecting.
Hi Dave,Dave3066 said:Good to see well protected sills on the car Fraser. Get the wings off it next and see what it's like under there.
I think you need a bit more practice with the camera though as your usually exemplary skills seem to have deserted you with that last out of focus sill shot. Nice shot of the pallets underneath though :wink:
Liking those full length ramps too.
Dave
The rear wings will be coming off in the next week or so for a good look. I've had the front wings off already, though I forgot to take photos. The hockey sticks are pretty decent, and there's just a small amount of rust to the top of the inner wing on the offside. I've covered it in some kurust, and have undersealed over it, as it wasn't too severe. At the base of one of the front wings, there's been a lot of patching, so the wing doesn't fit as it should, which is a nuisance, though I'll hopefully find a solution which will allow the wing to sit more naturally. The other side seemed fairly good.
My apologies about the sill shots on the passenger side! It was getting a bit dark, as that side was in the shade, and I wanted to get the sill cover back on that night, before it wasn't possible to see.
Thanks for the encouragement everyone! Hopefully some more updates to come in the next few days!
Andries
Member
Looks like a bargain, congratulations! The sills looks good, solid. Are you going to clean them up? Those later type rocker covers really mess up the route of the ignition leads on my car and it seems that you've got the same problem, do you see any sparks flying around in the dark? Really like the bumperless-look..
Good luck and I'll be following this one!
Andries
Good luck and I'll be following this one!
Andries
Thanks Andries. I've just put more waxoyl on them to continue to protect them, and will coat the rest of the underside of the car in due course!
Today, I spent quite a few hours tinkering with the car. The first thing I did today was to swap over the ignition leads. I also soldered a couple of poor connections to the spade connectors that connect to the coil. I then started the car, and let it warm up properly, to make sure that it was running properly with the new leads, and to allow me to adjust the timing a little, to ensure smooth running.
From there, I refitted the grille, and bonnet badge, to tidy the car's appearance a little. I then reconnected the rev counter to the coil, to see if it still functioned. All of the instruments work properly, including the clock. All of the lights worked too, bar the brake lights, initially, I attributed this to a bad connection, but after replacing the spade connectors in the boot, I've decided that the brake light switch is at fault.
Should be fitting the rear bumper, and petrol tank in the next few days, with a bit of luck! I've also ordered a couple of new front brake hoses, as one has started leaking. I'm enjoying the project so far.
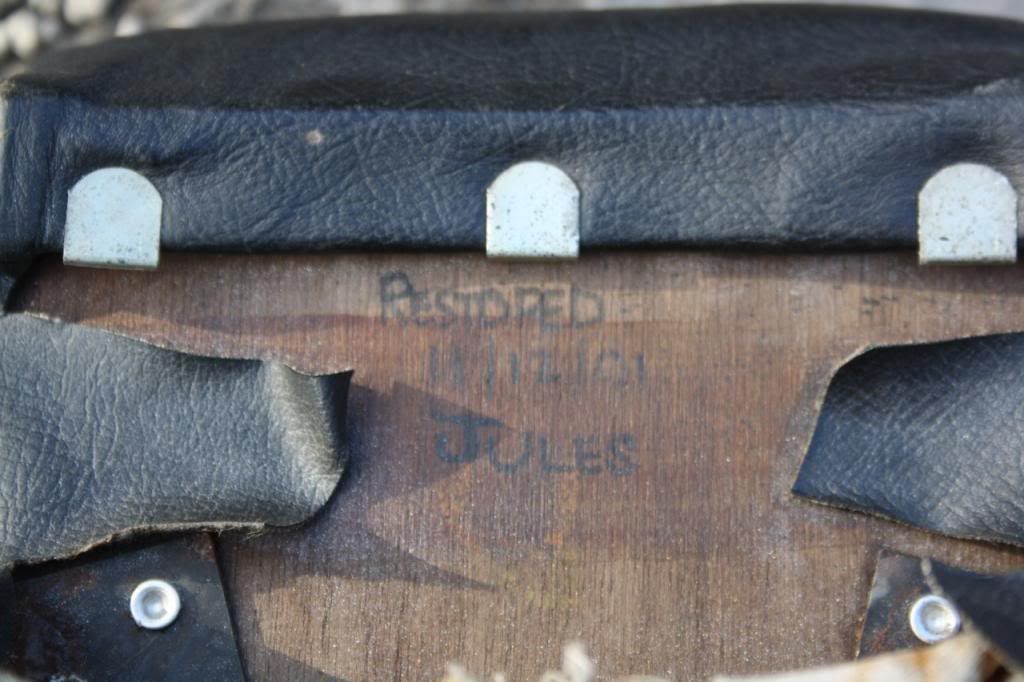
When I removed the rear seat squab to sort the carpet, I found that someone called Jules had signed it, and written that they'd restored the car in 2001. If anyone knows who Jules might be, I'd be most interested to make contact with them!
Here are the two photos.
Today, I spent quite a few hours tinkering with the car. The first thing I did today was to swap over the ignition leads. I also soldered a couple of poor connections to the spade connectors that connect to the coil. I then started the car, and let it warm up properly, to make sure that it was running properly with the new leads, and to allow me to adjust the timing a little, to ensure smooth running.
From there, I refitted the grille, and bonnet badge, to tidy the car's appearance a little. I then reconnected the rev counter to the coil, to see if it still functioned. All of the instruments work properly, including the clock. All of the lights worked too, bar the brake lights, initially, I attributed this to a bad connection, but after replacing the spade connectors in the boot, I've decided that the brake light switch is at fault.
Should be fitting the rear bumper, and petrol tank in the next few days, with a bit of luck! I've also ordered a couple of new front brake hoses, as one has started leaking. I'm enjoying the project so far.
When I removed the rear seat squab to sort the carpet, I found that someone called Jules had signed it, and written that they'd restored the car in 2001. If anyone knows who Jules might be, I'd be most interested to make contact with them!
Here are the two photos.
Now that I'm finished university until September, I'm compelled to get on with the job, regarding this car! Funds are somewhat lacking at the moment, until I start my summer job. Until then, I'm concentrating on the cheaper aspects of the car. I've still not got the rear bumper and petrol tank collected, as the chap who has them works abroad a lot. He says he'll be back in the next week or so, so hopefully, I'll get them fitted sooner than later! As regards the front valance, I'll need to make a concerted effort to acquire a better one soon. The fuel pump I've been using to run the car until now isn't up to the job, so I'm researching the options. I think I'll go for a facet pump, as this project is being done on a tight budget, and it's not one that'll be sitting around in traffic much at all. Other than this, I also need to rebuild the nearside front caliper, as it's leaking badly, and it doesn't appear to be the hose. The car was started yesterday, and ran beautifully, considering the circumstances! The exhaust is all sitting, awaiting fitting. Alas, in my haste, I've got lovely PD Gough sections in the original bore size, but, I correctly acquired big bore front pipes. Is it possible to fabricate/buy an adaptor, so that I can use the stainless sections, with the big bore front pipes?
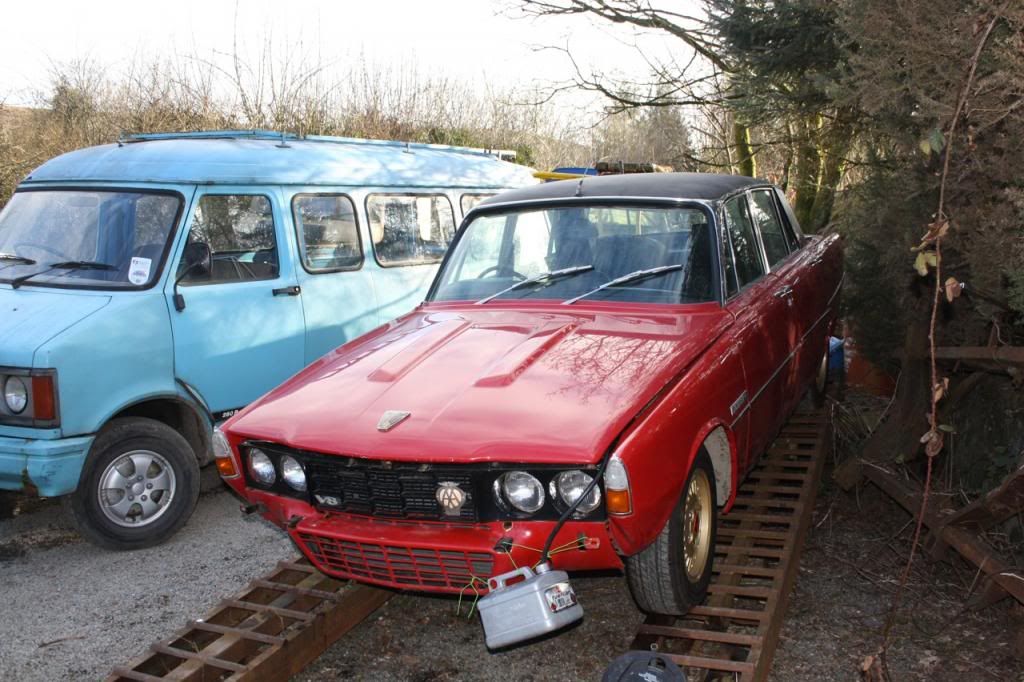
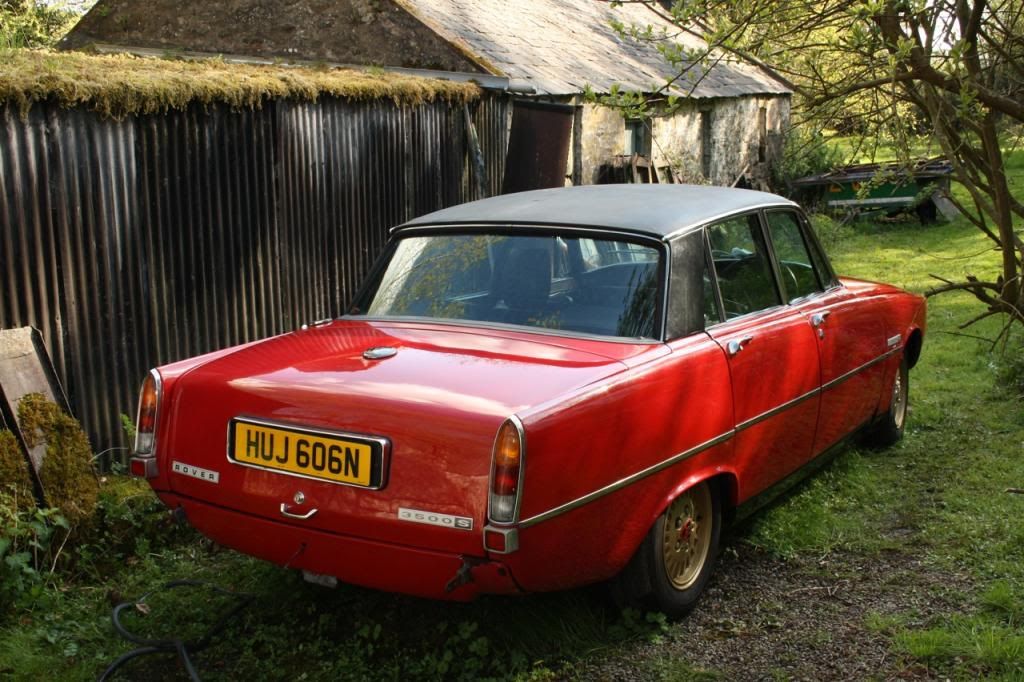
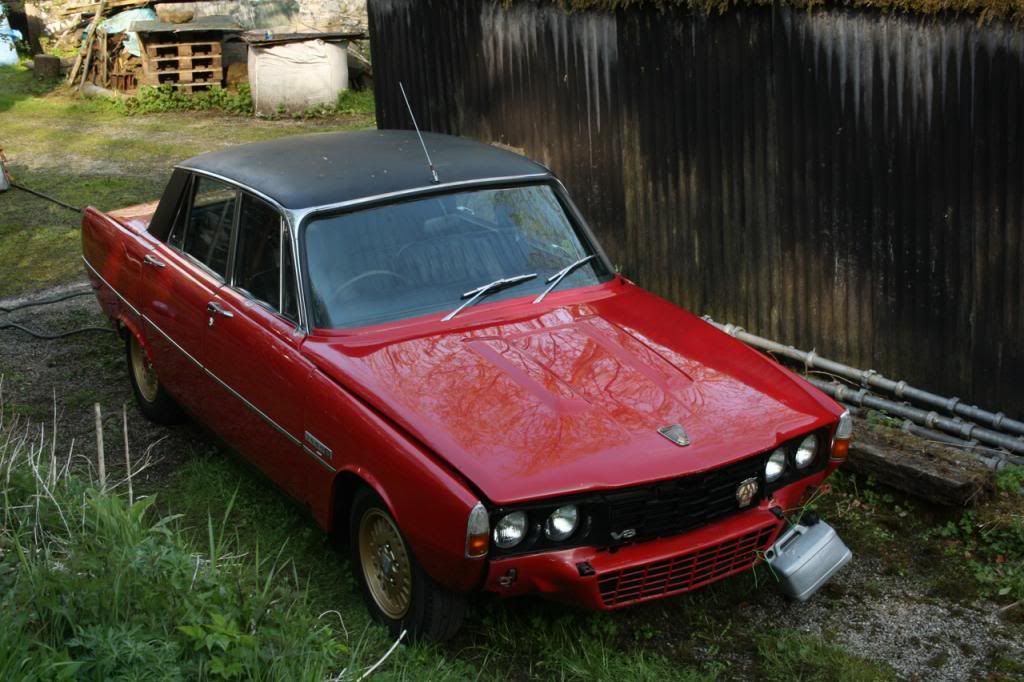
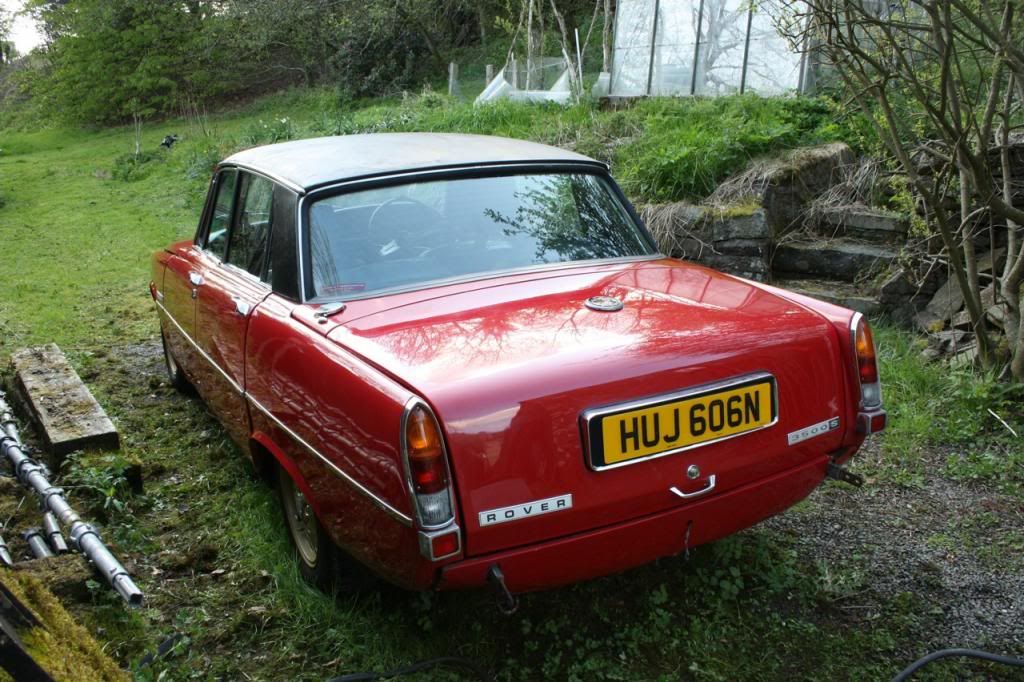
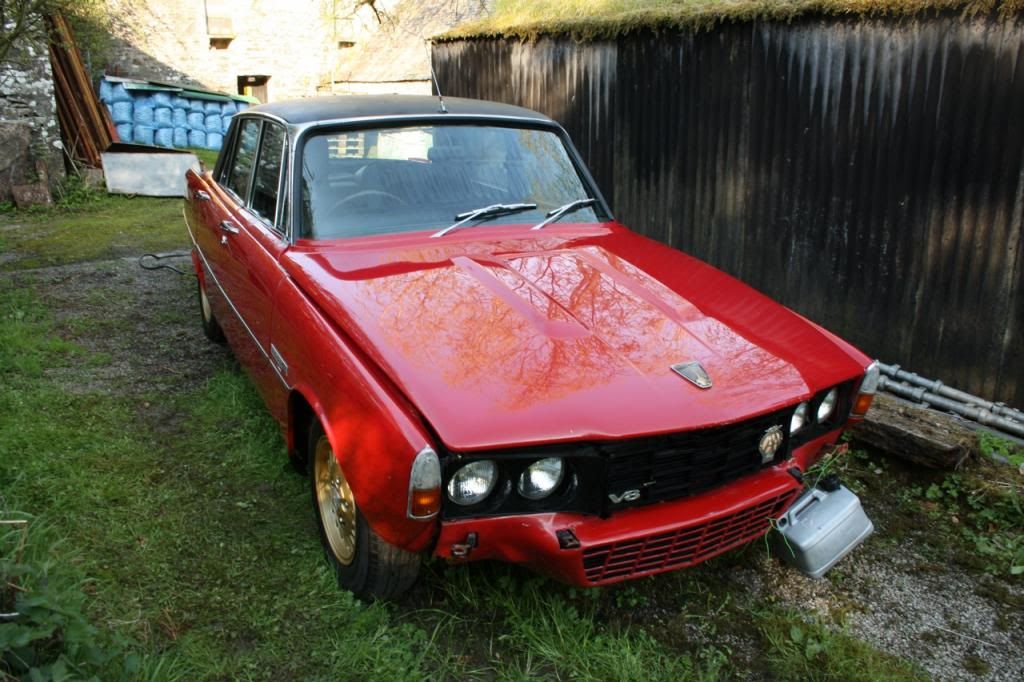
Anyway, yesterday was spent making the car look rather better again. I felt guilty about the car looking quite oxidised, so I spent three or four hours washing, polishing and waxing it! As you can see in the before shots, the bootlid, and bonnet were particularly bad. They're still slightly stained in places, but a lot better than they were. The rest of the bodywork, bubbles aside, has a nice paint finish, which has responded quite well! The vinyl roof lets it down rather, as there are quite a few pieces where the vinyl has peeled off, and there are white spots, or a previous owner has used some black filler. It'll never look great, but if it looks acceptable on the road, and from ten paces, then I'll be happy enough!
For those interested, I used the two bucket method, (no snowfoam this time), with Zymol car shampoo. I then dried the car off, before going round it twice with Autoglym super resin polish, three times on the bonnet and boot. I then waxed the car with Collinite 476 to add a bit of protection. I blackened up, and protected what's left of the vinyl roof with Autoglym bumper care, as well as doing the side pillars. I did the wheels with turtle wax because I saw no point in using anything else on the poorly painted alloys. I dressed the tyres with Meguiars Endurance tyre gel. I'm fairly happy with the result. It's not getting it onto the road any quicker, but it incentivises me to work harder, if the car looks nice.
The first two photos show the car before, and the rest are a mixture of half-finished, and finished shots. I'll clean it a bit more before it goes onto the road, but it's okay for now.
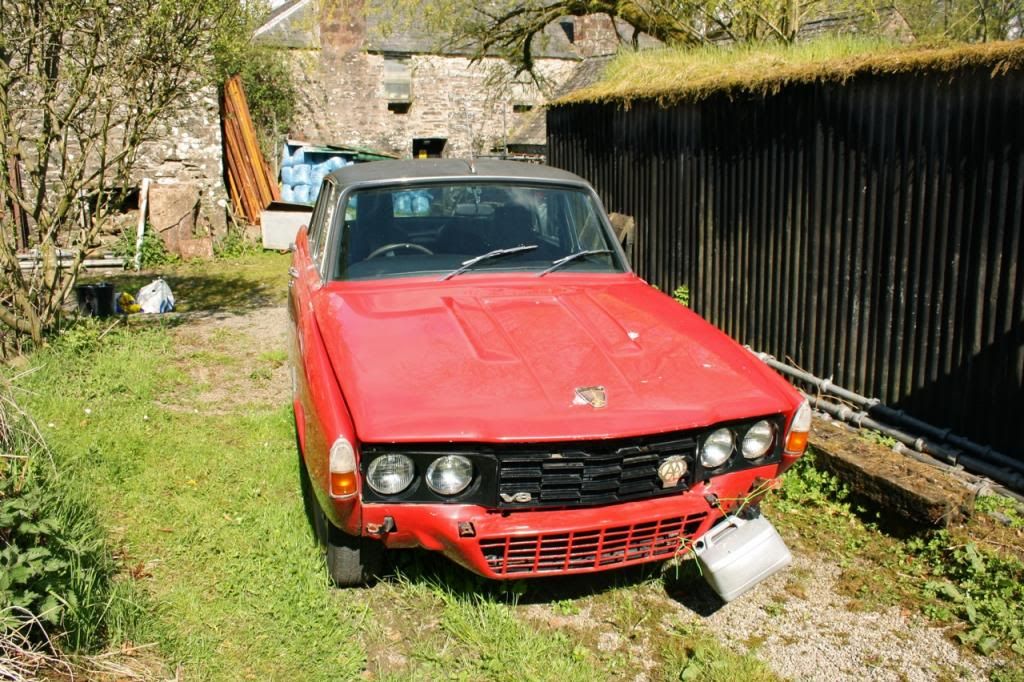
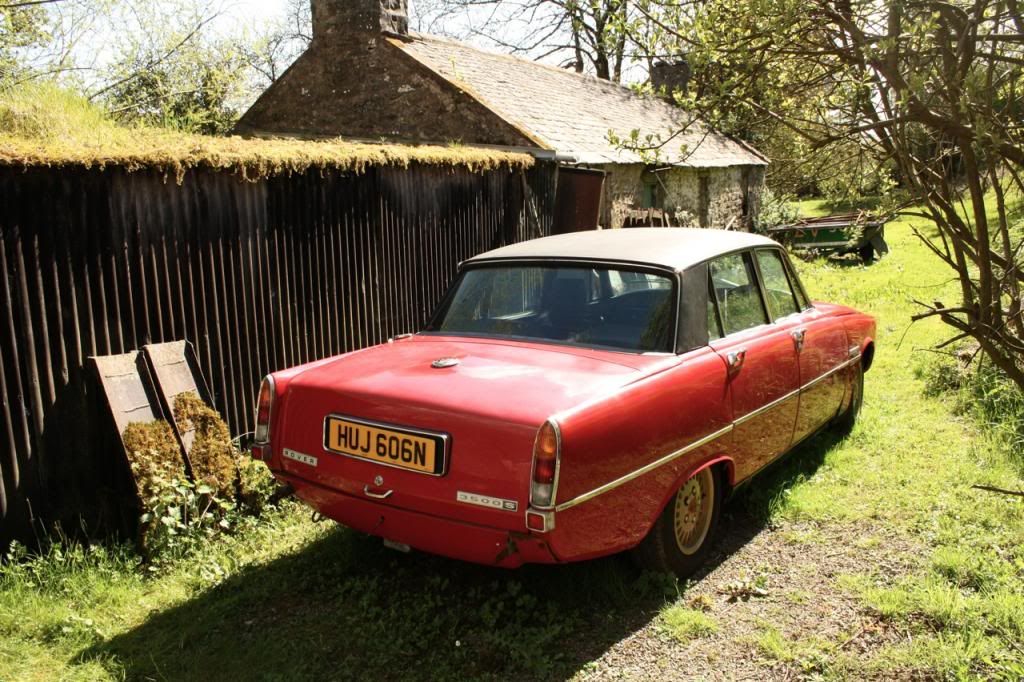


Thijs Leuven
Active Member
That buffed up pretty well, nice. 8)
Hi Fraser,
It came up very nice didn't it!
An exhaust business should be able to fabricate an adapter to join both sections together. Do you wish to fit the complete exhaust system yourself or will you take the car to them, and they'll swap the down pipes along with the rest over, making and fitting the adapter at that time?
They used to use olives as an interface between two sections of pipe in years gone by, now they weld flanges to each section with a gasket in between, thus no loss of pipe diameter results, and no loss of flow.
Ron.