

testrider
Active Member
One of the things that really bugged me on my car was the sloppy hinges on the bonnet which meant that rattled up and down at speed. I've seen NOS hinges on eBay but the thought of paying nearly a hundred quid for them didn't appeal. Fortunately a good friend Tony Ryalls thought the same and manufactured his own out of stainless steel for his 2200TC. Now I don't have the facilities to do that, but I did copy his idea for locating the lower two pivots.
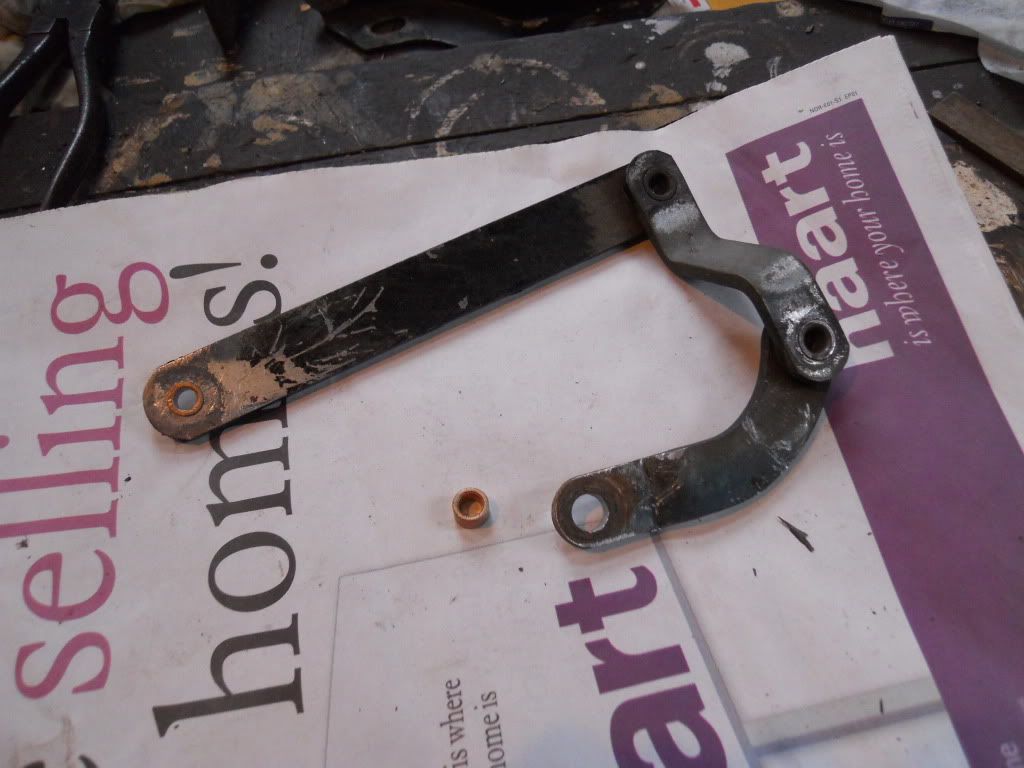
There are four pivots on each hinge, the top two are nicely made flanged bushing whereas the two lower pivots are just rivets. They're hammered in tight into the thick arms leaving the pivoting action on the much thinner mounting bracket. Over time this obviously wears the hole oval leading to play. Tony's solution was to replace the rivets with bearings that are a good fit but can be replaced if the wear.
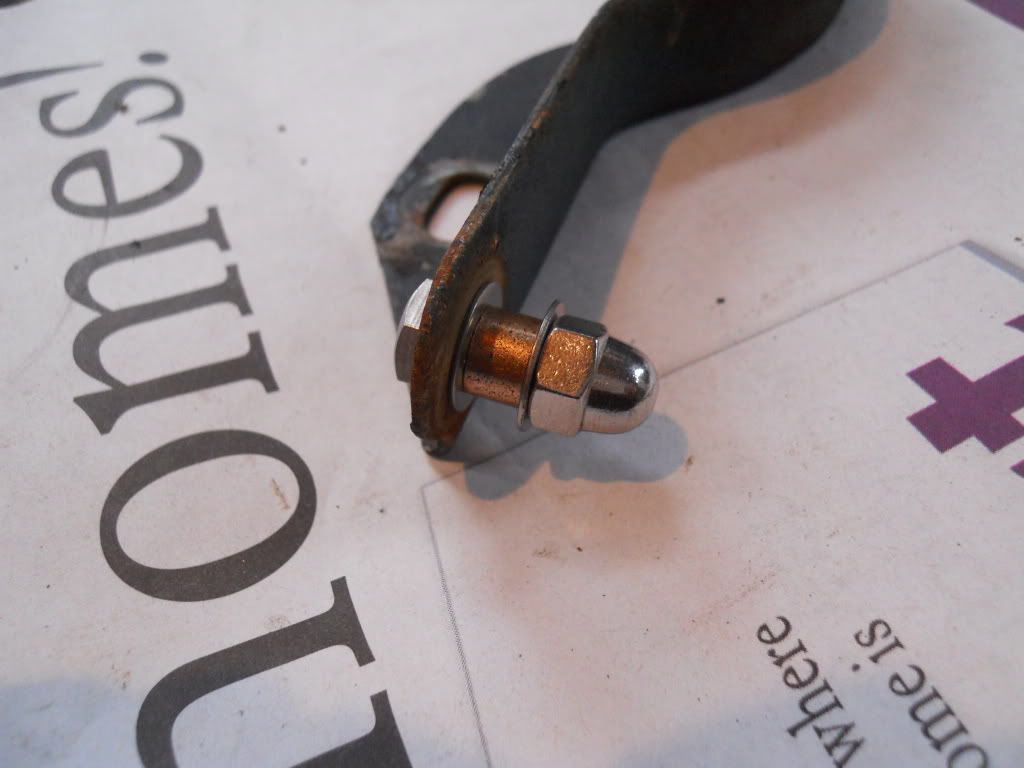
The bearings are held tightly in place with a 1/4" bolt and domed nut as you can see here. The arms will pivot around the outside of the stationary bearing.
I used 1/4 x 3/8 x 1/4 oilite bearings so the next step is to make a 3/8" hole in each arm.
The bearings were a very tight fit so I tickled the hole with a file until I could push them through by hand. This was a mistake though as once they're fitted and cycled through a few times they loosened up a lot so I reckon you should just push them into the hole after de-burring.
After a bit of paint they'll look like this.
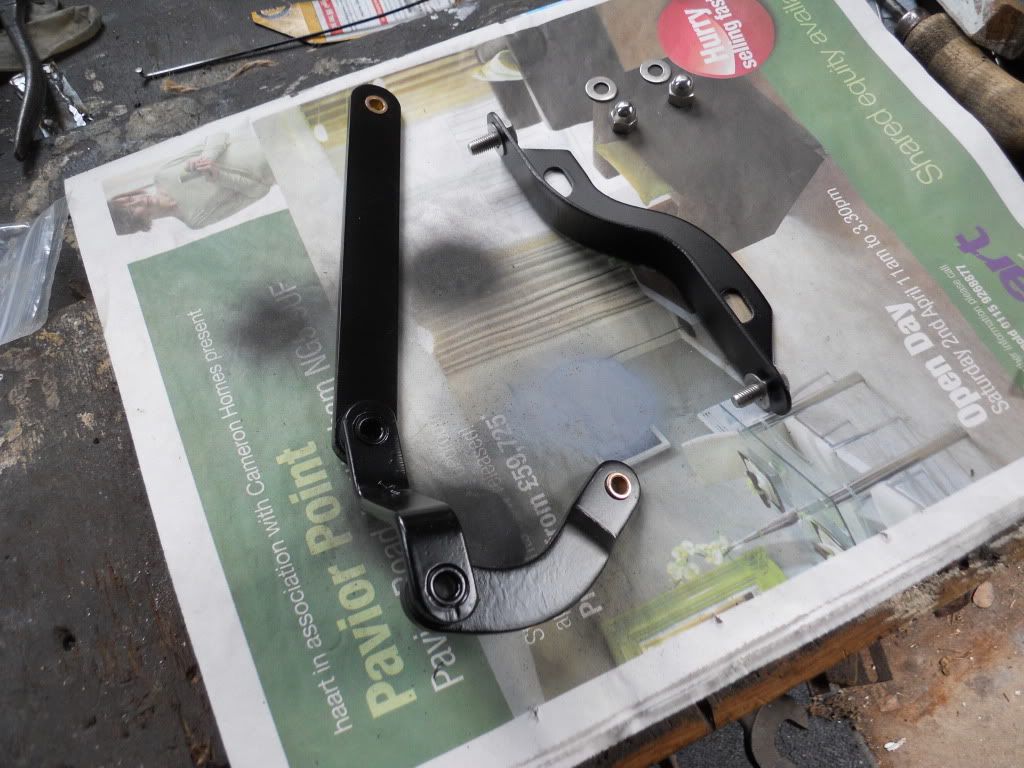
The other thing the to note is the orientation of the bolts, you need the bolt head on the outside of the mount bracket so that they clear the scuttle.
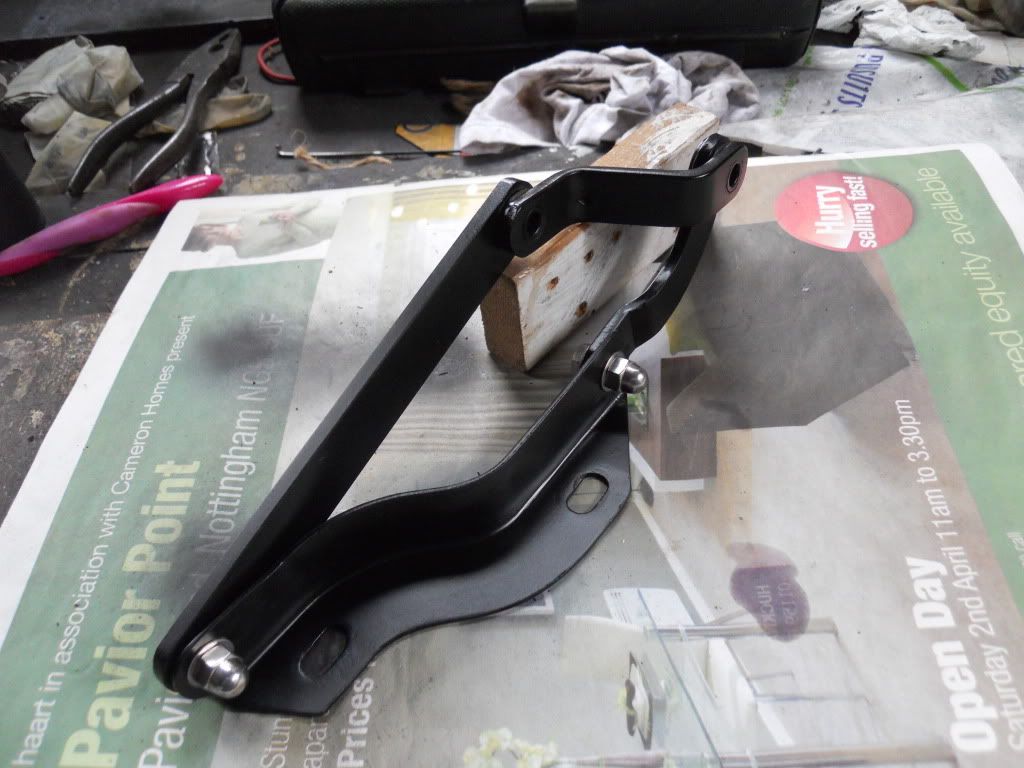
So here's the finished article.
There are four pivots on each hinge, the top two are nicely made flanged bushing whereas the two lower pivots are just rivets. They're hammered in tight into the thick arms leaving the pivoting action on the much thinner mounting bracket. Over time this obviously wears the hole oval leading to play. Tony's solution was to replace the rivets with bearings that are a good fit but can be replaced if the wear.
The bearings are held tightly in place with a 1/4" bolt and domed nut as you can see here. The arms will pivot around the outside of the stationary bearing.
I used 1/4 x 3/8 x 1/4 oilite bearings so the next step is to make a 3/8" hole in each arm.
The bearings were a very tight fit so I tickled the hole with a file until I could push them through by hand. This was a mistake though as once they're fitted and cycled through a few times they loosened up a lot so I reckon you should just push them into the hole after de-burring.
After a bit of paint they'll look like this.
The other thing the to note is the orientation of the bolts, you need the bolt head on the outside of the mount bracket so that they clear the scuttle.
So here's the finished article.
 and a very neat solution too!!