A wing and a prayer

Done a bit more over the last few evenings.

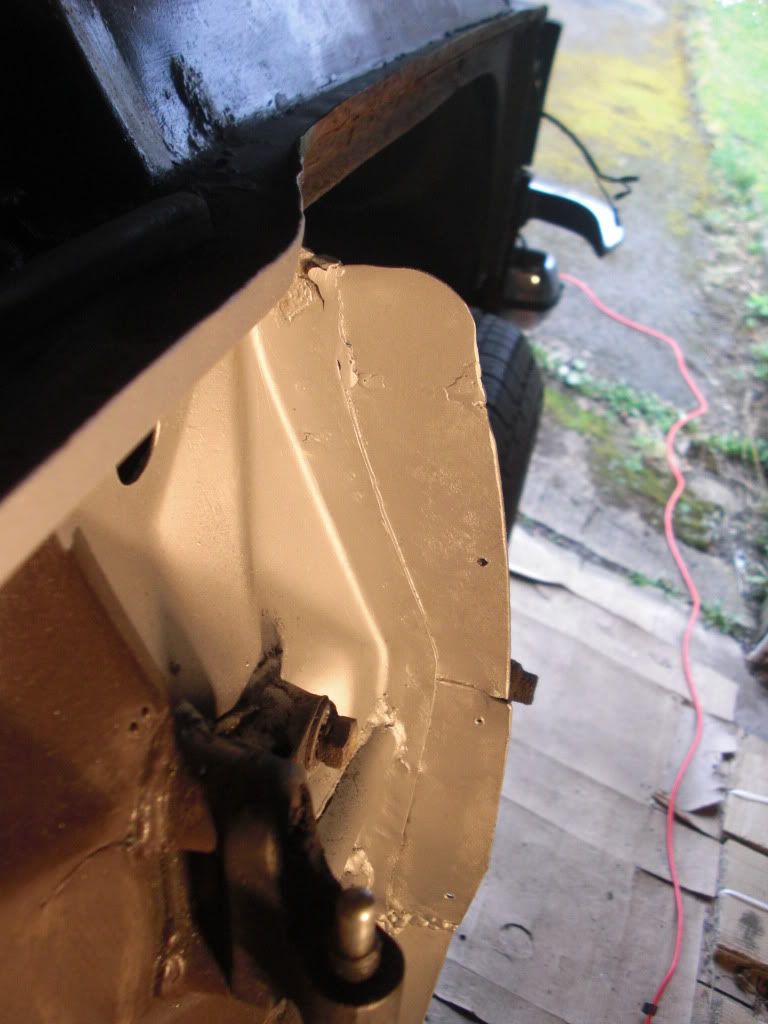
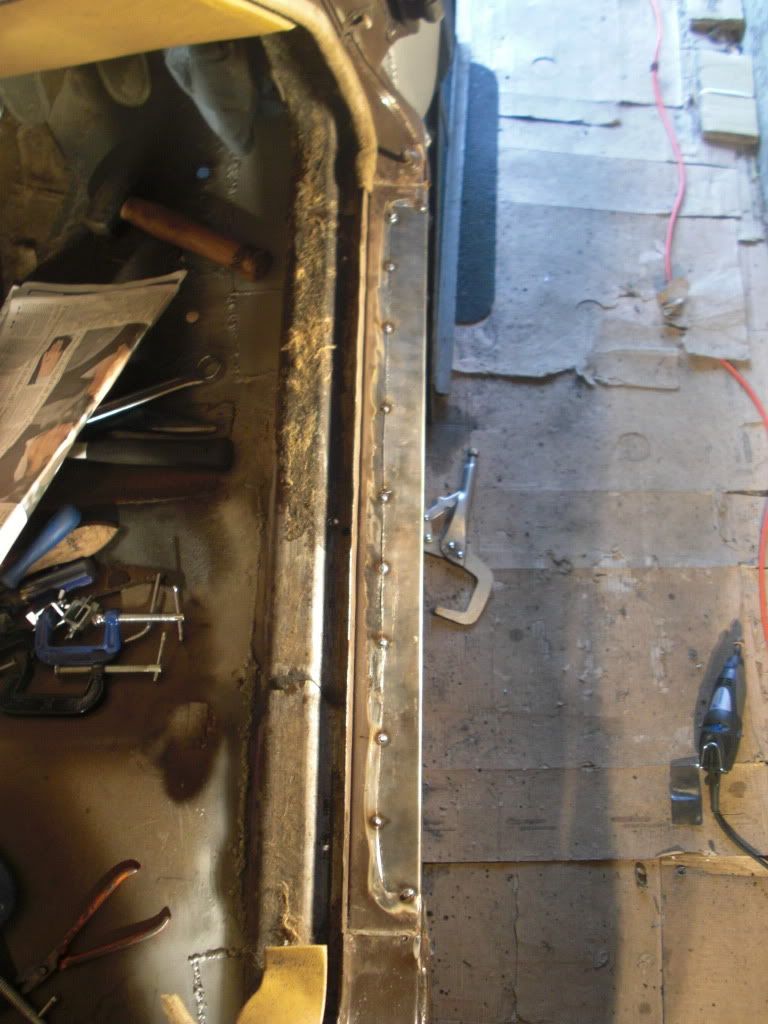
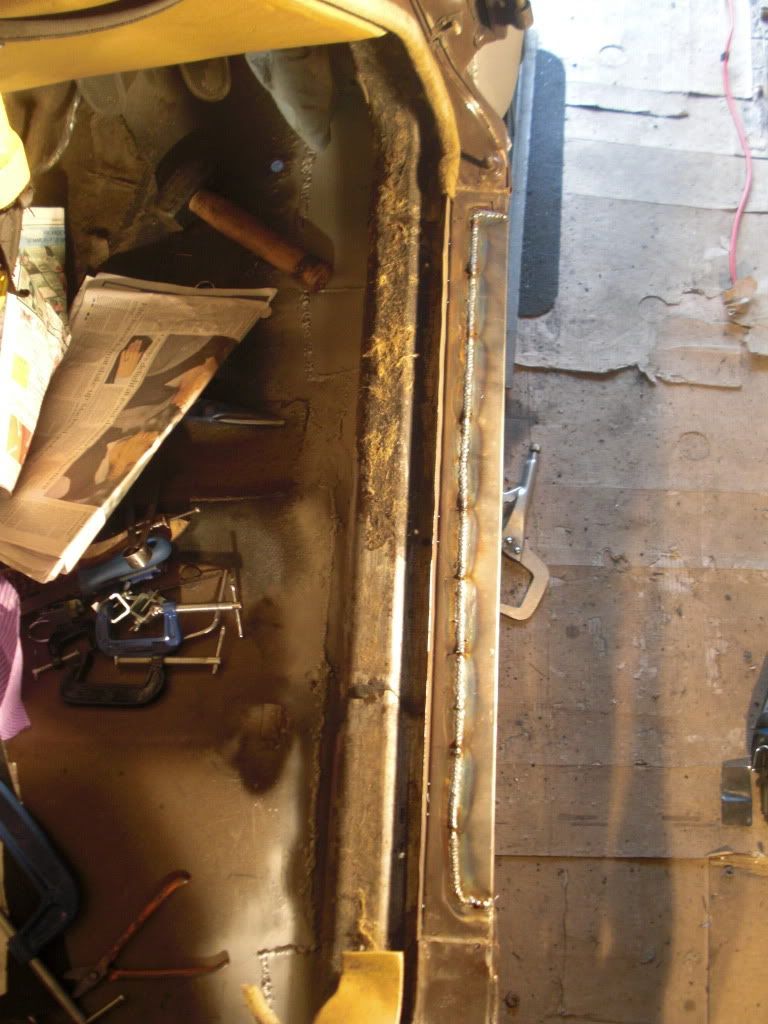
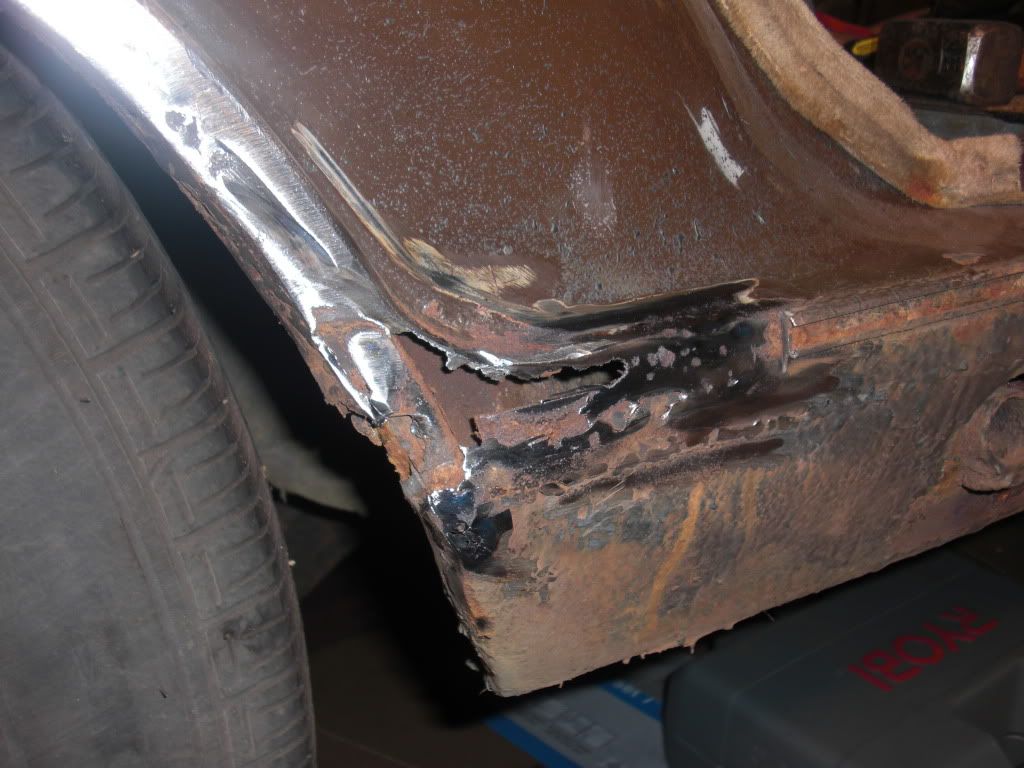
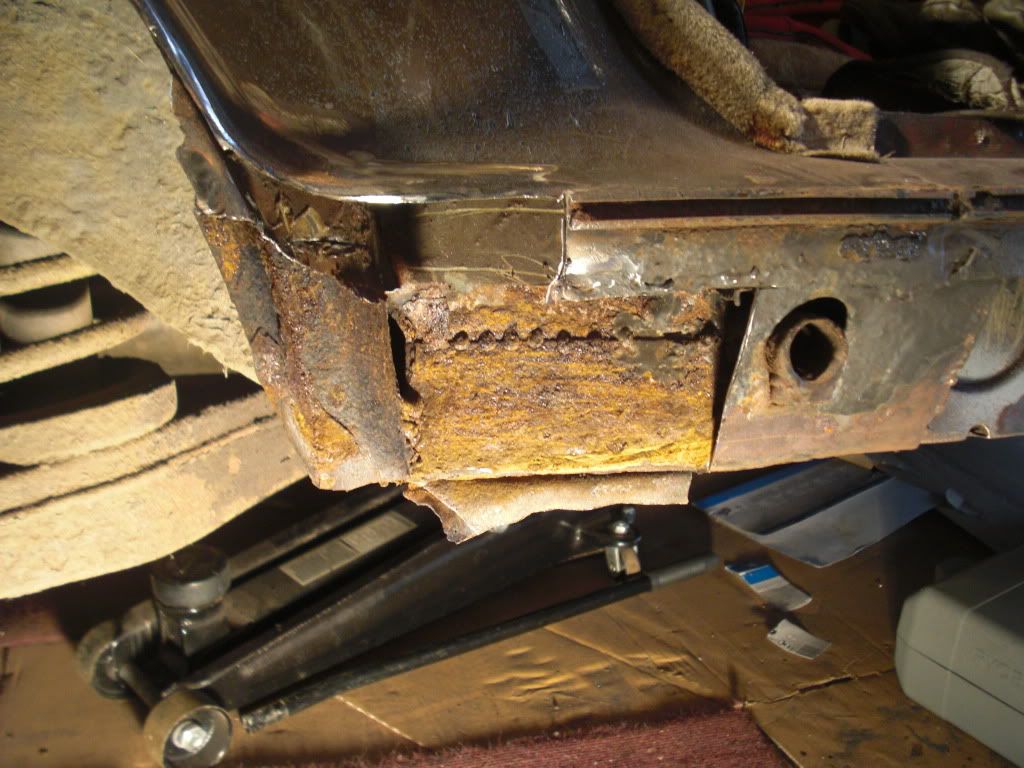
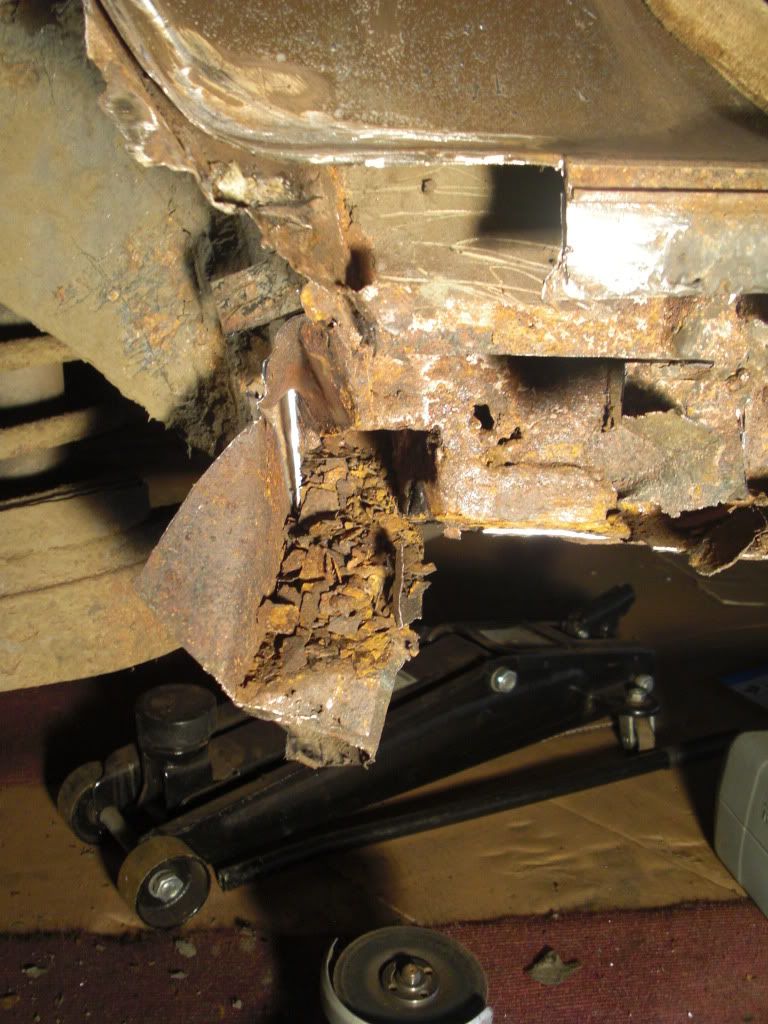
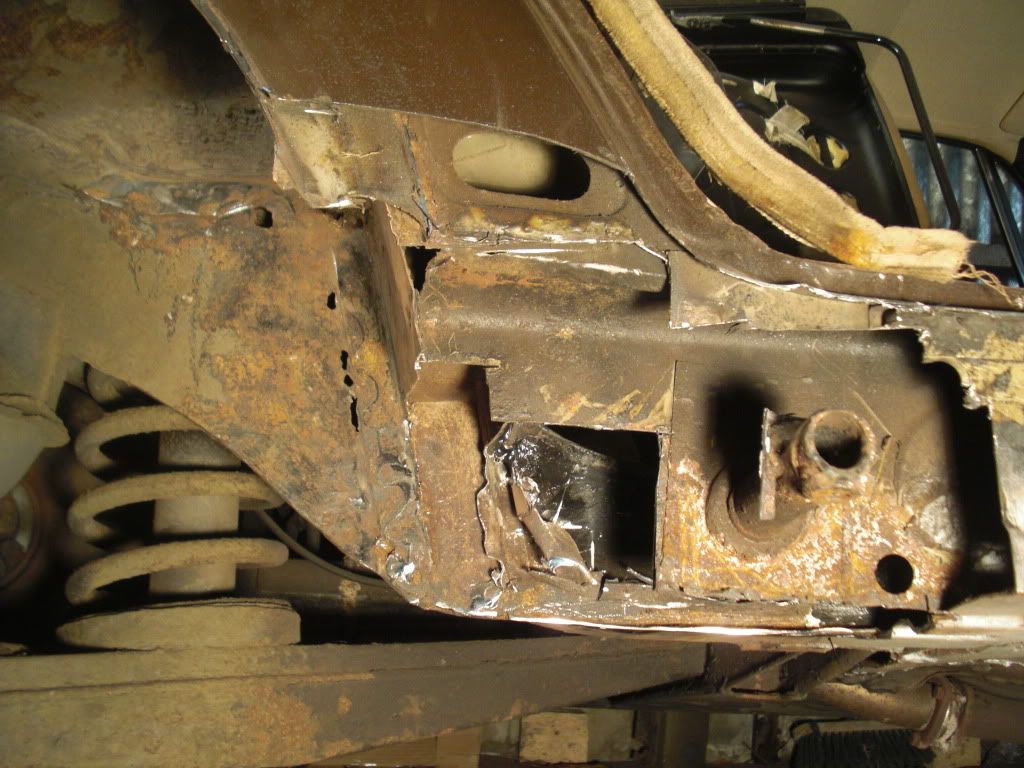
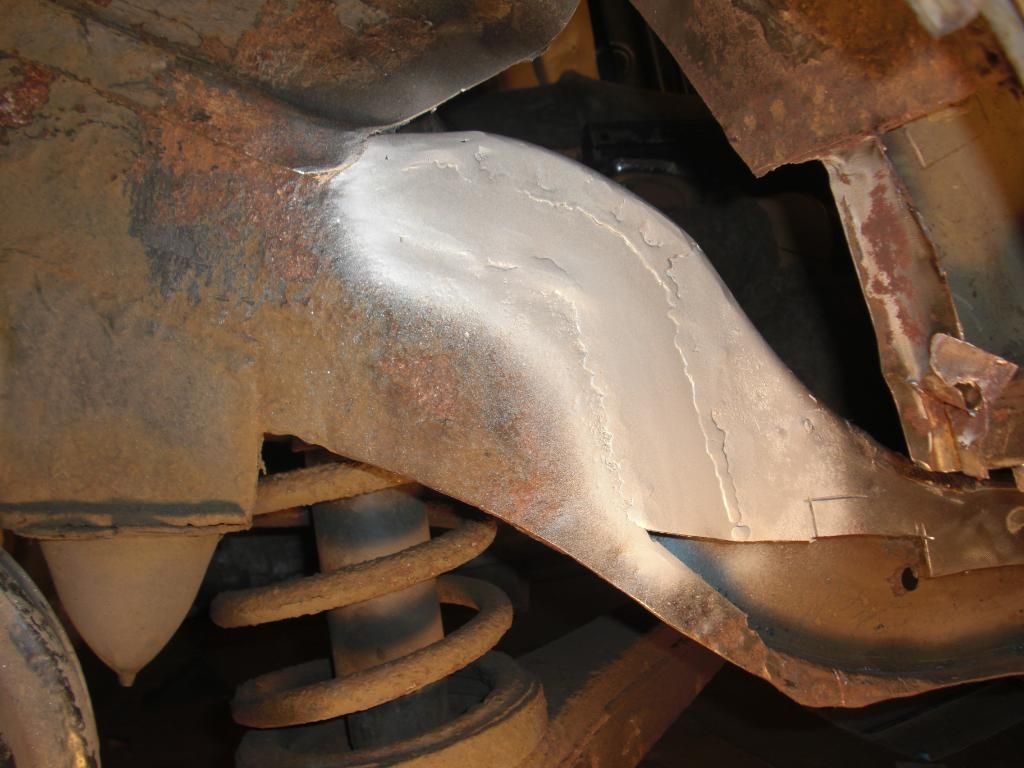
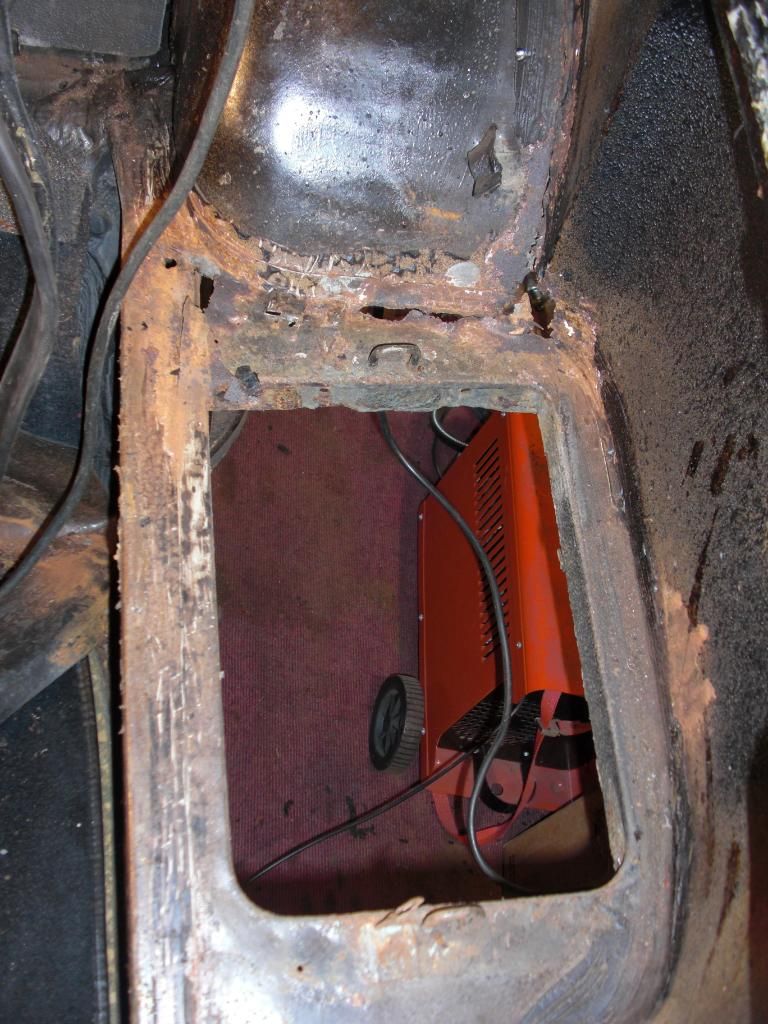
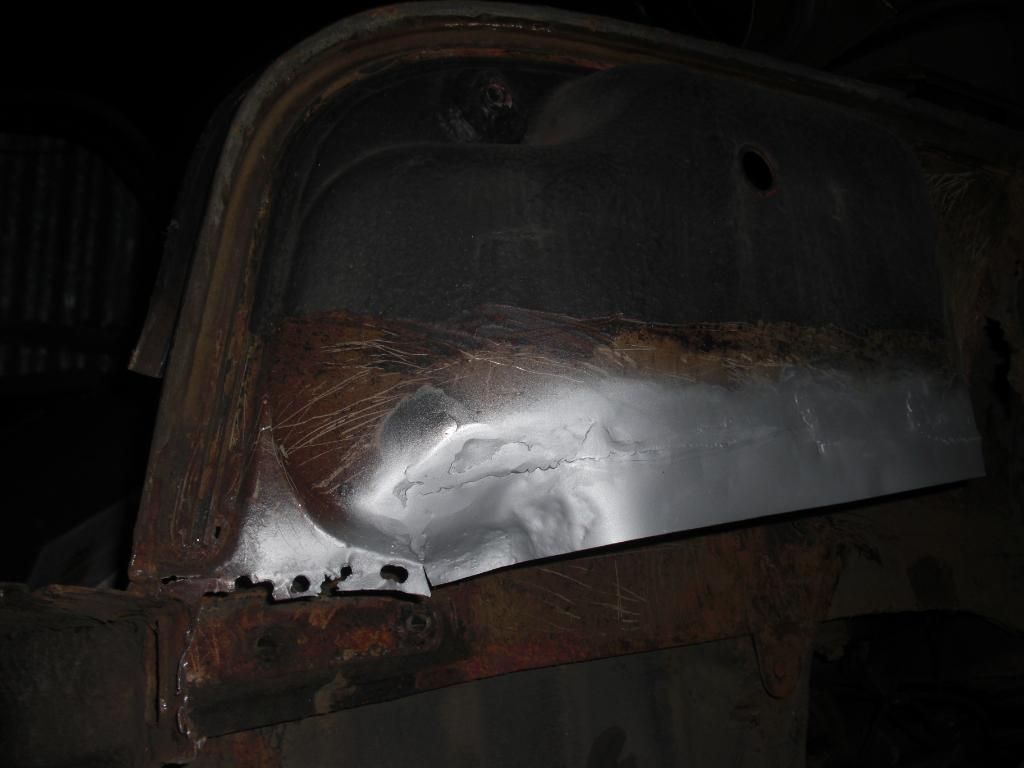
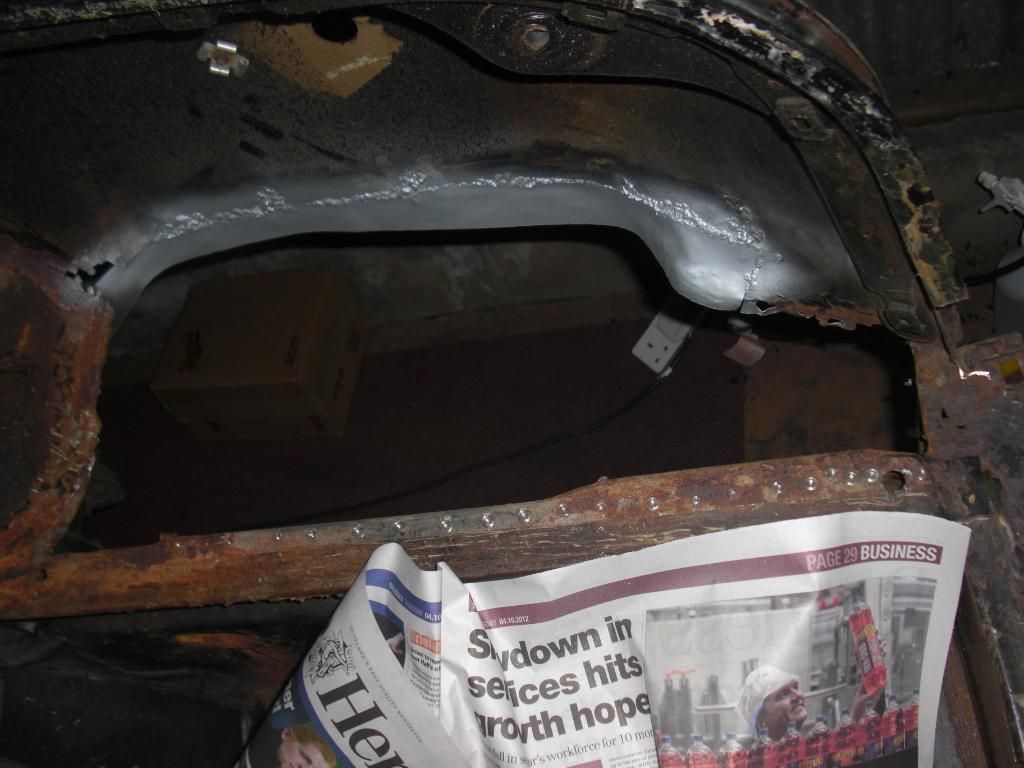
For completeness sake here is proof of the hole in the rear floor having been filled
CIMG5199.jpg


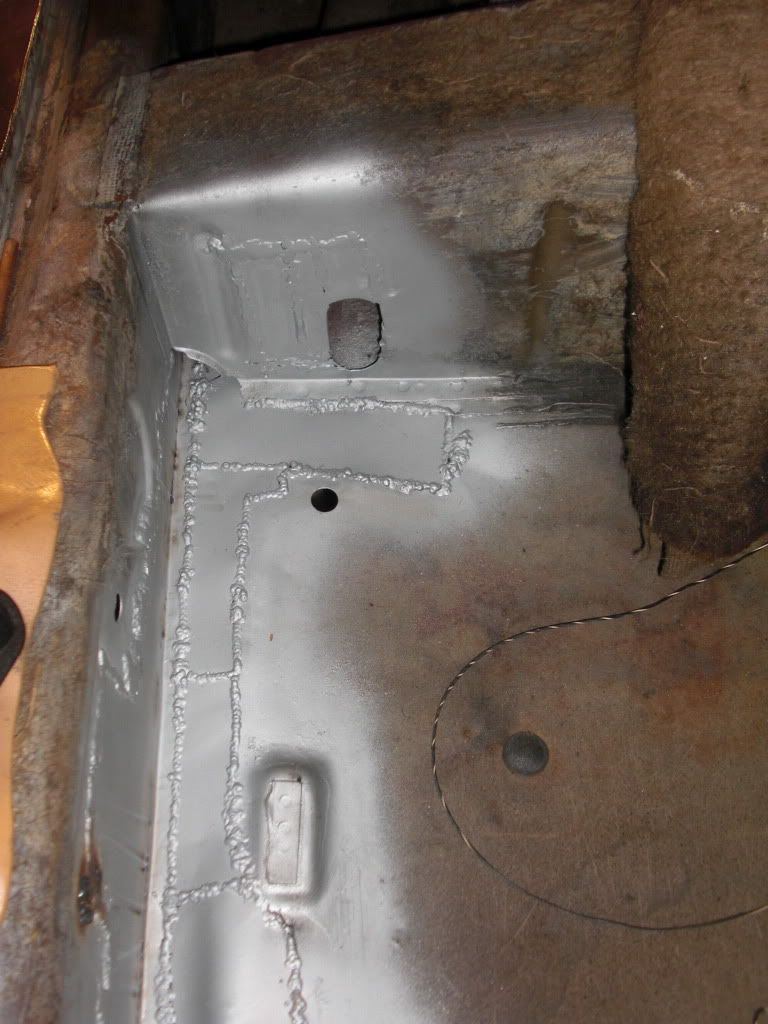
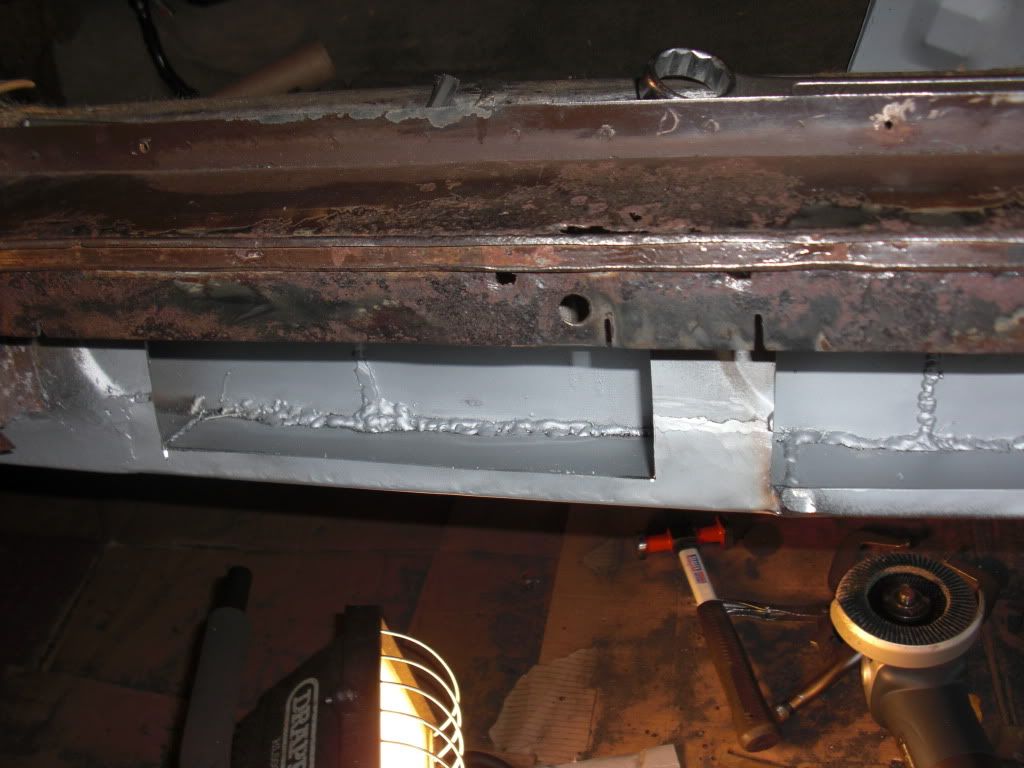
I had to cut a section out of the seat crossmember so I could weld the floor underneath from above.

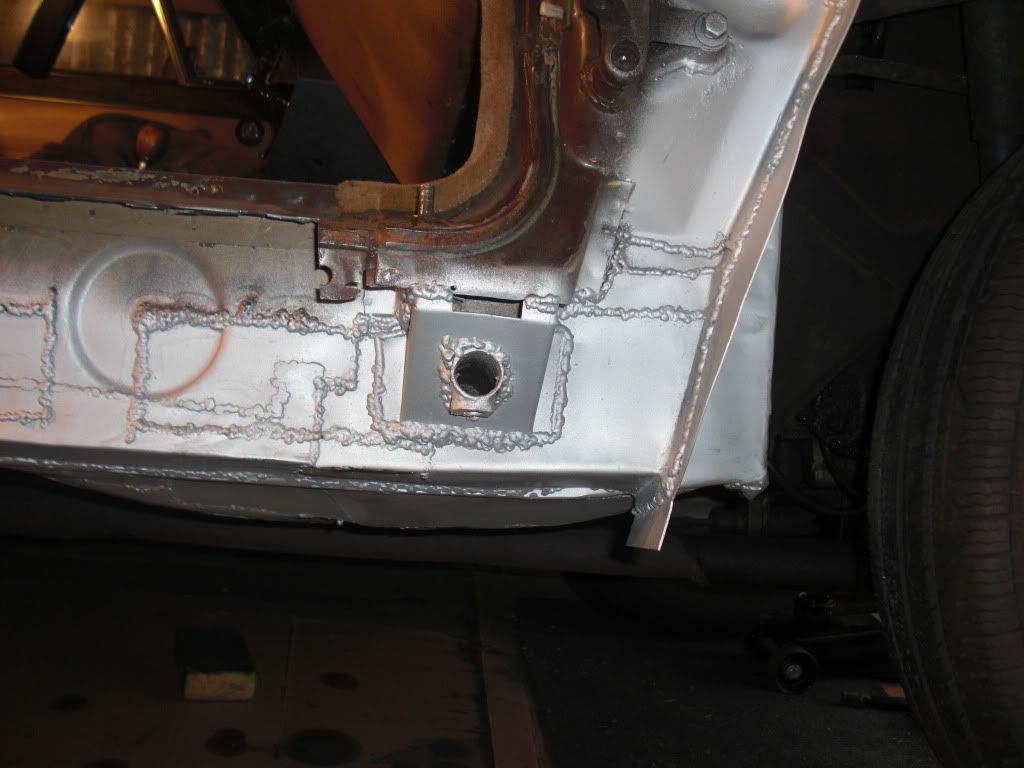
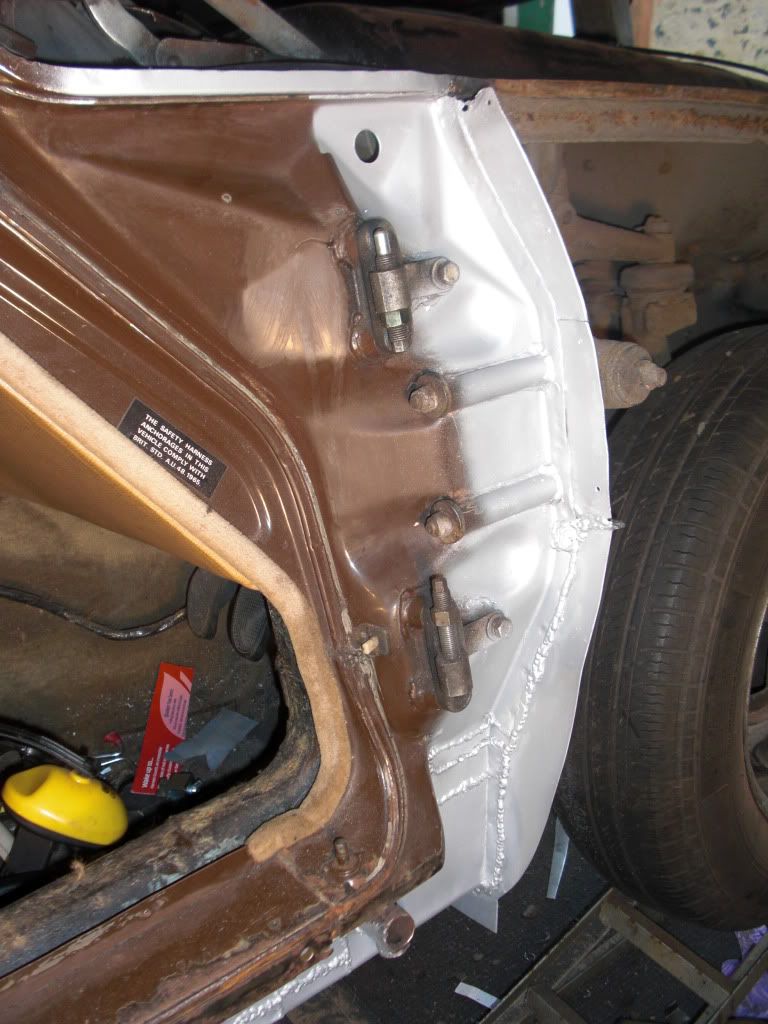
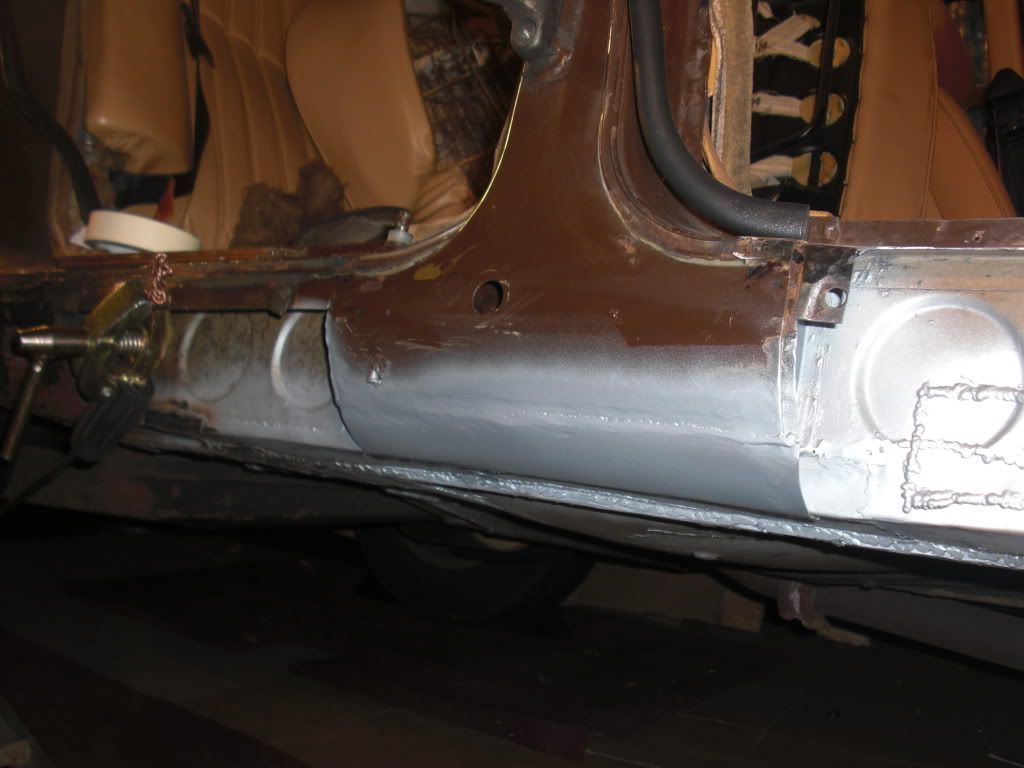
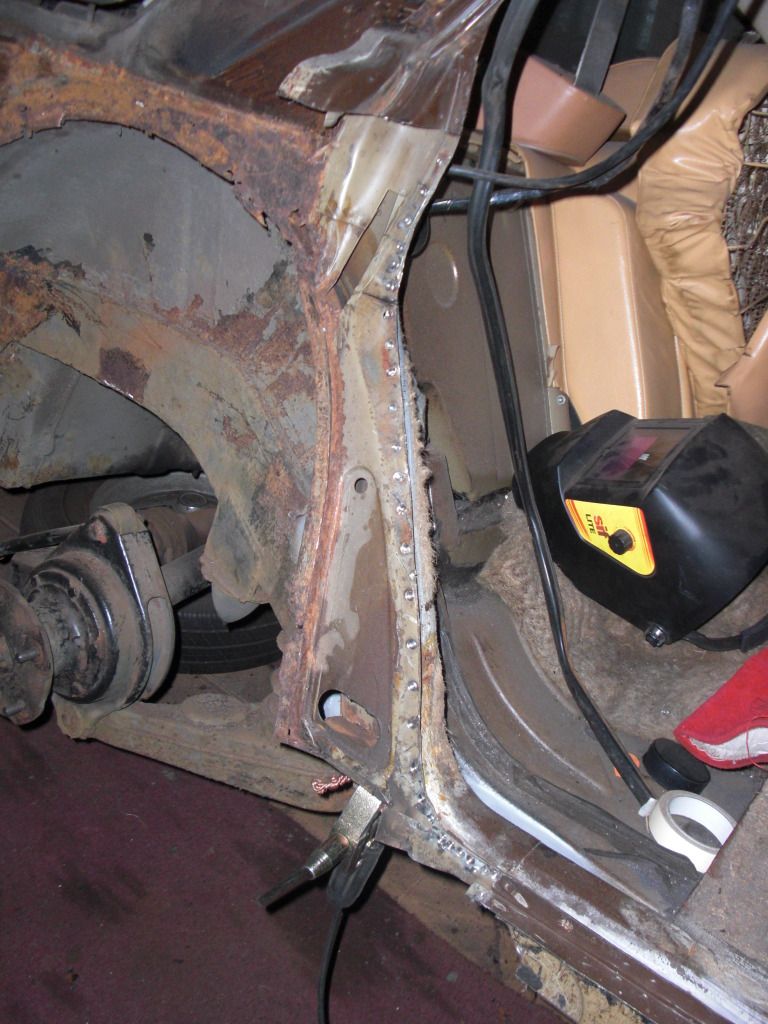
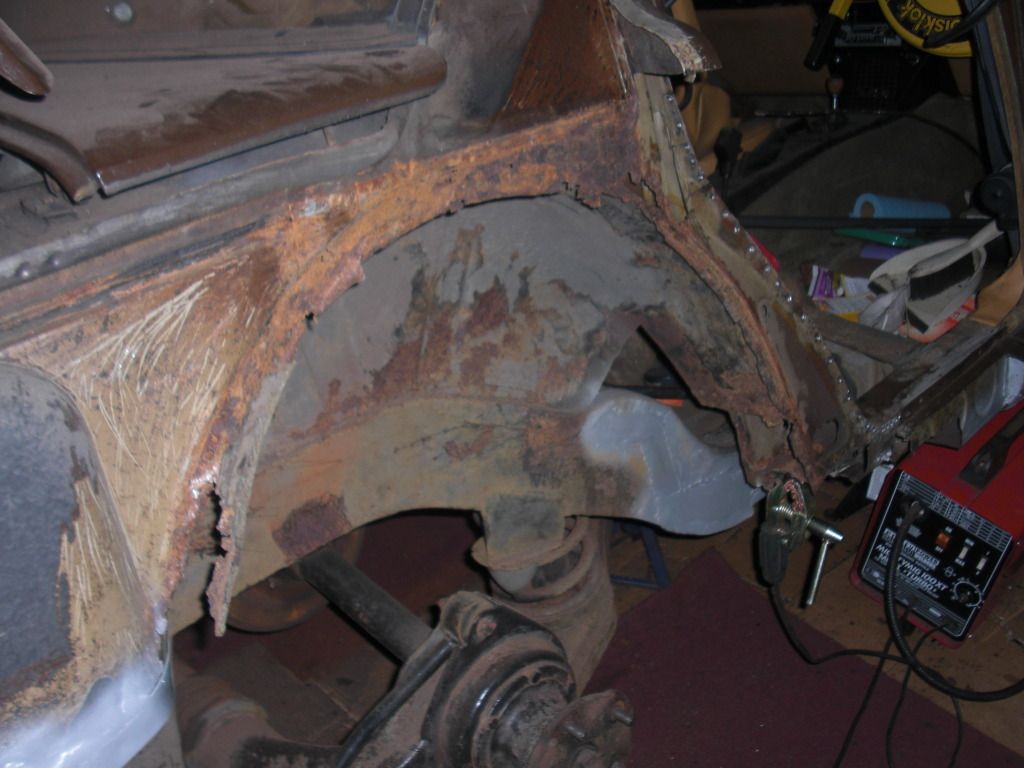
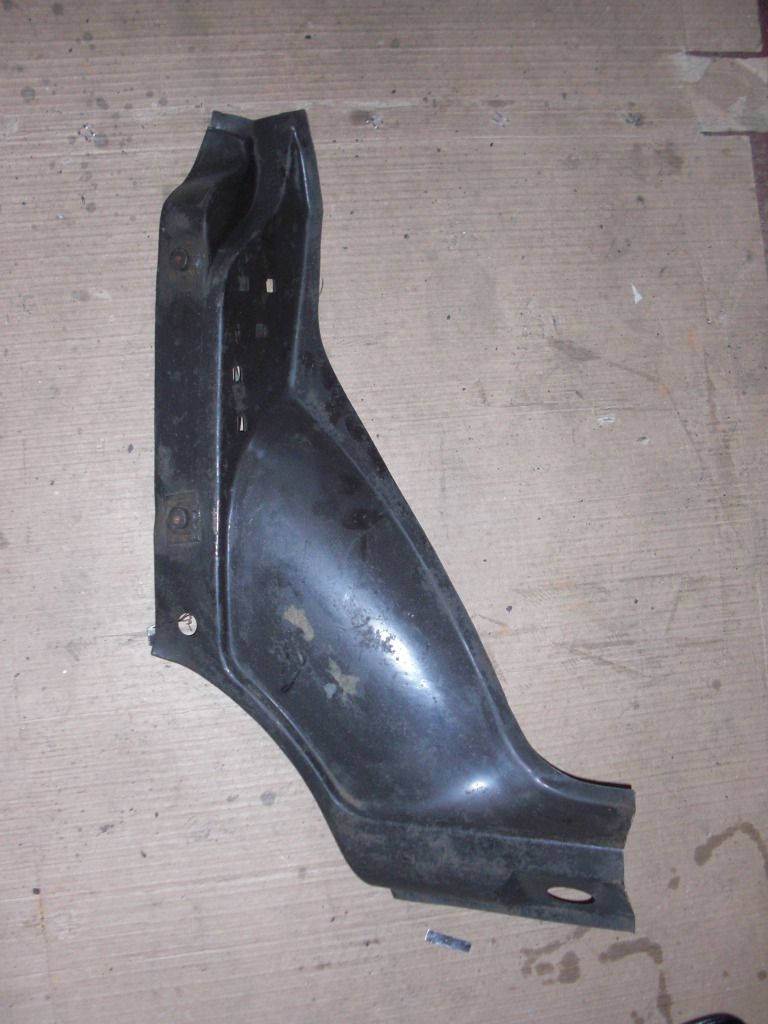
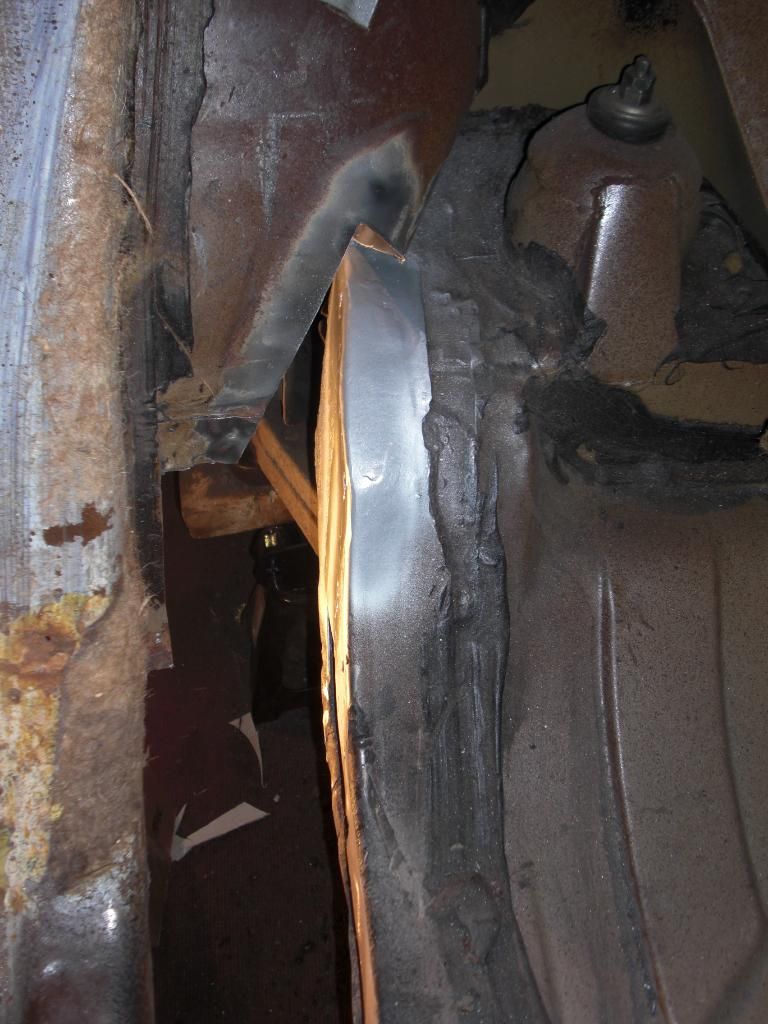
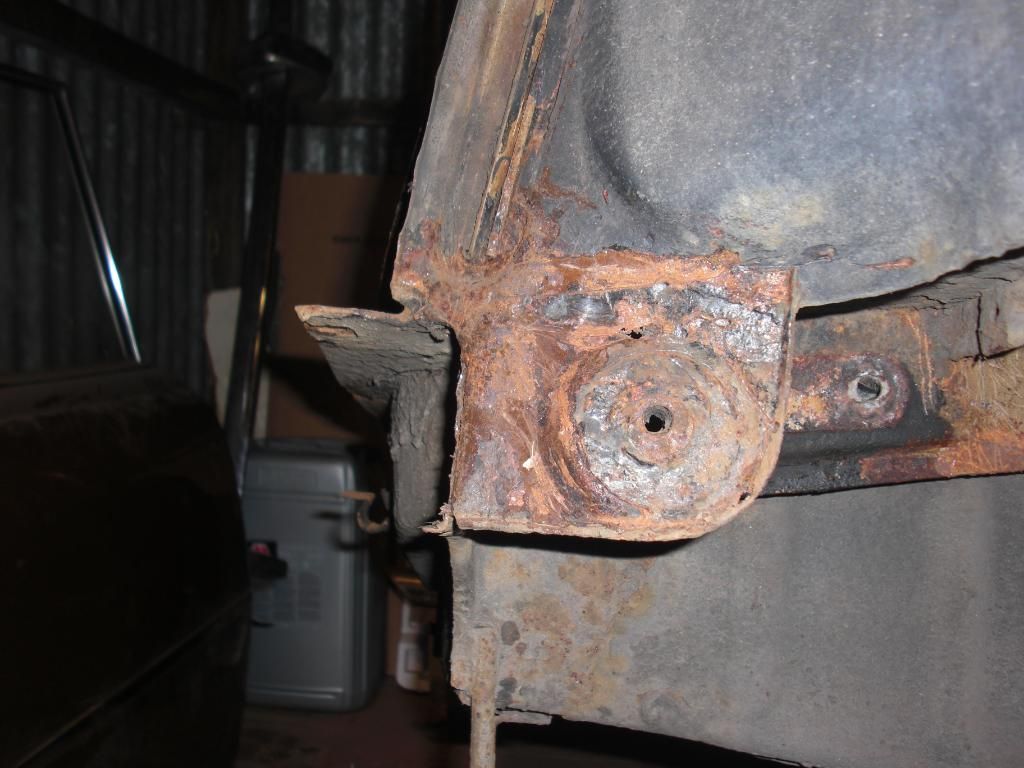
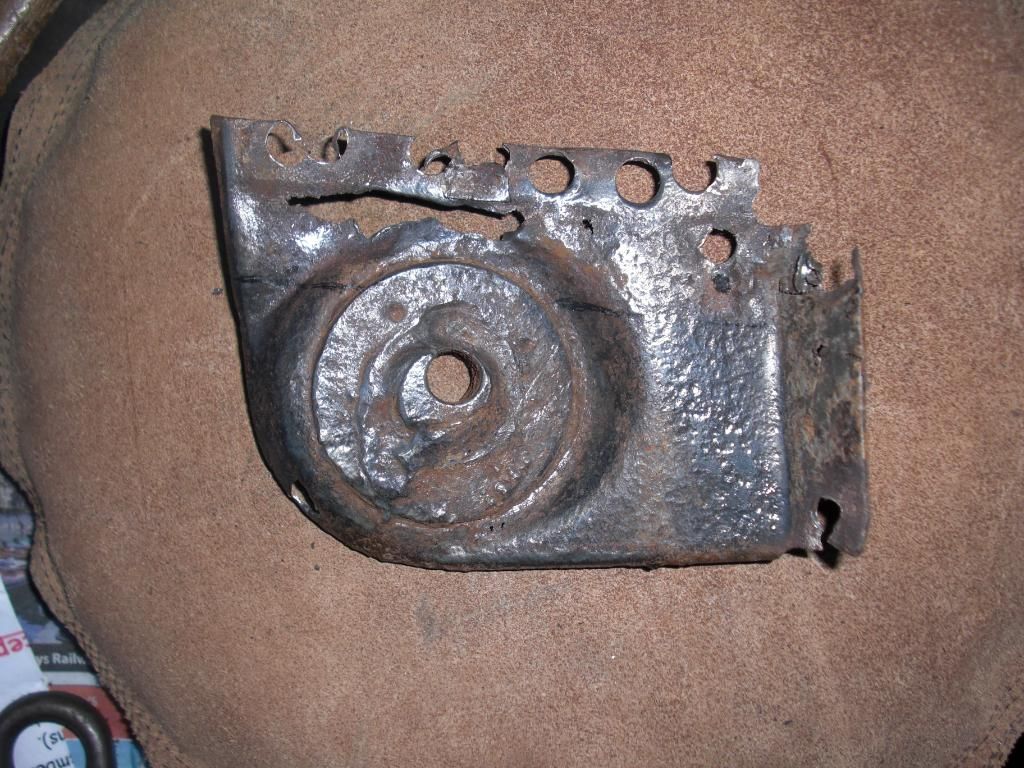
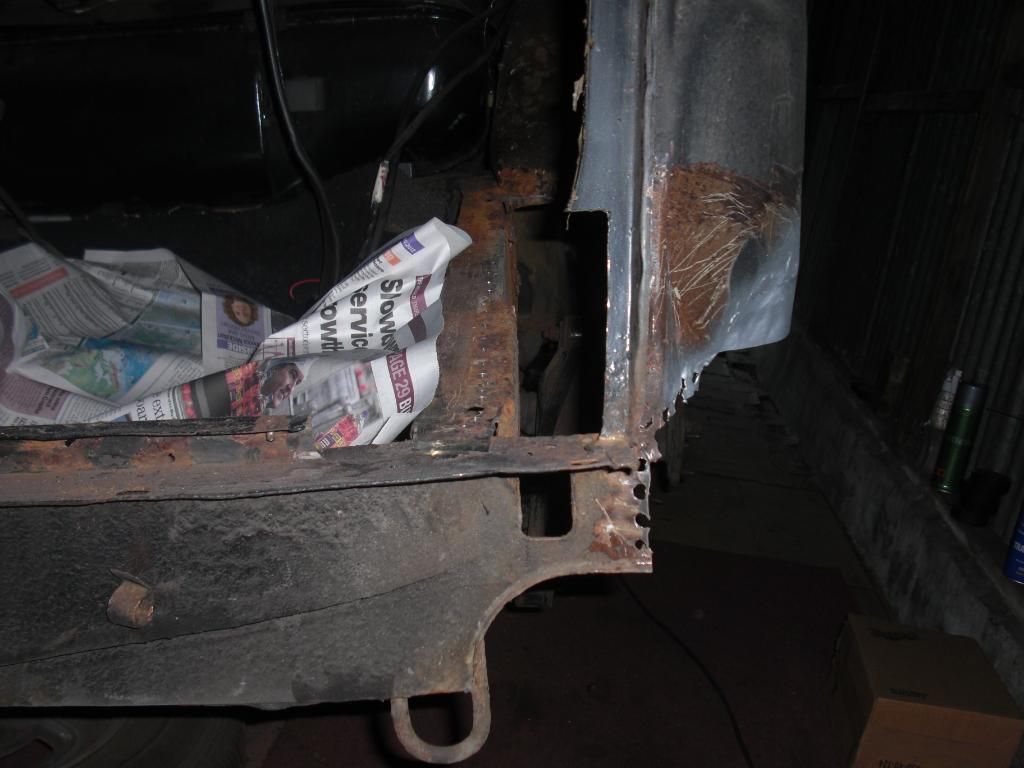
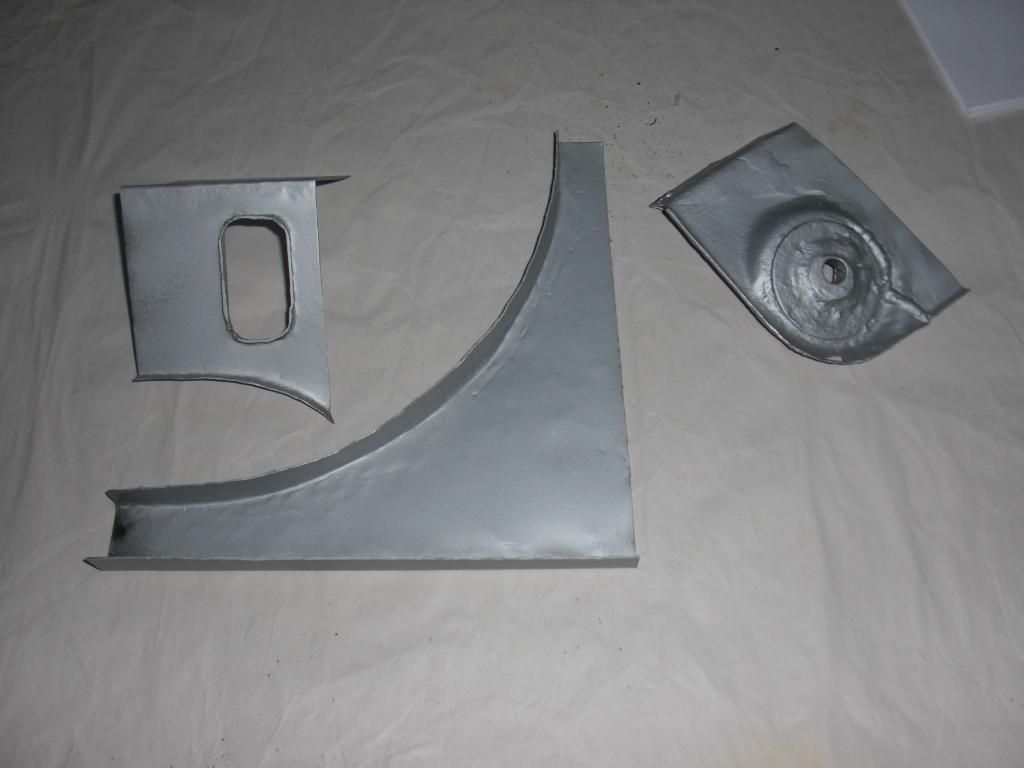
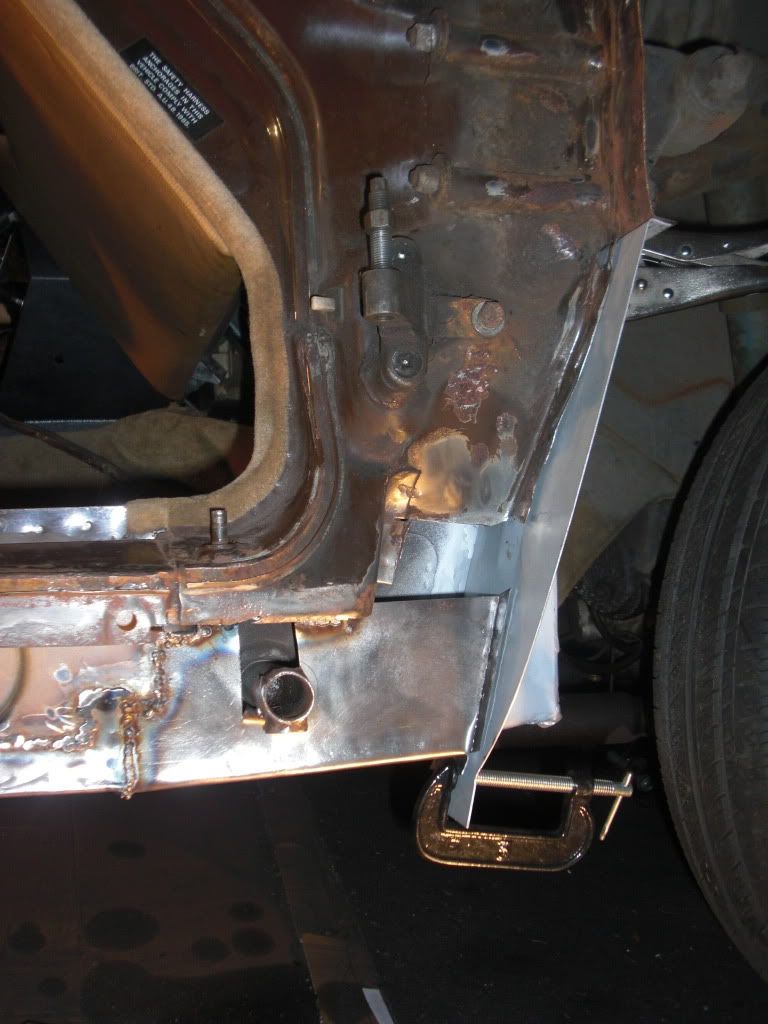
I've almost closed off the front sill to splash panel too, with the splash panel clamped in place to check fit. I had planned on cutting a circular hole for the jacking tube to go through but realised the bit on the end with the drain hole would not fit so I cut a slot instead. I'll fill that in next. I need to trial fit the wing to check clearance for the wing seal on the splash panel and to check the fitting at the bottom rear wing bracket.
CIMG5204.jpg

CIMG5203.jpg


Interesting article in Classics Monthly this month on applying cavity wax to the P6. Not anything I didn't know but it helps to understand the internal structure to figure out where to apply to get complete coverage. I'm toying with the idea of getting a compressor to apply the wax properly. I've also been having a look at my wedling technique to make sure I haven't developed any habits that might be making my life more difficult. The mig welding forum is a great resource and one that I frequently visit for tips. My welding will probably get as good as it can do in time for me to finish this bit then forget it all for the next time :roll:

Dave
 
Hi Dave looking good . i know what you mean about getting confident with the welder , i did a load on my old traveler , getting good as i came to the end of the job , next time i took the welder out was 18 months later :?
 
Bit like not riding a bike for a while start off wobbly then get better... So you never forget just get out of practice :wink:
Nice work there Dave :)
 
Hi Dave,

Your tenacity is awesome!

With all the tribulations you've had on your cars, it's great to see you making such great and skilful progress. Keep going mate...won't be long now! :D
 
Dave3066 said:
Interesting article in Classics Monthly this month on applying cavity wax to the P6. Not anything I didn't know but it helps to understand the internal structure to figure out where to apply to get complete coverage. I'm toying with the idea of getting a compressor to apply the wax properly. I've also been having a look at my wedling technique to make sure I haven't developed any habits that might be making my life more difficult. The mig welding forum is a great resource and one that I frequently visit for tips. My welding will probably get as good as it can do in time for me to finish this bit then forget it all for the next time :roll:

Dave

Glad you enjoyed the feature, Dave. I'm aiming to keep the P6 popping up in Classics as often as I can!

Well done on the welding front, I am just taking baby steps with MIG and I must admit I still find it a little daunting, I'm about to put a wing on my Austin 1300, so to see what others are upto is always great. :wink:
 
Dave3066 said:
webmaster said:
create some strong under-car jacking points and give the monkeys at KwikFit something to jack it up on.

It already has some of them, they're just not in the right place :roll:
Dave

Dave, Richard, I don't suppose either of you have pictures of yourreinforced jacking points?
I would like to lose the tubes as they're suspect at best.
So what do you put and where so the Tyre Muppet doesn't bend my floor AGAIN :twisted:
 
I took a couple of days off work to make some in-roads into this job and progress has been steady over those days. When I last posted I had still to close off the front of the sill and splash panel, as well as finishing around the jacking point. I took the advice of the majority and cut access holes in the already attached sills so I could weld them from the inside.

CIMG5237.jpg


I'm much happier that there is good strength here now.

CIMG5249.jpg

CIMG5246.jpg


That little bit at the top of the wing seal panel was also replaced

CIMG5269.jpg


Next was the bottom of the BC post to close that off too

CIMG5251.jpg


Ground back and primed

CIMG5260.jpg


The front doorstep was full of holes and had to go too

CIMG5263.jpg


New section tacked in....

CIMG5264.jpg


Welded....then ground down and primed. This was some of my best welding so far with good penetration on the reverse side

CIMG5267.jpg


Having primed the doorstep I've left fitting the seal channel till later. I wanted to have a good look at the D post on that side as I knew it would need some work. This is how it looked...

CIMG5271.jpg


Start cleaning it up to get a better look

CIMG5273.jpg


Hmmmm might have to dig a bit deeper

CIMG5274.jpg


You know what's coming next

CIMG5275.jpg


:shock: In for a penny as they say....

CIMG5276.jpg


I'd had enough for the day and left it at that....

More to follow once I've cleaned all rotten metal out and got back to clean.

Dave
 
That's another couple of weeks off the road then.

Your welding on the step and B post was great - practice realy does make perfect.

It might be worth putting a drain hole in the bottom of the jacking point just where it meets the sill - mine had rotted through just there but were fine higher up.
 
Also, don't forget the drain holes along the sill itself. I did and only realised when the carpets became soaked. It had filled up with water until it ran into the car from the access holes, which meant a depth of about 2 inches of water along the entire length!
 
Time for an update on this folks.

Last time I mentioned that I'd gone all-in after finding quite severe rot around the D post. Well...... :roll: that all came out, and I mean the D post in its entirety and I started putting new metal into the substructure that the D post attaches to. I've got a NOS outer D post ready to go in but I'll be salvaging some of the old inner D post too.

CIMG5838.jpg

CIMG5840.jpg

CIMG5841.jpg

CIMG5340.jpg

CIMG5339.jpg


This was done a few months ago and after staring at the big hole for ages I decided to move back and check the rear wheel arch all the way to the back of the car. This revealed further rot similar to that which I'd repaired on the other side around 18 months ago. So that is all being cut out and replaced too. The battery tray is rotten around the edges but is salvageable but I need to repair the area around the inner wing and the wheel arch.

CIMG5818.jpg

CIMG5820.jpg

CIMG5828.jpg

CIMG5834.jpg

CIMG5836.jpg

CIMG5835.jpg


and some of the small bits I've repaired or made ready to be welded onto the back end.

CIMG5837.jpg


My enthusiasm is renewed and I'll be making slow but steady progress on these repairs over the coming weeks. There's a lot to do though!

Dave
 
Love those Pictures !!! I am coming to the end of welding on mine, and just starting to make good welds. Will be pretty good by finish, and ready for the next project. I only have 1/2 a boot floor, and a front shock mount to go !! Almost all of the same areas you have shown.
 
Good to see some more progress there Dave. It's horrible when you keep finding more rot. Hopefully you're on the home run now though.
 
Looking good Dave , your making the most of the 2000 not being there then :wink: Bet your looking forward to getting it back on the road :D
 
Keep going! You must be gone half way now if not more!

This brings back so many memories and it's really difficult to keep going. Going to be well worth it!

Rich
 
great work dave not much keeping the old girl off the road.

The d-post is amazing where did you manage to get one?

Colin
 
That's great work you're doing Dave. The bootlip and crossmember repair panels are seriously impressive.
 
Back
Top