

You are using an out of date browser. It may not display this or other websites correctly.
You should upgrade or use an alternative browser.
You should upgrade or use an alternative browser.
My 3500s project - future daily drive
- Thread starter Quagmire
- Start date
harveyp6 said:Try and get some deep brass nuts to use on the downpipe studs, that will avoid having to go through the whole job again next time.
Harvey's words were truly prophetic. I went to change the nuts over to Brass today, and they had pretty much welded themselves on there already! In the process of undoing, one stuf wound out of the manifold, and one sheared off - they seem to be made of cheese. :shock:
Anyway, so a 10 minute job turned into a 2 hour one, removing the manifold again, replacing the broken stud and one where the galling from the nut had knackered the thread already.
Car is now back together again, with Brass nuts. phew!
Pictures:
Knackered stud:

New studs and brass nuts - second time lucky hopefully!

A shot of the slot I cut in the manifold in the last update to save time putting it back on

The wadhams radiator is performing fantastically, in this cold weather I can do my entire 35 mile commute without turning the electric fan on, seems having the cabin heater on alone is enough to keep it bang in the green.Top stuff

And the general service I did recently seems to have brought my economy figures to just above 25mpg again. Time will tell...
Harvey was referring to brass nuts that are approximately 25 mm deep for extra security, with more than double the number of threads in contact with the studs. It is hard to tell from the photograph whether the ones you have fitted fit that criteria. Hope you are tightening the nuts to no more than 15 lbsf ft. HOT with a good torque wrench. Hope this helps.
Kind regards,
Alanj.
Kind regards,
Alanj.
alanj. said:Harvey was referring to brass nuts that are approximately 25 mm deep for extra security, with more than double the number of threads in contact with the studs.
More than that the extra length covers the end of the stud which is normally left exposed, which corrodes and then strips the thread in the normal depth brass nuts when you try to remove them.
Thanks Alan, the nuts I have are approx 11mm deep, which is all that is really worth having on my car - the reason being that the flange on the stainless exhaust is quite chunky, and so with all three tightened, each stud only has a single turn of thread showing.
In all my experience with the family RV8's (we have 4, if you only count the ones fitted to vehicles :roll: ) I have never experienced anything like it!
In all my experience with the family RV8's (we have 4, if you only count the ones fitted to vehicles :roll: ) I have never experienced anything like it!
harveyp6 said:More than that the extra length covers the end of the stud which is normally left exposed, which corrodes and then strips the thread in the normal depth brass nuts when you try to remove them.
Oh well, close enough for now
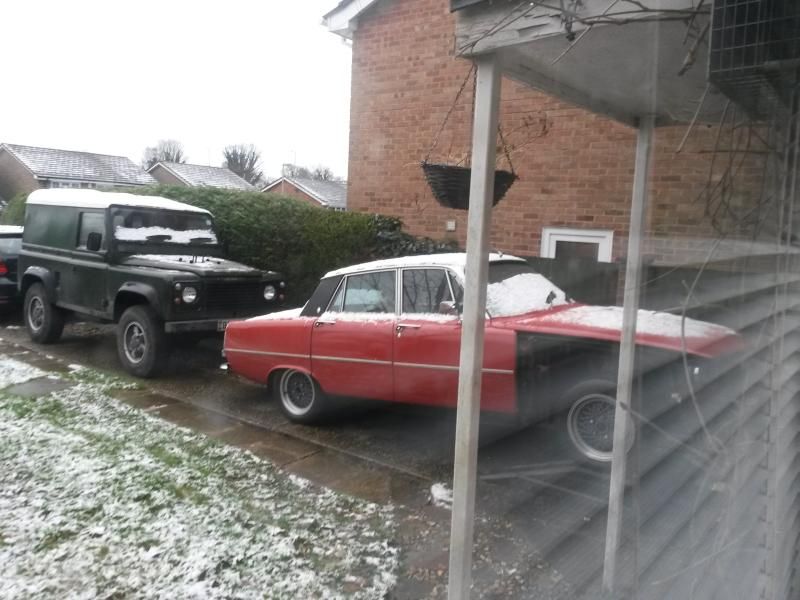
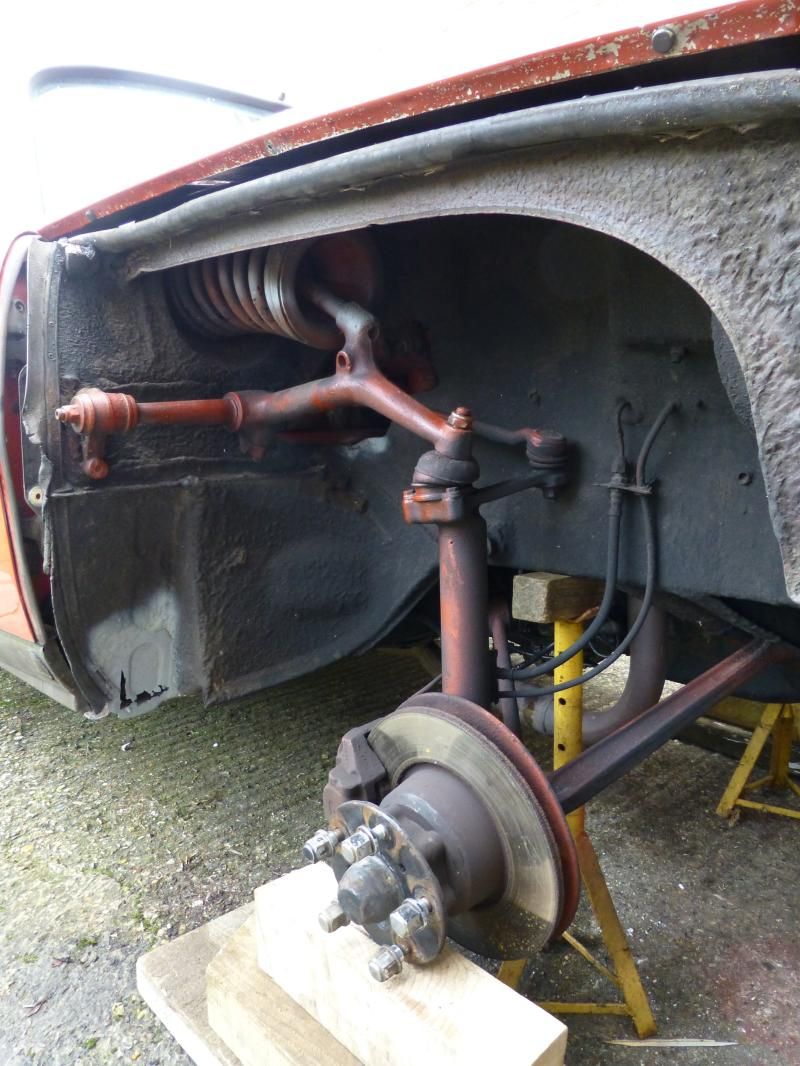
- if my exposed single turn of thread causes me grief next time its off, I'll get some deep ones. Watch this space...Well as per my post in the suspension section I have been getting a clonk from the left front - the car is off the road, possibly not the best time of year to be out working on it instead of riding around inside with the heater cranked to full.
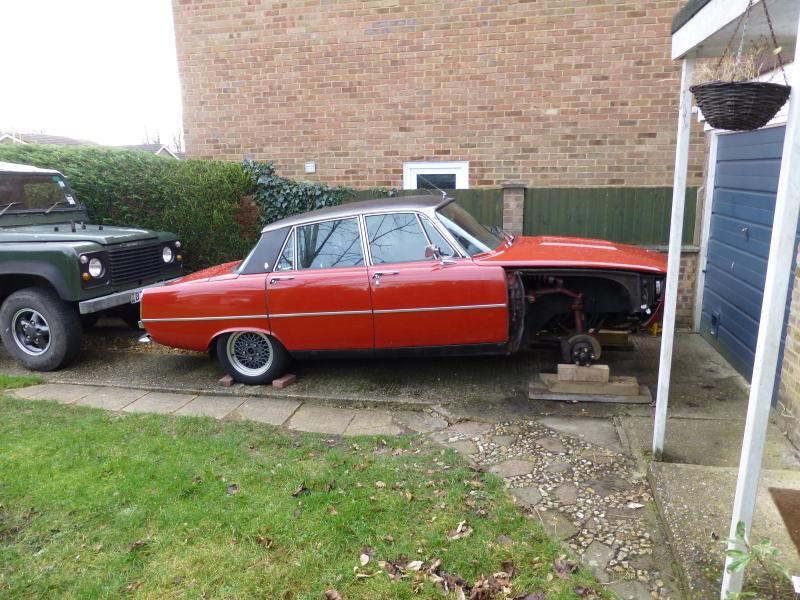
Its on axle stands, the wooden blocks are just backup incase we have an earthquake and it drops off...
Some welding to do...this was lurking behind some bodyfiller:
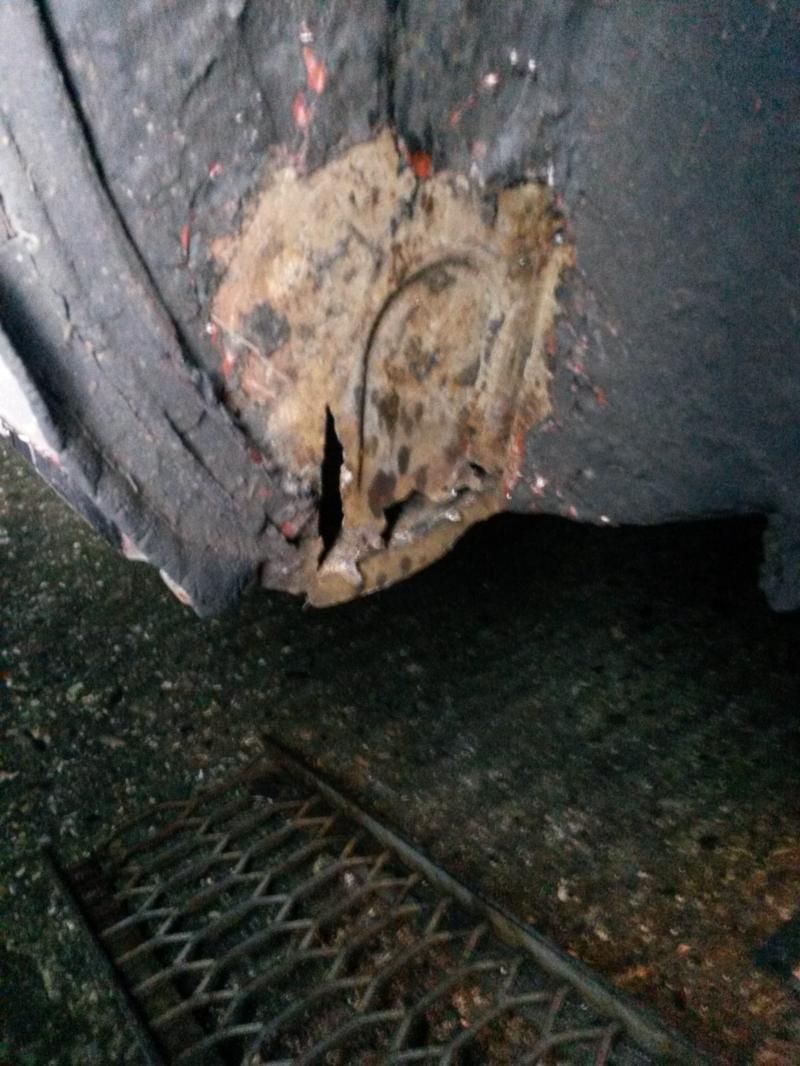
Bit clearer with a blast of grey primer just to stop things rusting further before I can attend to it in the next week or so.
Its on axle stands, the wooden blocks are just backup incase we have an earthquake and it drops off...


Some welding to do...this was lurking behind some bodyfiller:

Bit clearer with a blast of grey primer just to stop things rusting further before I can attend to it in the next week or so.

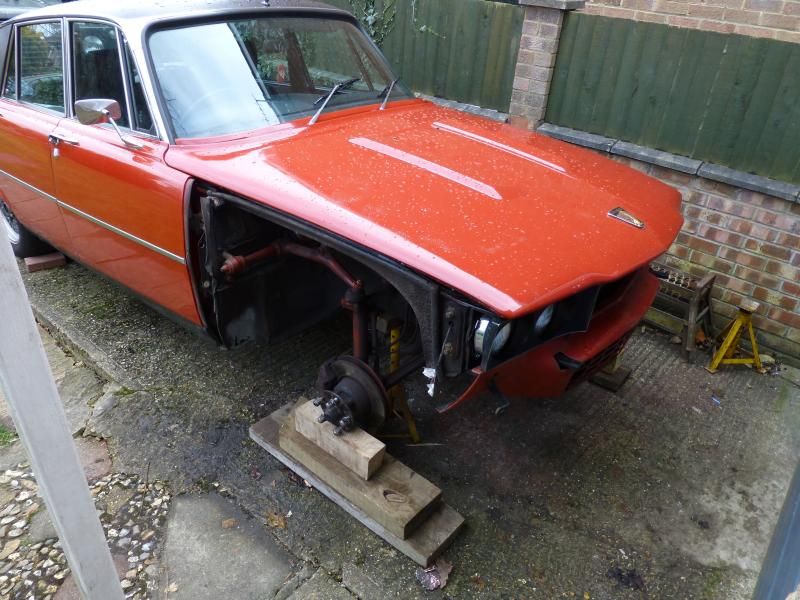
To be honest the car has been in a (small) prang at some point in its life and the bonnet and passenger wing have been replaced. :roll:
The bonnet was white originally by the looks of it. These panels do match the rest of the car though, and there are no signs of respray work elsewhere - no runs, overspray, door shuts and other nooks and crannies match the main body colour etc.
So... either they matched the panels in nicely...
or
they re-sprayed the whole vehicle and did a good job of it.
Having no idea when this actually happened it is possible that genuine Monza paint was still available - I guess I won't know for sure until I get it mobile and can compare to a known genuine Monza car.
Might be while though! :cry:
testrider
Active Member
Quagmire said:To be honest the car has been in a (small) prang at some point in its life and the bonnet and passenger wing have been replaced. :roll:
I was just wondering if it had, you can see the end of the hockey stick is deformed just by the spring.
Well springs and top links are off, had to saw through one top ball joint which would not budge and will get pressed out of the top link on Dad's press. Had one bolt shear on the passenger side anti-roll bar clamp, this will be drilled out and helicoiled if necessary.
Major problem now is that I went poking around the passenger splash panel and found some rot and filler.... I took the sill cover off to chase it back and found a 3ft plate fibreglassed to the bottom of the car hidden by the cover and copious amounts of underseal.
Have removed this and the bottom face of the sill has rotted away for a good foot or two. Some vigorous poking also made some holes in the inner sill, which were backed with fibreglass and wire mesh on the inside of the car, just forward of the seat mounts. I should have pulled the carpet back further when I first got the car!
The sill walls are sound from 1/2" up from the bottom, and front jacking point is sound. The rear jacking point is well crumbly, and there appears to be a bit more fibreglass back there too! :cry:
It is very tempting to cut the whole lot out but I don't want to remove too much in one go, so will probably do it in a couple of hits. Sort the front out with new steel first and then attack the rear.
It's going to take a while!
Pictures to follow...
Dave3066
Well-Known Member
Quagmire said:Major problem now is that I went poking around the passenger splash panel and found some rot and filler.... I took the sill cover off to chase it back and found a 3ft plate fibreglassed to the bottom of the car hidden by the cover and copious amounts of underseal.
Have removed this and the bottom face of the sill has rotted away for a good foot or two. Some vigorous poking also made some holes in the inner sill, which were backed with fibreglass and wire mesh on the inside of the car, just forward of the seat mounts. I should have pulled the carpet back further when I first got the car!
The sill walls are sound from 1/2" up from the bottom, and front jacking point is sound. The rear jacking point is well crumbly, and there appears to be a bit more fibreglass back there too! :cry:
Yes we feel your pain. On the upside, better to have discovered this now than have the car crumble on the road.
Dave